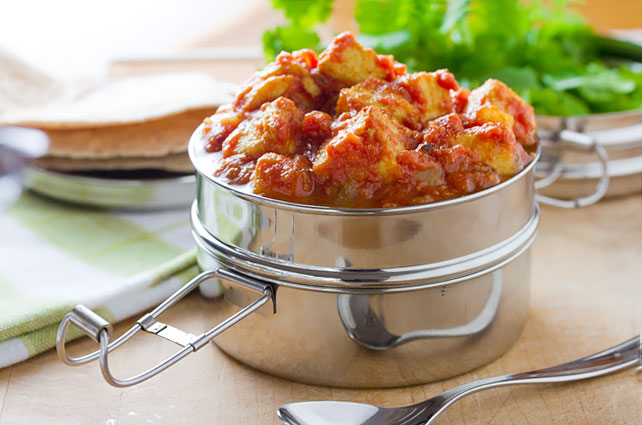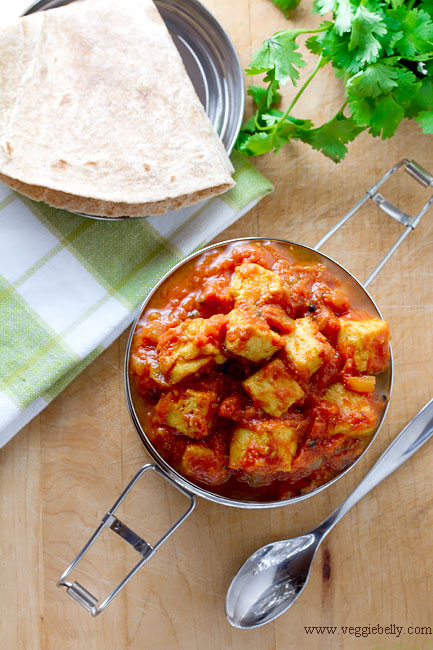
Paneer and Tomato Curry

What an amazing weekend it was! Three childhood friends visited me, and we spent the weekend chatting, catching up and having a great time (N, I am still thinking of your amazing  lychee martinis!).

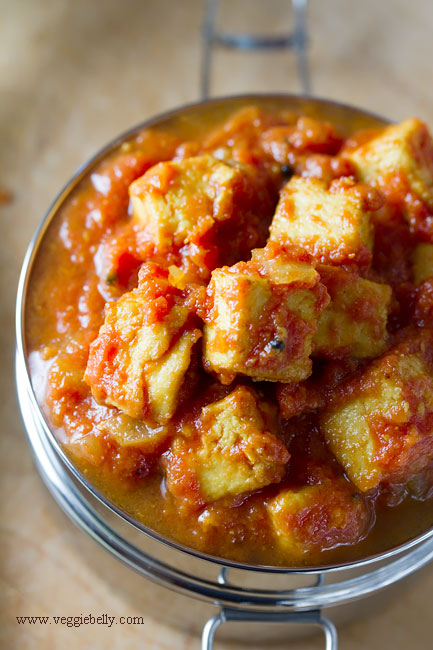
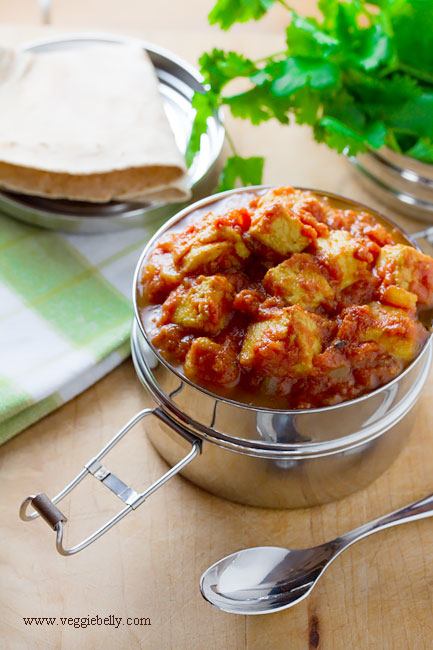
When my dear friend Santha wrote to me requesting this paneer tomato curry recipe, I was flooded with memories of school lunch times and all the wonderful food we used to share from our little tiffin carriers. I was somewhat famous for this curry back in school. I’d take this dish and rotis for lunch every Friday. And I always had to take extra because it was so popular with my classmates. So I decided to make this curry for my friends for our ‘reuinion’ weekend. 

Santha, this is for you ♥

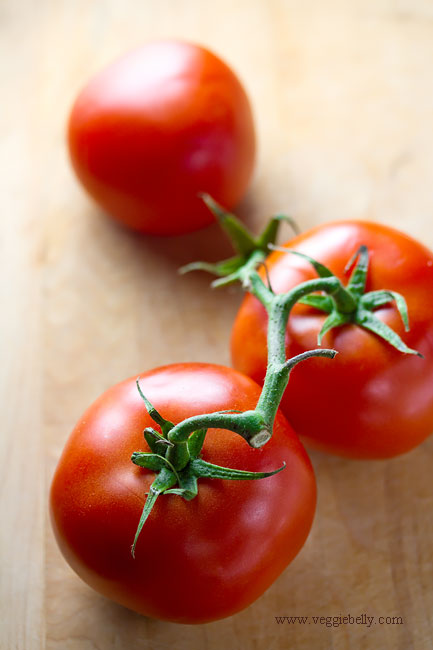
Make sure you use ripe, juicy tomatoes. Canned tomatoes are ok, but you will get the best results if you use high quality canned tomatoes like Muir Glen or San Marzano.

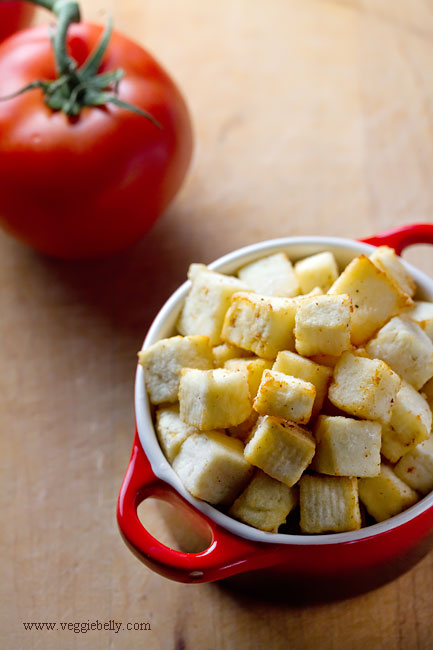
Paneer is an Indian cottage cheese, easily available at Indian stores. For this recipe, you can buy raw paneer and shallow fry it yourself, or you can buy pre-fried packaged paneer (which what I use). Nanak brand paneer is quite good.  Store bought paneer can be quite compacted and hard, so you need to soak it in hot water to soften it a bit.

Daily meals has a tomato paneer curry recipe using garam masala. Mahanandi blog has a paneer tomato recipe as well. Be sure to checkout Local eater blog’s delicious tomato paneer curry recipe from Madhur Jaffrey’s world vegetarian cookbook.

Paneer Tomato Curry Recipe

Serves about 10

For the tomato gravy
6 large, ripe, juicy tomatoes
1 tablespoon oil
¼ teaspoon black mustard seeds, optional
1/2 teaspoons cumin seeds
1 medium onion, chopped fine
½ teaspoon turmeric powder
1 teaspoon cumin powder
½ teaspoon or to taste, chili powder
Salt
1 tablespoon tomato ketchup. Use less if you want a less sweet gravy.

For the fried paneer
2 cups cubed paneer*
A large bowl filled with very hot, salted water

Make the gravy
Remove the core of the tomatoes. Quarter the cored tomatoes and place in a blender, along with 2 cups of water. Puree until the tomatoes have become a very smooth sauce. You should have about 8 cups of puree. Set this aside.

In a large saucepan, heat the oil. Add mustard and cumin seeds. When the mustard starts to splutter, add the chopped onion. Cook on medium-low heat till the onion is soft. Add turmeric, cumin and chili powders. Stir for a few seconds.

Then carefully pour in the pureed tomatoes. Bring the gravy to a boil. Then reduce heat and let the curry simmer on low heat for about 20 minutes or till the curry has reduced a little and you can no longer smell raw tomatoes. Add more water if needed.

Fry the paneer
While the tomato gravy is simmering, work on the paneer.

Fill a large bowl with very hot water. Add salt to the water, and set the bowl near you.

Heat oil in a pan and shallow fry the paneer cubes in batches.Flip the the paneer around so that all sides are lightly golden. Remove paneer cubes from the oil using a slotted spoon and place the fried paneer in the hot salted water. Be careful when doing this, the oil in the paneer will splutter when it hits the water.  Repeat this with all the paneer cubes. Let the fried paneer sit in the hot water for about 15 minutes.

*Use the above method if you are frying your own paneer. Alternatively, you could use store bought, pre-fried paneer. Simply open up the package and dunk it in the bowl with hot salted water. Let it sit for 20 minutes; then proceed with the recipe.

If you are using homemade paneer, soak it in the hot water after frying for only 10 minutes. (Store-bought paneer is harder and needs to soak longer).

When the tomato gravy is ready, drain the paneer cubes from the water, and add to the gravy.  Add salt to taste. Increase heat to medium, and let it cook for about 5 minutes.

Then stir in ketchup and turn off heat. Garnish with chopped cilantro.

Serve paneer and tomato curry with rotis or chapatis.

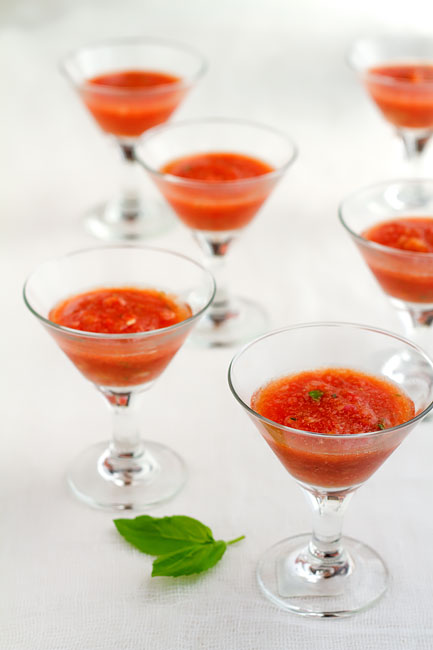
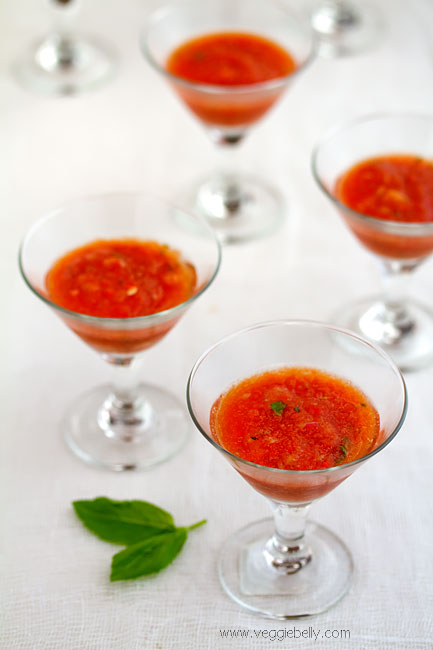
Tomato, Roasted Red Pepper and Olive Gazpacho with Creme Fraiche


This has to be one of those recipes where I say “If I give you the recipe I have to shoot you”. Because its that good. But because I love you all, I will share this recipe with you, without any shooting involved.

Summer may be winding down, but its still super hot. This easy to make, raw, cold, refreshing gazpacho is just what you need to beat the heat. If you like this tomato and roasted red pepper gazpacho recipe, be sure to check out my other no-cook recipes.

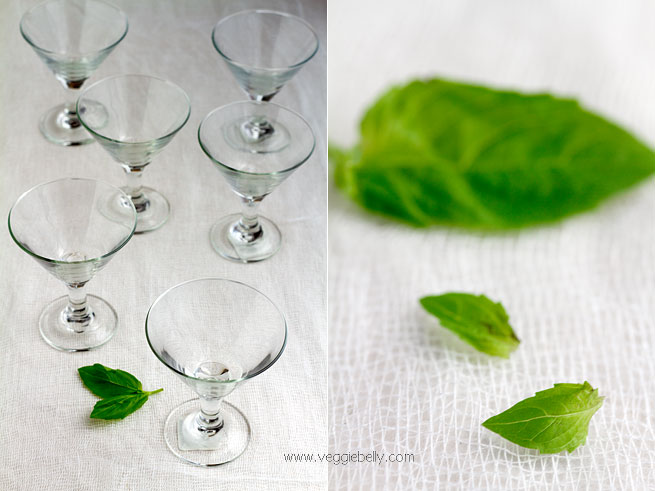
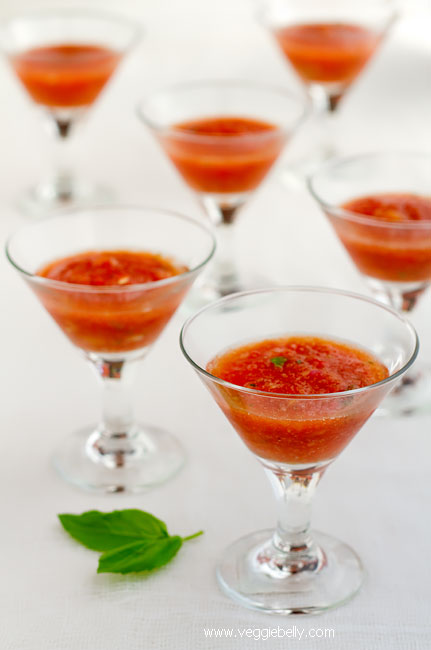
If you are entertaining, serve the gazpacho in mini martini glasses or shooter glasses. For a more casual meal, simple bowls or mugs will be perfect.

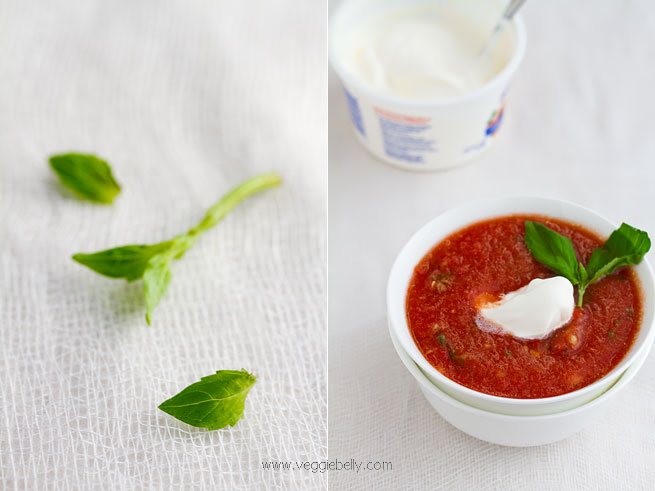
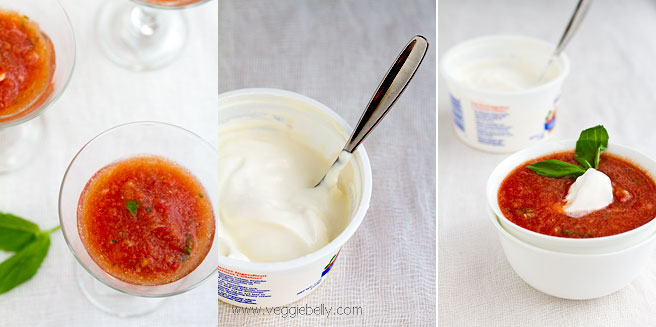
A dollop of creme fraiche adds richness to this gazpacho. Creme fraiche is a thick soured cream from France. It tastes a little like sour cream, but thicker and richer. Substitute creme fraiche with sour cream or thick yogurt. Vegans can use coconut cream to top their Gazpacho..remember Aarti made gazpacho with coconut milk on the next food network star?! 

For some variations, check out Matt Bite’s two Gazpacho recipes. There is a gorgeous gazpacho recipe on Simple Recipes. This almond gazpacho recipe in La Tartine Gourmande looks unique. However you make it, Gazpacho is a quick, easy, no-cook summer soup that you will love. Make a meal out of it or take it along on a picnic!

Tomato, Roasted Red Pepper and Black Olive Gazpacho with Creme Fraiche

inspired by Ina Garten’s gazpacho recipe
serves about 6

2 large ripe tomatoes, roughly chopped
1 small cucumber peeled, seeded, roughly chopped
1 red pepper or store bought roasted red pepper, roughly chopped
2 tablespoons pitted black olives (or green olives)
2 cloves garlic, peeled
6 basil leaves

one 11oz can tomato juice (I used Campbells)
a few drops Tabasco sauce, or to taste, optional
2 tablespoons sherry vinegar or any other type of vinegar or lemon juice
2 tablespoons olive oil
Salt and pepper

for topping

6 tablespoons creme fraiche or sour cream
a few basil leaves cut into strips

Place tomato, cucumber, red pepper, olives, garlic in a blender or food processor. Pulse to a coarse puree. Add basil, tomato juice, tabasco, vinegar, olive oil, salt and pepper. Pulse once or twice till everything is well combine. Cover and refrigerate the gazpacho. Serve chilled, topped with basil and creme fraiche. Gazpacho tastes better the next day!

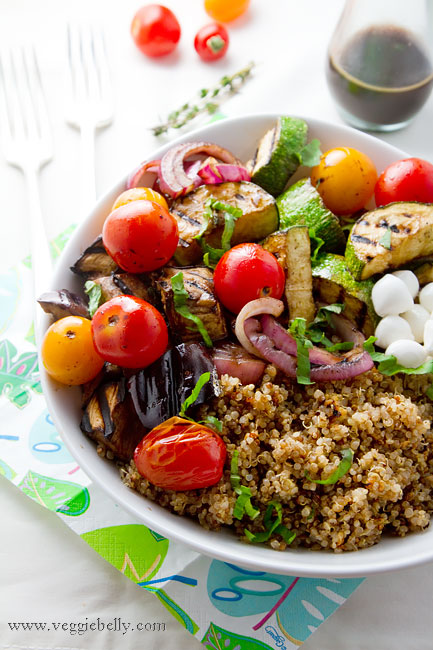
Balsamic Grilled Summer Vegetables with Basil Quinoa Salad


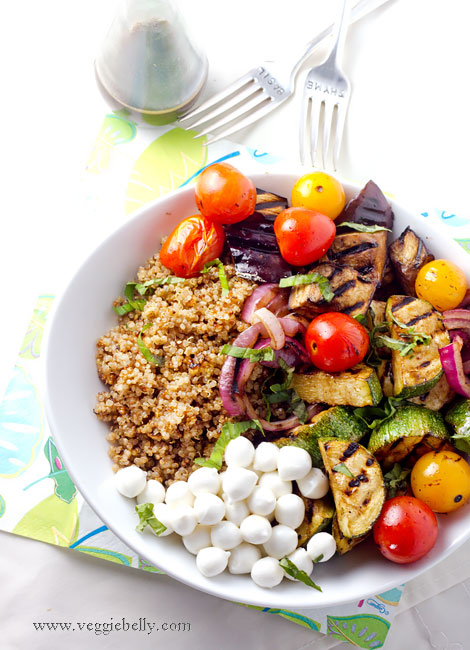
Repeat after me – balsamic makes everything better! Especially grilled summer vegetables and quinoa. I love to grill vegetables tossed in a simple dressing or marinade of balsamic vinegar, olive oil and garlic. I then serve the same dressing as a dipping sauce for the vegetables.

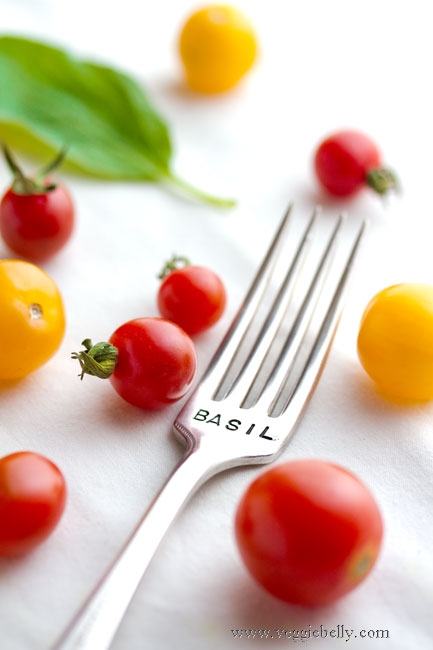
Herb name engraved vintage silver forks are the latest addition to my prop collection. I got them from Beach House Living shop on Etsy.com. Rita will customize the forks for you; her work is beautiful and service is super quick. Rita also flattens out engraved forks, spoons, and knives to be used as garden markers.

To salt or not to salt eggplant before cooking?

Eggplant is full of little air pockets (which is what makes it spongy). When cooking, these air pockets will absorb oil, and make your dish oily. Salting will collapse these air sacs.

Salt eggplants before cooking:
- to reduce oil absorption
- for firmer texture when cooked
- to remove bitterness from an old eggplant

Dont salt eggplant before cooking:
- for dishes that require mashing or pureeing the eggplant
- for silky, soft texture
- if you are quick cooking the eggplant or using high heat (like in this recipe)

How to salt eggplant:

Cut the eggplant as called for in the recipe. Place it in a colander. Sprinkle some salt over the eggplant (as much salt as you would when you cook it). Toss well. Place a heavy saucer or plate over the eggplants in the colander, to weigh them down. Let the eggplant sit like this in the colander for about and hour. All the moisture (brown liquid) will drain out. Rinse well, and pat dry with a cloth. Make sure eggplant pieces have been dried well. Then cook according to the recipe.

You dont have to salt the eggplant for this recipe, because you arent grilling it for long, so you dont risk it getting soft or mushy.

Use whatever vegetables you like. Red bell peppers, mushrooms, any winter squash, asparagus will also taste great grilled and served with quinoa; check out Dishing up Delight’s roasted vegetable quinoa recipe. 101 cookbooks has a quinoa recipe with roasted cherry tomato and tofu.  

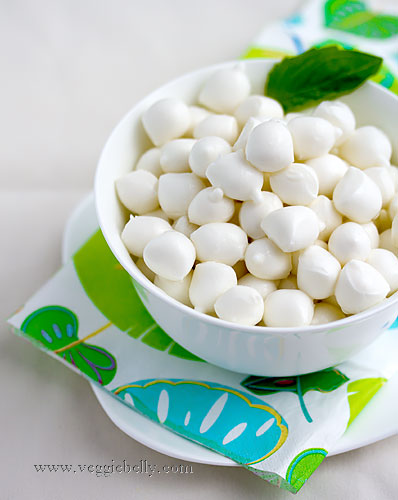
How cute are these little pearlini mozzarella balls? If you cant find them use bocconcini (slightly larger mozzarella balls). Vegans can use pan fried tofu or some toasted pine nuts or walnuts instead.

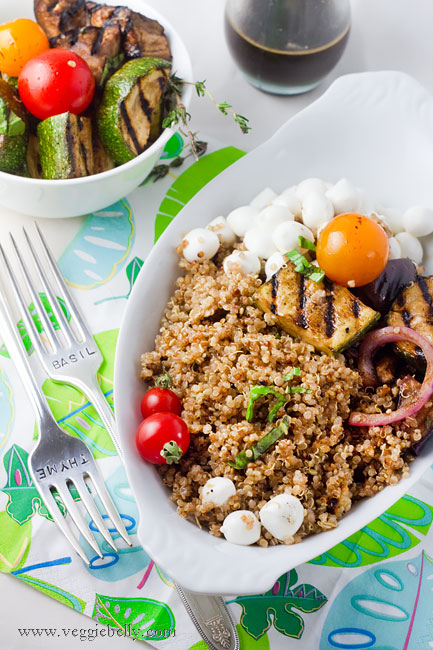
Balsamic Grilled Summer Vegetables (Eggplant, Zucchini, Tomato, Red Onion), Pearlini Mozzarella and Basil Quinoa Salad Recipe

serves about 3. (you will have as much grilled vegetables as quinoa).

for balsamic dressing
1/4 cup balsamic vinegar
3 tablespoons olive oil
2-3 cloves garlic minced
salt and pepper

for grilled summer vegetables
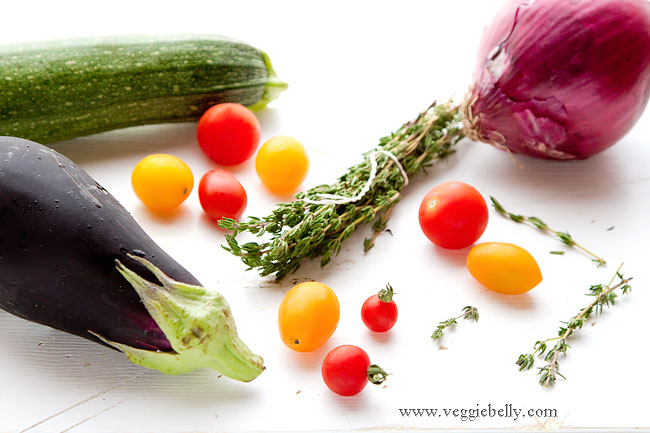
1 small italian eggplant (about 2 cups when cut into big cubes)
1 small zucchini (about 2 cups when cut into big cubes)
1/2 small red onion (1/4 of a large red onion)
3/4 cup cherry tomatoes
4 sprigs fresh thyme, leaves stripped

for basil quinoa salad
2 cups water
1 cup quinoa
1/4 cup basil leaves loosely packed, chopped

other ingredients
1/2 cup pearlini mozzarella balls, or bocconcini mozzarella balls, tossed in a little salt and pepper
(substitute with pan fried tofu or toasted pine nuts or walnuts for a vegan dish)

Whisk together all the balsamic dressing ingredients and set aside.

In a medium saucepan, boil water for the quinoa salad. Add quinoa and bring back to a boil. Reduce heat, and simmer covered, till all the water has been completely absorbed, about 20 minutes.

While quinoa is cooking, cut the eggplant and zucchini into 1 1/2 inch cubes. Cut the red onion into rings. Place cubed eggplant, zucchini, red onion, tomatoes and thyme leaves in a bowl. Pour half the balsamic dressing over the vegetables and toss well.

Brush grill grates with olive oil or non-stick spray (I used a stove top cast iron grill). Heat grill to medium-high. Grill the vegetables about 3 minutes on one side or till grill marks appear, about 3 minutes. Flip them over and grill other side till vegetables are tender but still a bit firm. Tomatoes will cook quicker, remove them from the grill as soon as they start to blister.

Reserve the balsamic dressing that remains in the bowl, to serve with the meal.

If you dont have a grill, broil the vegetables in the top rack of an oven, till one side is golden. Flip and broil other side.

When the quinoa finishes cooking, toss it with the second half of the balsamic dressing. Stir in chopped basil, salt and pepper. 

Spread quinoa on a platter or bowl. Arrange the grilled summer vegetables and mozzarella around the quinoa. Serve warm with the reserved balsamic dressing on the side.

Tandoori Grilled Broccoli and Cauliflower Kebabs


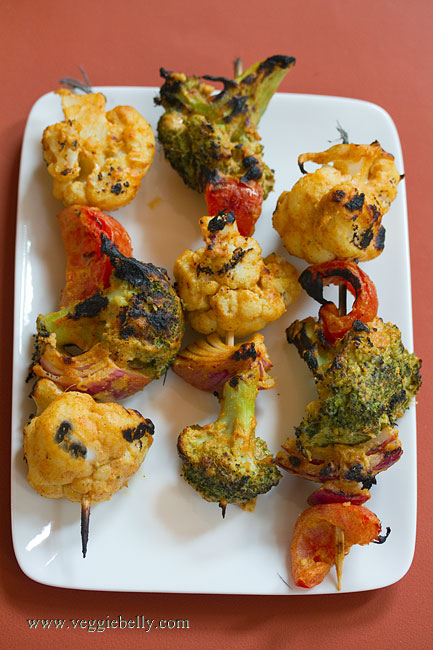
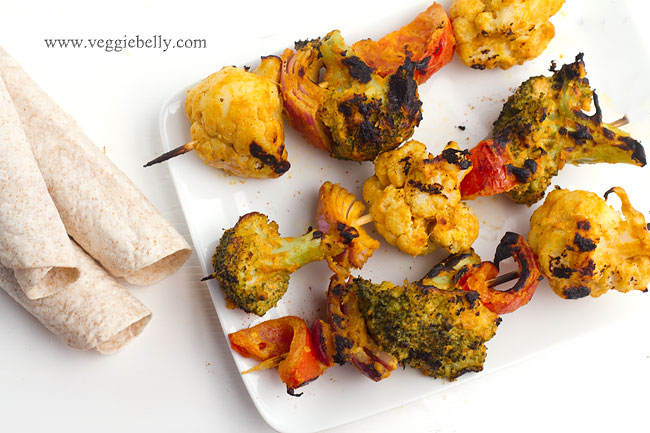
A tandoor is an Indian clay oven. Marinated meat, cottage cheese (paneer) or vegetables are skewered and cooked in the oven. The result is smoky, charred skewers of tandoori yumminess.


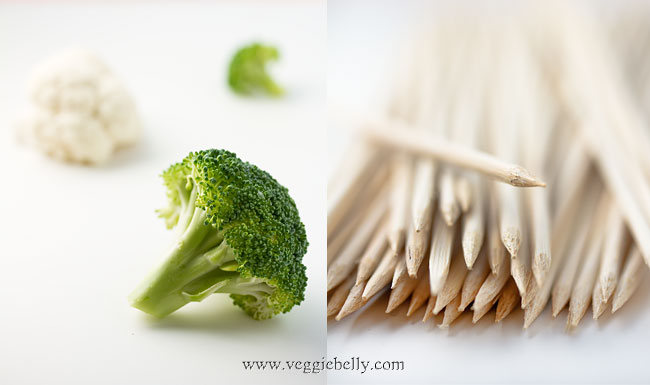
Make sure you soak the skewers before grilling, otherwise they will burn on the grill. If you dont have a grill, you can place the skewers in the oven and broil them till brown and slightly charred. Then flip the skewers and broil the other side.

The tandoori marinade recipe I give you is very versatile, you can use it for paneer, tofu, potatoes, even seitan.

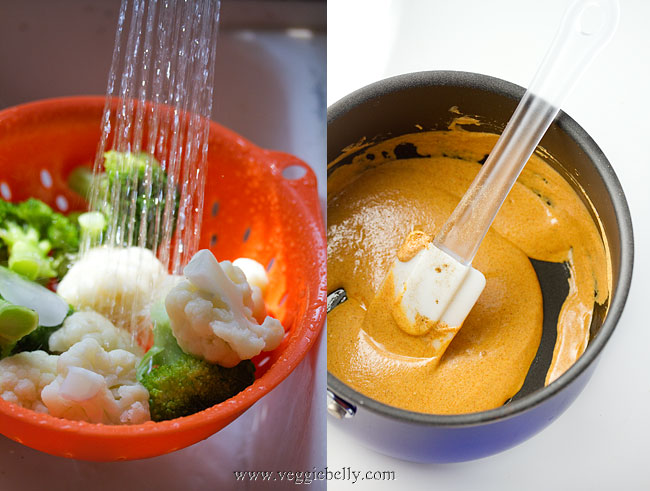
I like to blanch the broccoli and cauliflower before marinating. This reduces grilling time and also makes it easier to thread the skewer into the broccoli and cauliflower.

We usually eat these grilled kebabs with either brown rice, rotis or pita bread and some raita. Here are some recipes on Veggie Belly that will make great accompaniments to these kebabs:

Walnut raisin rice

My grandmother’s multicolored raita

Tamarind Jelly

Tandoori Grilled Broccoli and Cauliflower Kebabs Recipe

serves about 2 as an entree

4 bamboo skewers (about 10 inches long)

1 small head of broccoli
1/2 small head of cauliflower
1 small red onion, cut into 4 wedges
1 large tomato, cut into 4 wedges

for marinade
3 tablespoons chickpea or garbanzo flour (besan)
1/2 cup yogurt
2 tablespoons lemon juice
2 tablespoons vegetable or canola oil
1 tablespoon garlic paste
1 tablespoon ginger paste
1 teaspoon garam masala
1 teaspoon paprika
1/2 teaspoon turmeric powder
1 teaspoon coriander powder
Salt

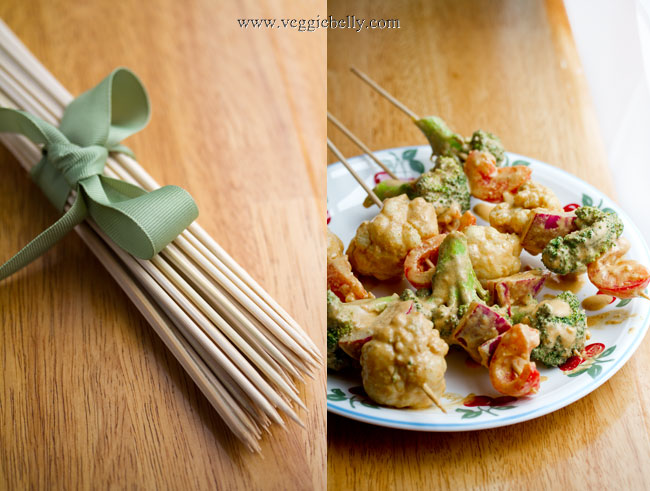
Soak bamboo skewers in water for atleast 30 minutes, to prevent them from burning on the grill.

Cut the broccoli and cauliflower into large florets. You should have 6 florets (about 2 cups) each of broccoli and cauliflower.

Bring water to boil in a medium pot. Add plenty of salt. Add the broccoli and cauliflower florets. Bring back to a boil. Cook for 20 seconds. Then turn off heat and drain the broccoli and cauliflower. Rinse under very cold water to stop the cooking. If the tap water is not cold enough, dunk the broccoli and cauliflower in a bowl filled with water and ice cubes, then drain. Pat dry with a towel. Make sure the vegetables arent wet, if they are they will dilute the marinade.

Whisk all marinade ingredients together in a bowl. Add the broccoli, cauliflower, tomato and onion pieces to the marinade. Mix gently so the marinade coats all the vegetables. Cover and refridgerate for about 30 minutes.

Heat an out door grill to 400f. Skewer the broccoli, cauliflower, onion and tomato pieces. Place on grill and cook till one side of the vegetables is slightly charred, about 1 minute. Then using tongs, flip the skewers and cook the other side. If you dont have a grill, broil the skewers in the oven.

My Grandmother’s Multicolored Mixed Vegetable Raita


My two grandmother’s could not be more different.  One has a PhD, was a career woman and takes pride in the fact that she ‘cant boil a kettle of water’. She is a connoisseur of fine food, but never enters the kitchen herself. My other grandmother works miracles in the kitchen. She can effortlessly turn out simmering pot after pot of the most delectable sambars, kuzhambus, rasams, poriyals, and kootus. She instilled in me a love for cooking; and not a week goes by when I’m not on the phone with my grandmother asking for recipes, techniques or clarifications. As different as they are from each other, both my grandmothers are remarkable women, and I continue to learn so much from them.

 My grandmother (the non-cooking one!), grandfather,  father and aunt. Late 1950s
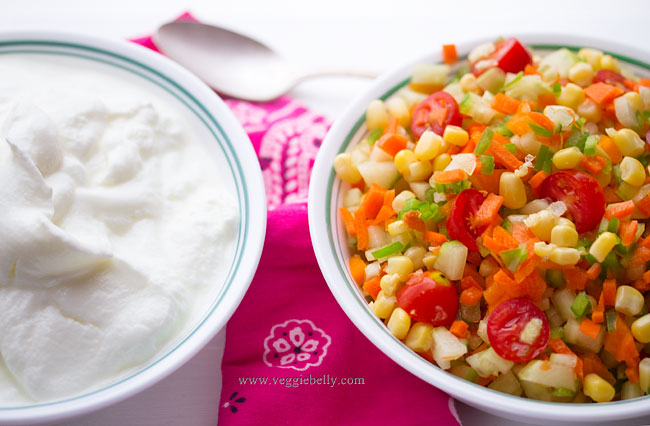
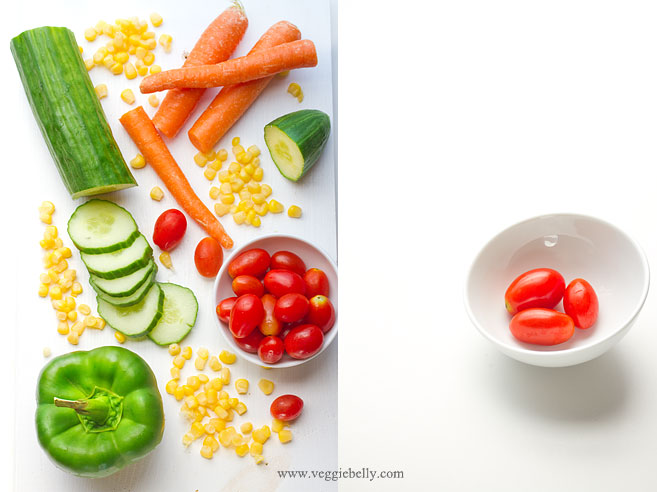


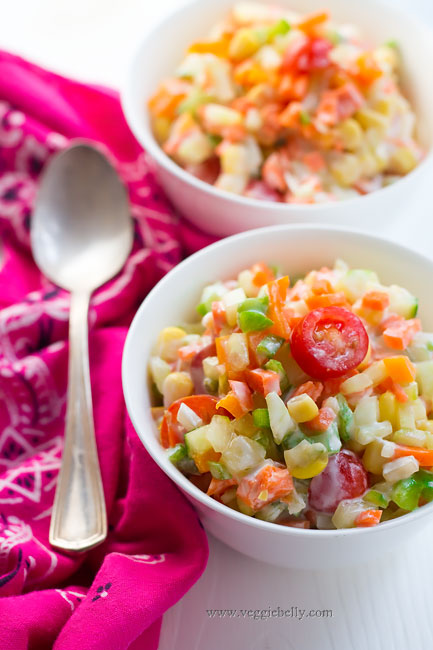
 When its too hot to cook, I always turn to this mixed vegetable raita. Its cool, refershing and there is no cooking involved. I am happy just eating a huge bowl of this for dinner. But this colorful raita will be a great accompaniment to and Indian dinner of rice, roti and curry.

Its easy to remember this recipe – just remember the 6 Cs- cucumber, capsicum, corn, carrot, curd, cherry tomato. Then add pomegranates. Thats it! I didnt use pomegranate seeds in this recipe because I couldnt find any; but I highly recommend you use them!

My grandmother adds salt to the raita only just before serving. If you add salt any sooner, it will draw out the moisture from the vegetables and make your raita watery. And make sure you let the raita sit in the fridge overnight, it tastes much better than eating it right away.

My Grandmother’s Multicolored Mixed Vegetable Raita Recipe

serves about 10 as a side dish

1 large seedless cucumber, the kind with the plastic wrap or 4 small cucumbers (about 3 cups when chopped)
3 medium carrots (about 1 1/2 cups when chopped)
1 small green pepper (about 1/2 cup when chopped)
1 small orange pepper (about 1/2 cup when chopped)
1 cup cherry tomatoes
2 cups drained canned sweet corn
1/2 cup pomegranate seeds (I didnt use, because I couldnt find them)
3 cups yogurt
salt

Peel the cucumber and carrots, and chop into very small pieces. Chop the peppers into tiny pieces as well. Cut each cherry tomato into 2 or 3 pieces.  Mix all ingredients together in a large bowl, except salt. Place the raita in the fridge. Raita tastes better if it sits over night. Add salt just before serving and stir well. Serve chilled.

Twice Cooked Tomato Chutney

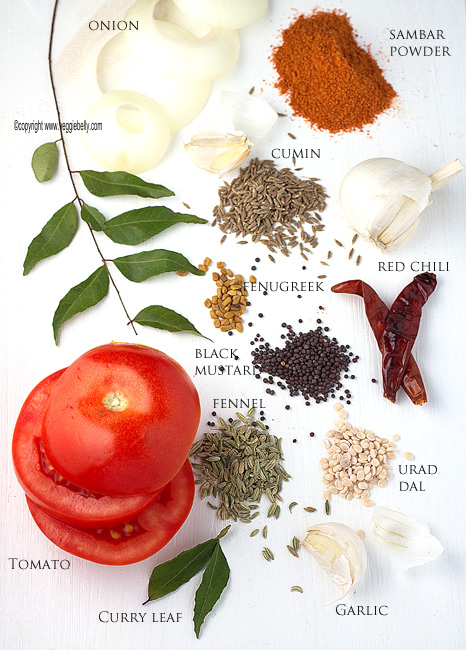
This takes a little longer to make than your average chutney, but well worth the effort. Double cooking  the chutney (once before pureeing, and once after) makes the onion, garlic and tomatoes extra flavorful. I like to add sambar powder to my tomato chutney. Sambar powder is a roasted, powdered blend of spices from south India containing red chilies, coriander seeds, turmeric, lentils and fenugreek. You could leave out the sambar powder if you wish or use only turmeric and chili powder instead.

The recipe below is my ‘special’ version. For a simpler, ’everyday’ version of this tomato chutney, I simply saute the onions, garlic and tomatoes, blend in a blender, temper some black mustard and cumin, add the pureed chutney and cook again. No matter which version I am making, I always twice cook the chutney.

This chutney will freeze well, so if you have a bumper crop of tomatoes this summer, and dont know what to do with them, this is a great option for you. I put the chutney into ice cube trays and place in the freezer. Once they are frozen, I remove the cubes from the tray, put them in a zip lock bag and return to the freezer. This way, you can defrost even tiny quantities of chutney.

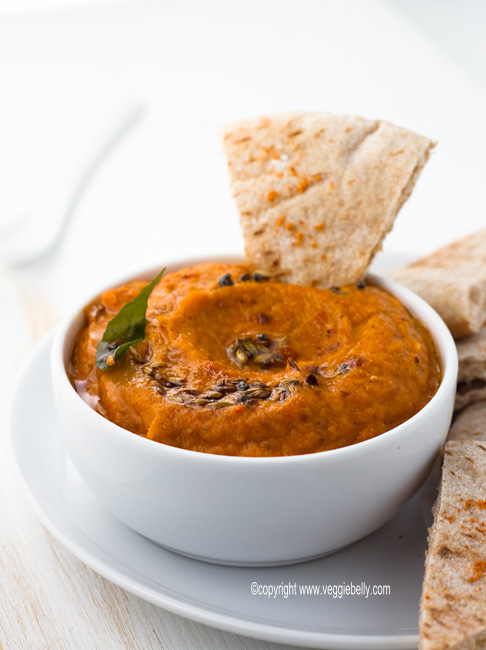
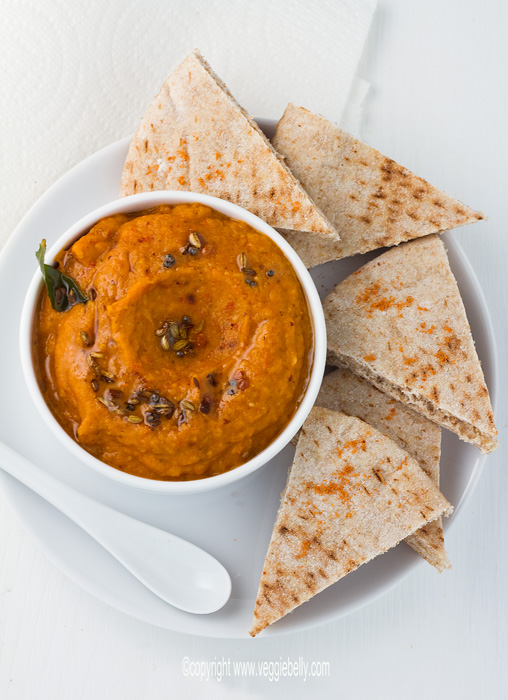
Serving tomato chutney with idlis or dosas is traditional. Here, I serve the chutney with pita bread.

Twice Cooked Tomato Chutney with Cumin and Fennel: Recipe

makes about 2 cups

3 tablespoons vegetable oil
1/4 teaspoon each cumin seeds, fennel seeds, black mustard seeds, urad dal (black gram)
1/8 teaspoon fenugreek seeds
1 dried red chili, optional
1/2 cup curry leaves loosely packed
1 large onion (about 2 cups when diced)
8 pods garlic, peeled
6-8 (about 1 lb) ripe tomatoes, diced
1 teaspoon sambar powder

for tempering:
1/2 tablespoon vegetable oil
1/8 teaspoon each cumin seeds, fennel seeds, black mustard seeds, urad dal
a few curry leaves

Heat oil in a large wok. Add cumin, fennel, black mustard and urad dal. When the mustard seeds begin to pop, add fenugreek seeds, red chili if using, and curry leaves. Cook for about 30 seconds. Then add chopped onion and garlic. Cook on medium heat for 2 minutes. Add chopped tomatoes and cook on medium for about 15 minutes or till the tomatoes are completely soft.

Cool the chutney a little and then puree in a blender, along with sambar powder and 1/2 cup water till smooth. (Make sure to vent the blender lid slightly when blending hot stuff).

Wipe the wok, and heat oil for tempering. Add all tempering ingredients. When the mustard seeds splutter, reduce heat and carefully pour the blended chutney into the wok. Be very careful, the chutney may bubble and splatter. Add salt. Cover the wok and cook the chutney on medium-low for about 15 minutes, stirring occasionally. Serve with idli, dosa or pita bread.

Related Posts with Thumbnails