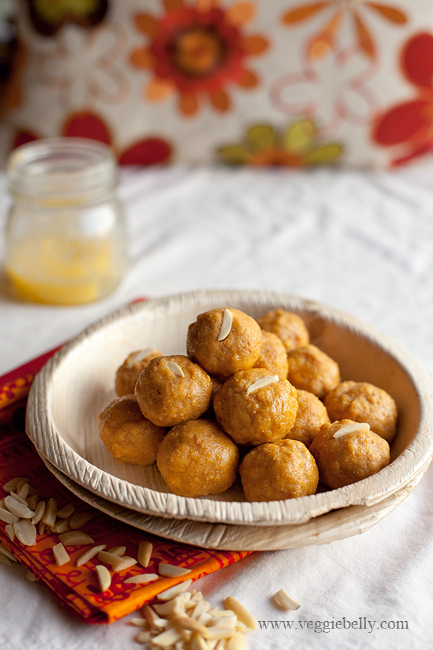
Besan Laddoo Recipe

Diwali is around the corner and this besan laddoo or laddu is one of the easiest sweets you can make to celebrate. Diwali is the Indian festival of lights. It celebrates the victory of good over evil and light over darkness. Its one of India’s most important festivals and we celebrate it with fire crackers, new clothes and by sharing sweets and snacks. If you are looking for a simple Diwali sweet recipe, try this besan laddoo. Its gluten free too!
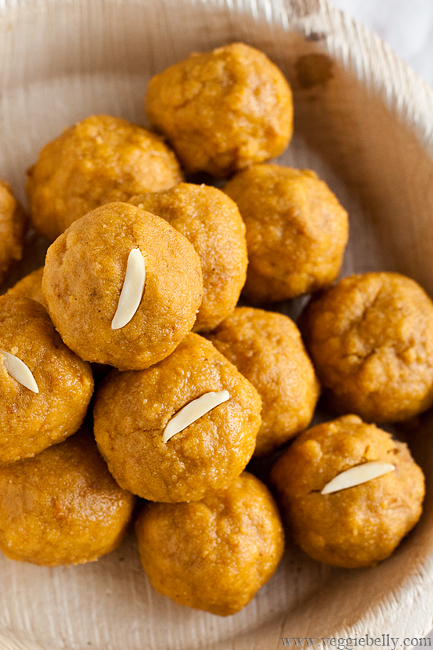
Besan laddoo is made with chickpea or garbanzo or gram flour, ghee, sugar and cardamom. It takes about 30 minutes to make, but most the work is just stirring. There really is nothing complicated about this sweet. If you are new to making Indian sweets, this is a great one to start with.

Some tips
- Make sure you use medium-low heat and stir the flour and ghee  mixture constantly to prevent burning

- You can use fine ground besan or the coarse ground variety. Both work. But I like the fine ground besan, it makes the laddoos melt in your mouth. If you like more texture in your laddus, use the coarse besan.

- The laddu mixture is ready when it turns golden starts to smell nutty. This will happen approximately around the 30 minute mark. If you can smell the besan getting toasted and nutty, taste a small pinch of it. It should taste cooked and not raw. Then its done and ready for the sugar and cardamom.

- When forming the laddoos, if they are too dry and falling apart, add extra ghee to the mixture one teaspoon at a time, mixing well after each addition, untill you can form it into balls.
How to Make Besan Laddoo – a Video 

http://youtu.be/tRWTPOZwJ5Q

Besan Laddoo Recipe

makes about 15

Ingredients
1/2 cup ghee or melted butter (melt 1 stick of unsalted butter). But I recommend you use ghee.
1 1/2 cups besan (chickpea or gram flour)
1 cup sugar
3/4 teaspoon cardamom powder
1 tablespoon slivered almonds, or cashew halves, optional

Method
1. Take a large non-stick skillet and add the ghee or melted butter to it. Heat it on medium-low heat. Once the ghee or butter is warm, add the besan (chickpea or garbanzo flour).

2. Cook this mixture on low-medium heat, stirring constantly. The laddu mixture is done when it looks golden and smells toasty and nutty. This will take 20-30 minutes. Look at the video above to see the different stages of the mixture cooking, and how it looks when its done.

3. When the laddu mixture smells toasted and looks golden, taste a little. It should taste cooked. There should be no sour after taste, if it tastes sour or raw, you need to cook it more. When the mixture is cooked, turn off the heat.

4. Let it cool for about 3 minutes. Then add sugar and cardamom, and mix well. Taste the mixture. If you want, you can add more sugar and or cardamom at this point.

5. Let it cool completely. Then gather about 2 tablespoons of the mixture in your palm of your hands, and press it to form a ball. (See video above).

6. If the mixture is too dry and wont form balls, or if the balls crack or dont hold together, you need to add more ghee or melted butter. Add 1 teaspoon of ghee or melted butter and mix well. Now try to form balls again. If its still too dry, add another teaspoon of melted butter or ghee and mix well. Try again. Keep doing this till you can form the mixture into balls. You shouldn’t need to add more than 2 teaspoons (if that) of ghee or melted butter for this recipe. And make sure you don’t add so much ghee that the laddoos become oily. And add the extra ghee or melted butter only if you need to.

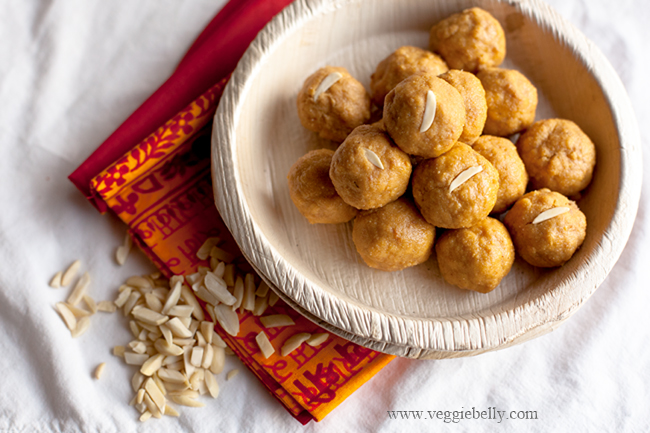
7. When the laddoos are shaped, press an almond sliver or cashew half onto the top. This is optional.

8. Store laddoos in an air tight container, they will keep for a week.

Quinoa Upma Recipe

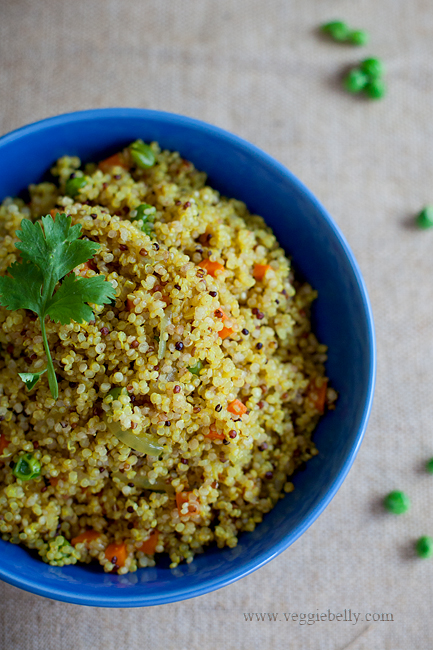
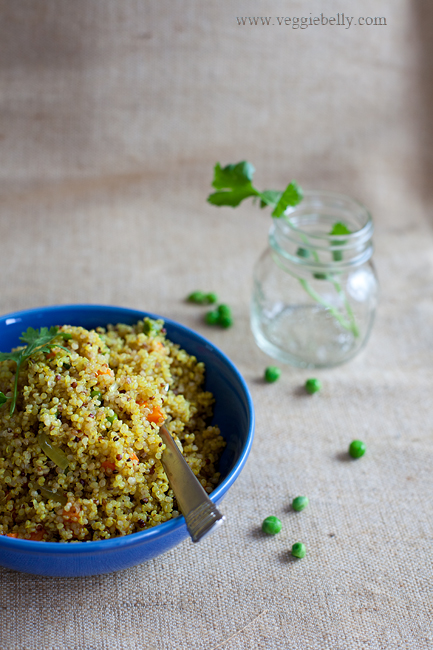
I’ve taken the classic South Indian upma – a breakfast dish made with semolina – and quinoa-fied it! The traditional upma uses semolina, onions, ginger and vegetables. I’ve pretty much kept everything the same, except the addition of quinoa. This is a quick, satisfying, one pot meal. Serve it along with my twice cooked tomato chutney.

I’m always thinking of new and different quinoa recipes and putting an Indian twist to this quinoa dish really works. If you’ve been following my blog for a while, you’ve already seen my hugely popular mango blueberry quinoa salad, a version of which I demoed on TV. I also have a spicy quinoa, black bean and asparagus bowl recipe and a more summery quinoa recipe with balsamic grilled vegetables. If you’ve tried lots of quinoa recipes and looking for something completely different, this quinoa upma is for you!

Quinoa Upma Recipe

 Serves about 6

Ingredients
1 tablespoon butter or oil
1/4 teaspoon cumin seeds
1-3 green chili, slit
1 small onion, thinly sliced
one inch piece of ginger, peeled and cut into 3 pieces
a few curry leaves, optional
1/4 teaspoon turmeric
1/2 cup diced carrots
1/2 cup shelled green peas
2 cups quinoa
Salt
Chopped cilantro for garnish

Method
1. In a large saucepan with a lid, heat the butter or oil and add the cumin seeds. When they sizzle, add the green chili, onions, ginger and curry leaf. Stir on medium heat till the onion is soft and transcluscent.

2. Now add the turmeric, carrots, and peas. Cook stirring for about a minute.

3. Add the quinoa to the saucepan and stir gently for a few seconds. Then pour in 4 cups water, and salt and bring to a boil. Reduce heat to low, and simmer covered till all the water is absorbed and the quinoa is cooked, about 15 minutes.

4. Serve hot, garnished with chopped cilantro. If desired, fish out and discard the ginger chunks before serving.

Simple Indian Style Tofu and Bean Sprout Braise Recipe


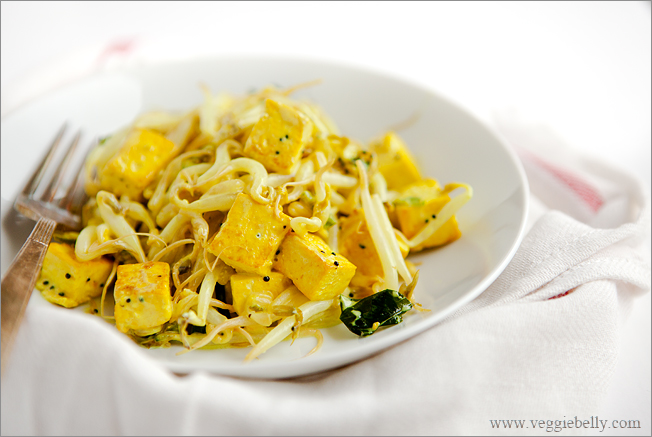
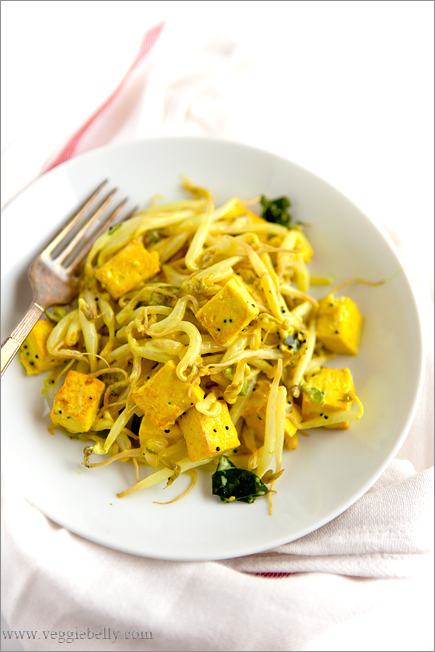
Even my tofu hating friends love this Indian style tofu with bean sprouts. I like to serve this dish with steamed brown rice and some wilted kale – a meal that makes me really happy! This is a simple dish, with simple flavoring. With a dish like this, I like to add some extra heat by using jalapenos or green chilies. Use them according to your taste and remember that green chilies are usually hotter than jalapeños. If you like it more liquidy, just add extra coconut milk at the end.

Make sure you use a wok or a large sauce pan. For two reasons – you don’t want to crowd the tofu, if you do, it wont brown properly. Also, the bean sprouts will get too watery if you use a small pan and everything is crowded.

Simple Indian Style Tofu and Bean Sprout Braise Recipe

Serves about 2 

Ingredients
8 oz firm tofu
1 tablespoon oil
1/4 teaspoon black mustard seeds. Substitute with cumin seeds.
6-8 curry leaves
A pinch of asafetida, optional
½ a Jalapeno or one green chili
¼ teaspoon Turmeric powder
4 Cups bean sprouts (about 8oz)
½ cup coconut milk

Method

1.Drain the tofu, and gently pat it dry with an absorbent towel. Cut the tofu into ½ inch cubes and set aside.
2. Heat oil in a wok or large sauce pan. Add the mustard seeds and let them pop over medium heat.
3. Once they pop, throw in the curry leaves, jalapeno or green chili and asafetida. Stir for about 30 seconds or till the jalapeño/chilies start to sizzle.
4. Sprinkle turmeric over the oil. Immediately add cubed tofu. Mix everything gently so the turmeric coats the tofu.
5. Cook the tofu on medium heat, flipping it around occasionally, till it is lightly browned on all sides. About 8 minutes.
6. Then add the bean sprouts, coconut milk and salt. If you want more liquid, add more coconut milk. Cook just till the bean sprouts wilt a little – about 2 minutes.
7. Serve hot with brown rice or quinoa and some wilted greens.

Garlic Rasam Recipe

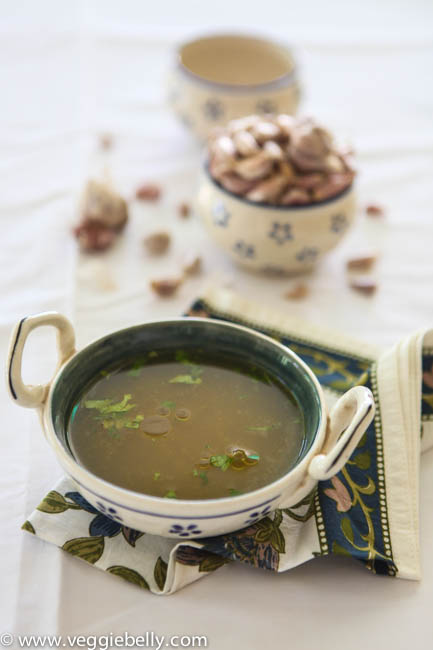
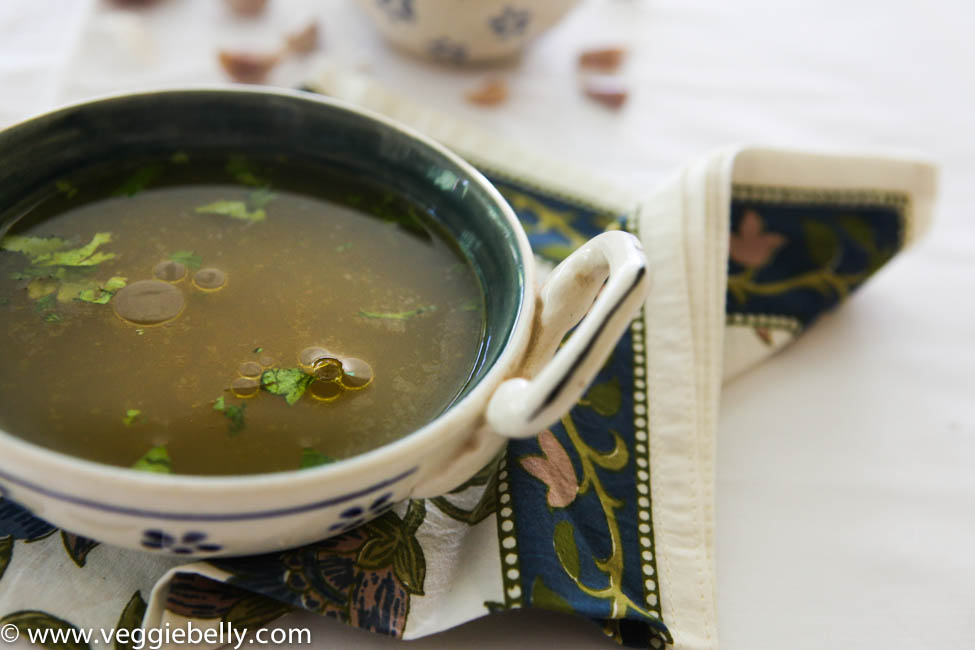
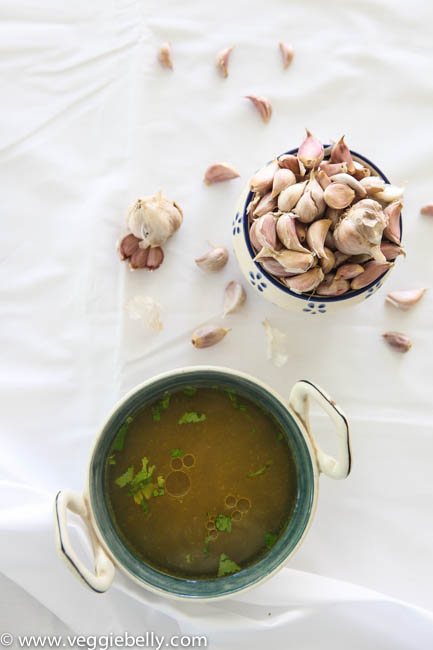
Every home cook must have a good rasam recipe under their belt. This light, tangy and spicy south Indian dish is usually served as a main dish with rice and potato curry. But my favorite way of serving it is in cups, like a soup, along with some crisp potato chips. Perfectly warming for a cold day!

There are probably as many rasam recipes as there are cooks. Everyone does it differently. And you can flavor the rasam with a number of things, not just garlic. For variation try Chef In You’s lemon rasam, or Mahanandi’s coriander rasam, or my grandmother’s killer pineapple rasam.

Garlic Rasam Recipe

serves about 4

Ingredients for Rasam Masala
6-8 garlic cloves with skin on
8 curry leaves
1 red chili
3/4 tablespoon black pepper corns
1 tablespoon cumin seeds

 Method
1.Using the back of a wooden spoon, crush each garlic clove and set aside.
2.Coarsley grind everything else, except garlic. Mix the ground masala with garlic (skin an all) and set aside.

Ingredients for Rasam
a small gooseberry sized ball of tamarind (about 1 tablespoon)
2 small tomatoes, roughly chopped
1 tablespoon oil or ghee
1 red chili, broken
a few curry leaves
1/4 teaspoon mustard seeds
1/4 teaspoon urad dal
a pinch of asafetida
1/4 cup chopped cilantro

 Method
1. Mix and dissolve the tamarind in 2 cups of water. Then strain and extract the water.
2. Place tomatoes in a bowl, and either using your hands or a potato masher, mash and squish the tomatoes till a coarse pulp forms.
3. Place the tamarind water, add tomatoes in a saucepan, and boil for 5 minutes.
4. While its boiling, heat oil in another saucepan and add the chili, curry leaf, mustard seeds, urad dal and asafetida. Stir till fragrant and the mustard seeds pop.
5. Add in the rasam masala. Stir 15 seconds.
6. Add tamarind tomato water, salt, plus 2 cups water.
7. Cook on medium-high. As soon as the rasam starts to foam and just before it comes to a boil, turn it off.
8. If you want a clear rasam, you can strain it at this point, but straining is optional.
9. Garnish with cilantro and serve with steamed rice or in cups, as soup.

Bread Upma Recipe

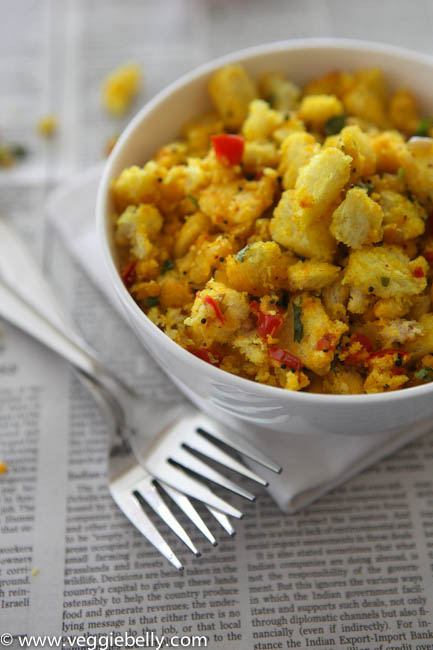
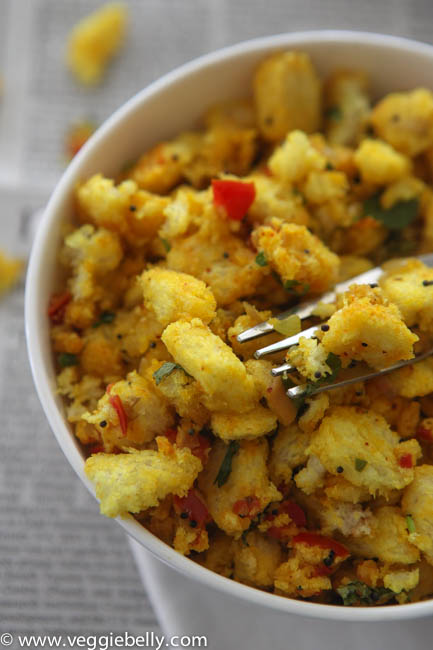
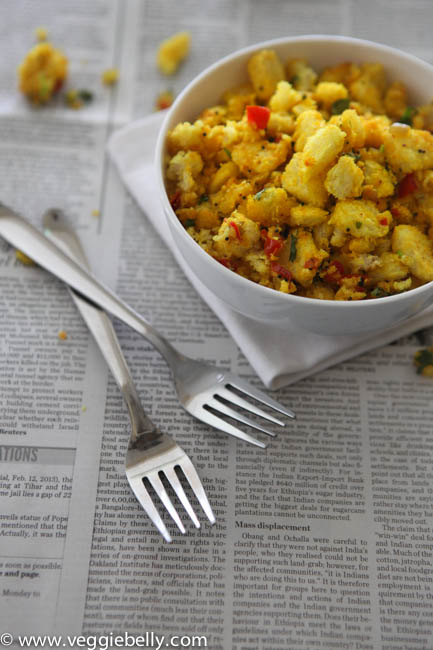
I’m very bad. I get midnight cravings for bread upma – a spiced, stir fried bread dish. Its very easy to make and there is always bread lying around that needs to be used up. So I can tip toe into the kitchen at midnight and quickly whip up this snack without waking up the husband (because I dont want to share my bread upma!).

Use white or brown bread. And if its slightly stale, thats fine too. This recipe is a great way to use up left over bread. If you find the upma is too dry (older breads will be drier), just sprinkle some water and toss to soften it.

Bread Upma Recipe

serves about 4 as a snack 

Ingredients
10 slices of bread, white or brown
4 tablespoons oil
1/4 teaspoon black mustard seeds
1/2 cup minced onion (1 small onion)
1/2 teaspoon minced ginger, optional
1 green chili, minced
1/2 teaspoon turmeric powder
1/2 teaspoon, or according to taste red chili powder
1 tomato deseeded and chopped
1 teaspoon lime juice
2 tablespoons chopped cilantro for garnish

Method
1. Cut off the crust of the bread. Discard the crust or save for making bread crumbs. This is optional, you can leave the crust on if you like. Cut the bread into cubes.

2. Heat oil in a large wok. Add the mustard seeds. When they pop, add the onion, ginger and green chili. Saute on medium heat till the onion is translucent.

3. Then add the turmeric and red chili powders. Stir for a few seconds.

4. Add in the bread cubes, tomato, lime juice and salt.

5. Stir gently till everything is evenly combined and the bread has absorbed all the spices and turned yellow. About 4 minutes,

6. Garnish with chopped cilantro.

Quick Poha (Flattened Rice) Recipe

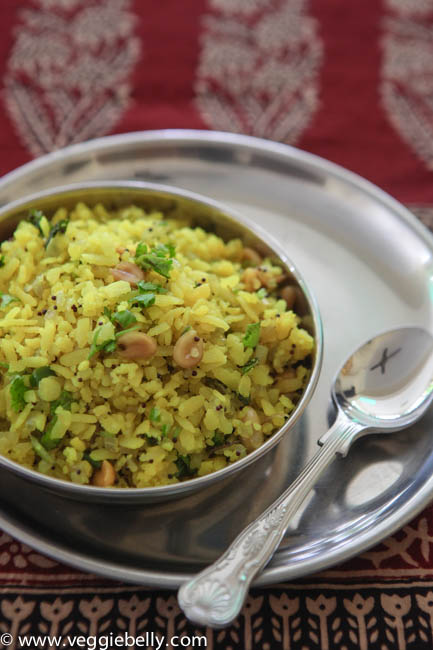
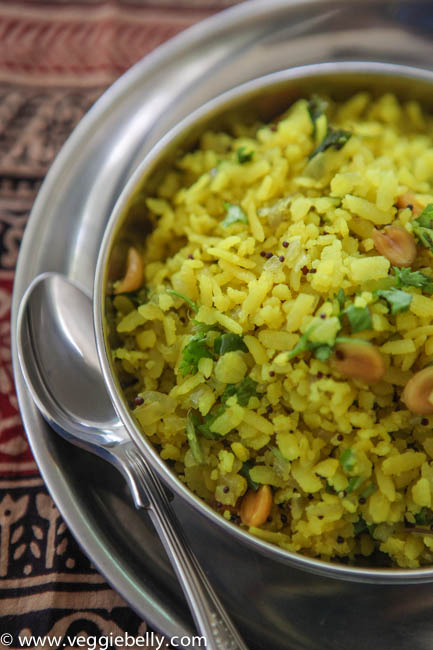
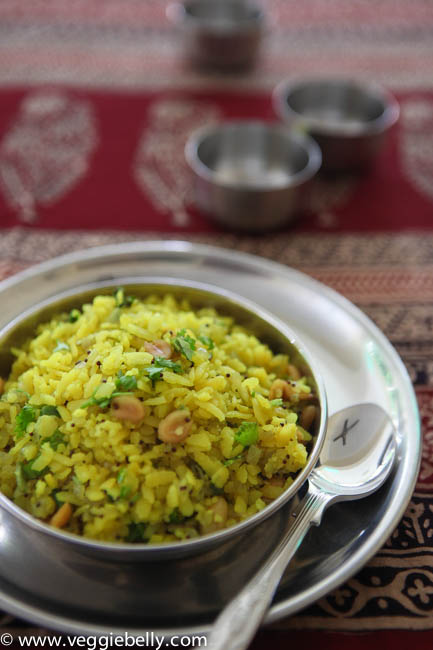
For me, Poha (or pohe or powa) is a childhood favorite. Although a breakfast dish in the Indian state of Maharashtra, we used to have poha as an evening snack after school. Whether you make this poha recipe for breakfast, as a main dish or as a snack, its quick, filling, and tasty.

Batata poha is made with potatoes. Kanda poha is made with onions. This recipe is sort of two-in-one. You can add the potatoes if you like, if not, just stick with the onions. You can also toss in some frozen peas, edamame or mixed frozen vegetables.

Quick Poha Recipe

serves 2-3

Ingredients
2 cups thick (mota) poha
2 tablespoons oil
1/2 teaspoon black mustard seeds
3 tablespoons peanuts
1/2 cup minced onion (about 1 medium onion)
6 curry leaves
1 green chili, minced
1/2 cup boiled, peeled, cubed potato or frozen green peas. Both are optional.
1/2 teaspoon turmeric powder
1 teaspoon lime juice
2 tablespoons chopped cilantro for garnish

Method
1. Place the poha in a colander and wash it under cold water. Set aside to drain. Do this just before cooking – the poha shouldn’t sit for more than 10 minutes (or it will get mushy).

2.Heat the oil in a wok and add black mustard seeds. When they pop, add the peanuts and cook on medium heat till the peanuts turn lightly golden.

3.Then add the onion, curry leaf and green chili. Sauté on medium heat till the onion is translucent.

4. Then add the cubed potatoes or green peas, if using. Stir well.

5. Sprinkle turmeric and salt. Stir and cook for a few seconds.

6. Add the drained poha and lime juice. Cook on low heat for about 3 minutes.

7. Garnish with chopped cilantro.

Pumpkin Kootu Recipe

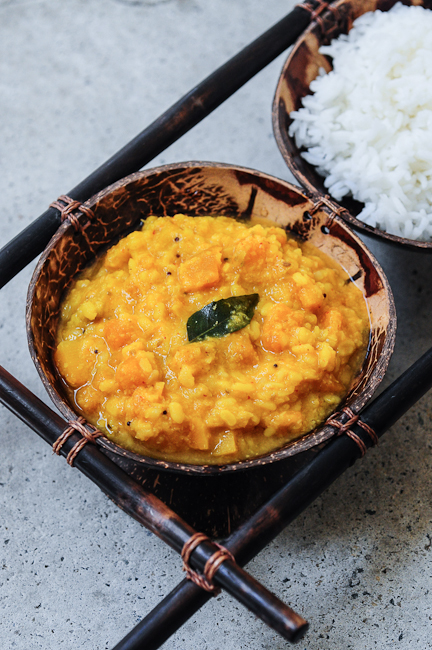
The very talented Nags of Edible Garden blog brings us this easy pumpkin kootu recipe today. A kootu is a side dish of vegetables cooked with lentils. And I cant think of anyone better than Nags to guest post about this traditional South Indian recipe. Her blog is full of everyday, fuss-free Indian recipes. Take it away Nags!

Hello everyone, I am Nags, the writer, cook, and photographer behind Edible Garden. I’ve been blogging for almost 6 years now but haven’t done very many guest posts (this is my 2nd, actually) so please raise a glass with me to Sala’s courage and trust!

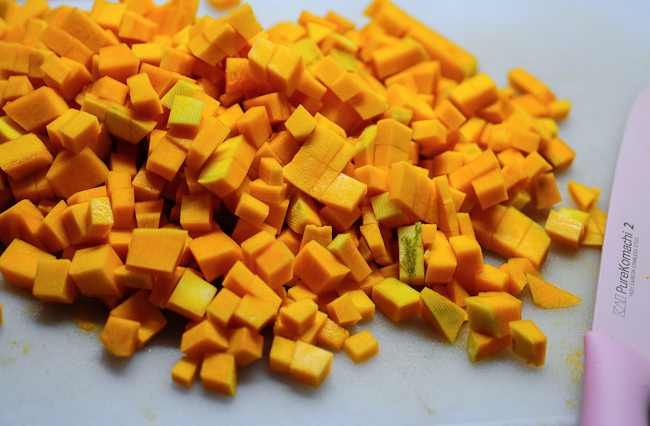
It’s been over 7 years since I moved away from home and started cooking to feed myself, but I have only cooked with pumpkin about 2-3 times in this entire period. I can’t quite figure out why this is because pumpkin is a gorgeous vegetable by all means. It’s a lovely orange-yellow, cooks quickly, lends a mild sweetness to the dish, and is generally well-behaved and easy-going. Well, I can only hope I can make up for my rudeness by cooking with it more, so here’s a simple pumpkin kootu recipe to kickstart what I hope is a great relationship between me and the lovely pumpkin.

But before I go into the recipe, I must say what an honour it is to take up a small part of Veggie Belly. I’ve been in awe of Sala’s recipes and pictures since the day I set my eyes on this website. She has a lovely eye for details, props, colours and food photography. She’s also so very generous. I won a cookbook in a contest in Veggie Belly once but Sala sent me this entire package filled with goodies all the way from the US to Singapore.

Pumpkin Kootu Recipe

Serves 4

Ingredients
3 cups pumpkin (or kabocha or butternut squash), cut into small cubes.
1 cup yellow moong dal
¼ tsp turmeric powder
Salt
Curry leaves
Grind Together to a Paste
½ cup grated coconut
½ tsp red chilli powder
1 tsp cumin seeds
1 clove of garlic
2 shallots, optional
For Tempering
2 tsp oil
¼ tsp black mustard seeds
¼ tsp hing, optional

Method

  1. Add the pumpkin, dal, turmeric powder, salt and 4 cups water to a sauce pan and cook on low heat, covered, until the dal is soft and the pumpkin is very soft.
  2. Add the ground paste to the dal and stir well. If the mixture is too thick, add a bit more water but not too much. I usually wash the blender jar and add that water in which should be sufficient. Throw in the curry leaves. Cook the kootu for about 3 mins. Remove from heat.
  3. Heat oil for tempering in a skillet. Add the mustard seeds. When they pop, add the hing, if using. Add this to the prepared kootu. Adjust salt if required
  4. Serve with steamed white rice and any dry vegetable curry
  5. A variation of this kootu is to use channa dal instead of moong dal and green chillies instead of red chilli powder. Check out this Chow Chow Kootu, for instance.


Butter Roasted Masala Potatoes – My Guest Post for Indian Simmer

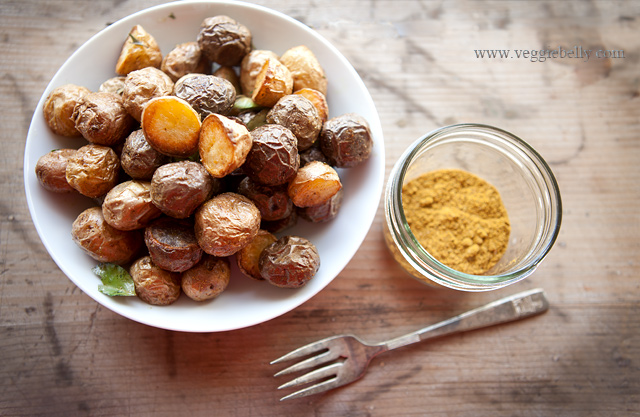
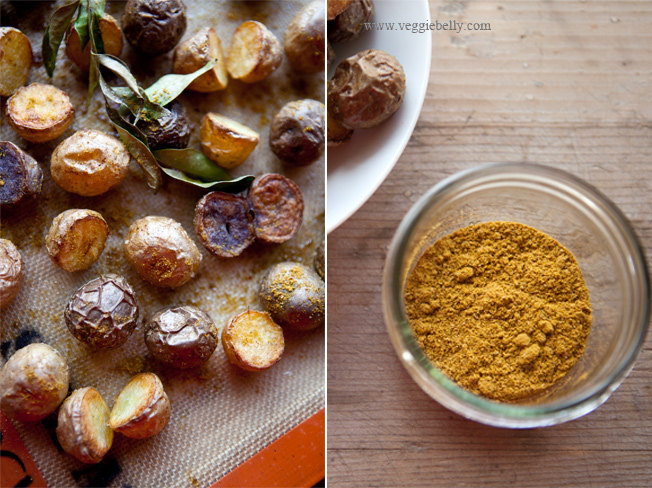
Baby potatoes + butter + curry powder = YUM, right?! Heres whats even better – this recipe is my guest post for the incredibly talented Prerna of Indian Simmer blog! Go over to her blog to see my recipe for these butter roasted masala potatoes. And make sure you hang around there and check out her mouth watering Indian recipes and gorgeous photography.

Prerna is a good friend, and I can tell you from first hand experience that her food is drool worthy! I still think of the rajma and paneer she fed me several months ago! For even more delicousness from Prerna, check out her brand new book, The Everything Indian Slow Cooker Cookbook

Related Posts with Thumbnails