Protein-Packed Quinoa Egg and Kale Scramble

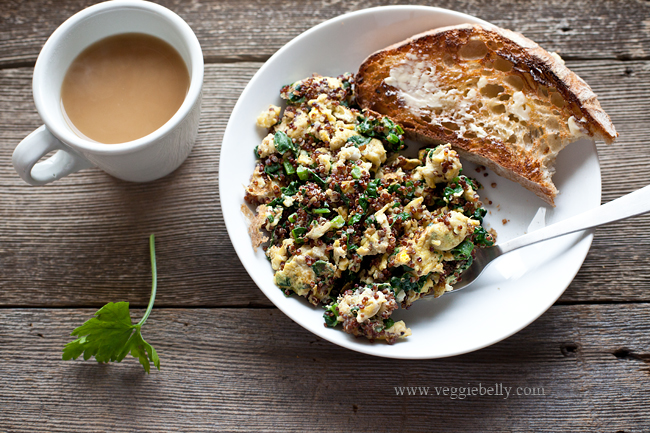
Try this quinoa, egg and kale scramble if you want to start your mornings with a filling, protein packed, yummy breakfast. There is at least 11 grams of protein per serving in this dish, thanks to all the quinoa. And who says eggs are only for breakfast?! Make this scramble and put it between bread slices for a delicious lunch, or whip up this recipe for a fast dinner.

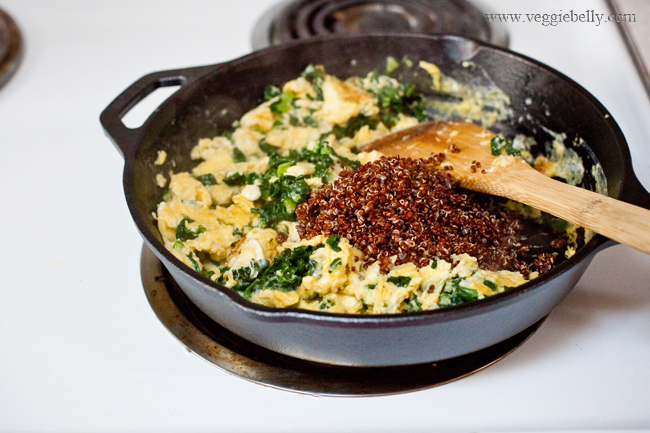
eggs and kale for scramble

If you have cooked quinoa on had, this recipe takes just a few minutes to make. I like using red quinoa because it looks jeweled and beautiful against the scrambled eggs. But white quinoa will work just fine. I added dried oregano to the scramble, but feel free to add any kind of seasoning you like. Dried herbs, chipotle peppers, tabasco sauce, curry powder will all be great seasonings for this quinoa and egg scramble.

Quinoa, Egg and Kale Scramble Recipe

serves 3-4

Ingredients
2 tablespoons butter or olive oil
2 cups shredded kale
6 large eggs
2 tablespoons milk
1/2 teaspoon dried oregano or Italian seasoning
1/2 teaspoon garlic powder, optional
1/2 cup cooked quinoa
Salt & Pepper

 Method
1.Heat the butter or oil in a skillet. Add kale and stir just until it turns bright green, about 30 seconds.
2. In a bowl, whisk the eggs, milk, salt, pepper, and oregano and garlic powder together.
3. Pour the eggs over the kale, and stir. Let the eggs cook on medium heat till the bottom is starting to set.
4. Add the quinoa, and scramble the eggs till they set, but are still soft.
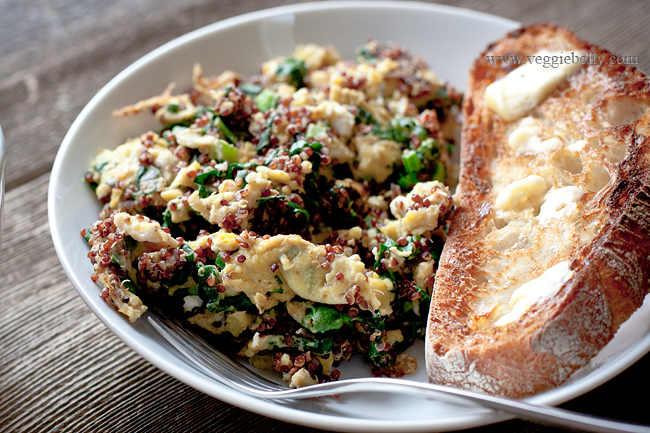
Serve with toast.

Quick Healthy Tomato Soup & An Ayurvedic Retreat in Kerala

Hello everyone! Sorry I’ve been missing for a while! Offline, non-blog stuff took over. But I’m back now and have  an irresistible line up of vegetarian recipes for you this year!

I’m in Kerala, India right now, on an Ayurvedic retreat. Its something I do once every two years or so, and there is no better place for this all natural detox, than the beautiful state of Kerala! My daily schedule here includes yoga twice a day, meditation, chanting, two Ayurvedic massages, and cooking class.

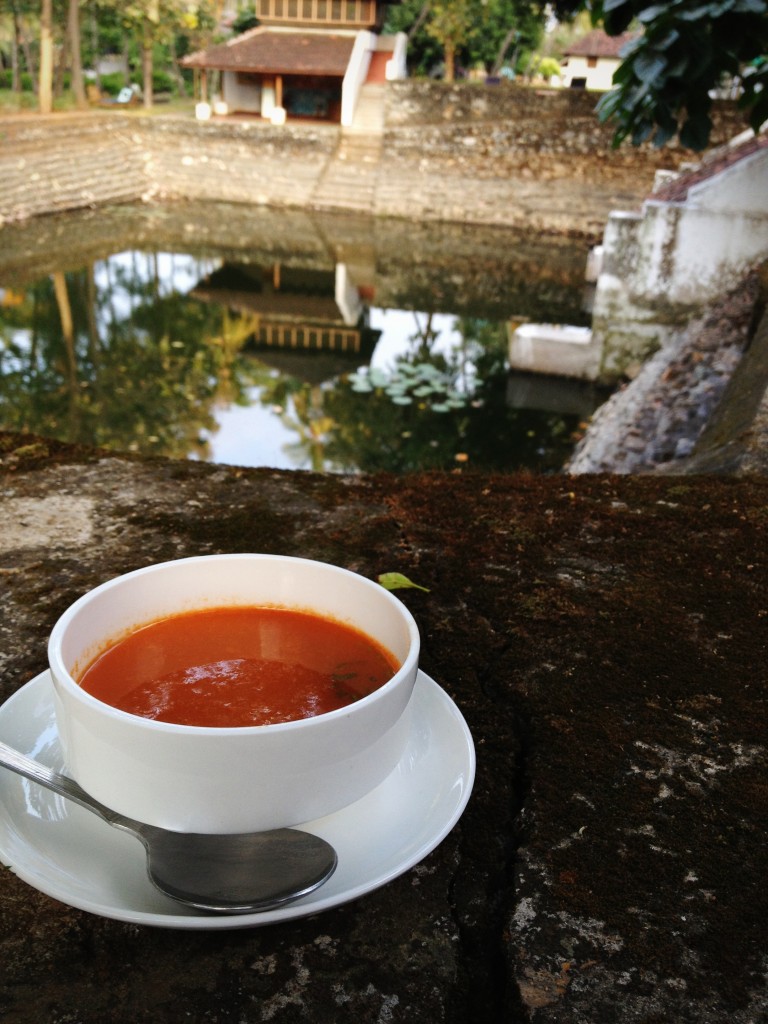
Above is the main building of Kalari Kovilakom, the Ayurvedic center I’m staying at. A beautiful, serene place with lotus ponds, a temple, and the nicest staff. The food here is fantastic and all vegetarian. Its all personalized and cooked according to each person’s Ayurvedic dosha (constitution). And the chef Nishant is ever so willing to share his simple, healthy recipes. 

The dining room..

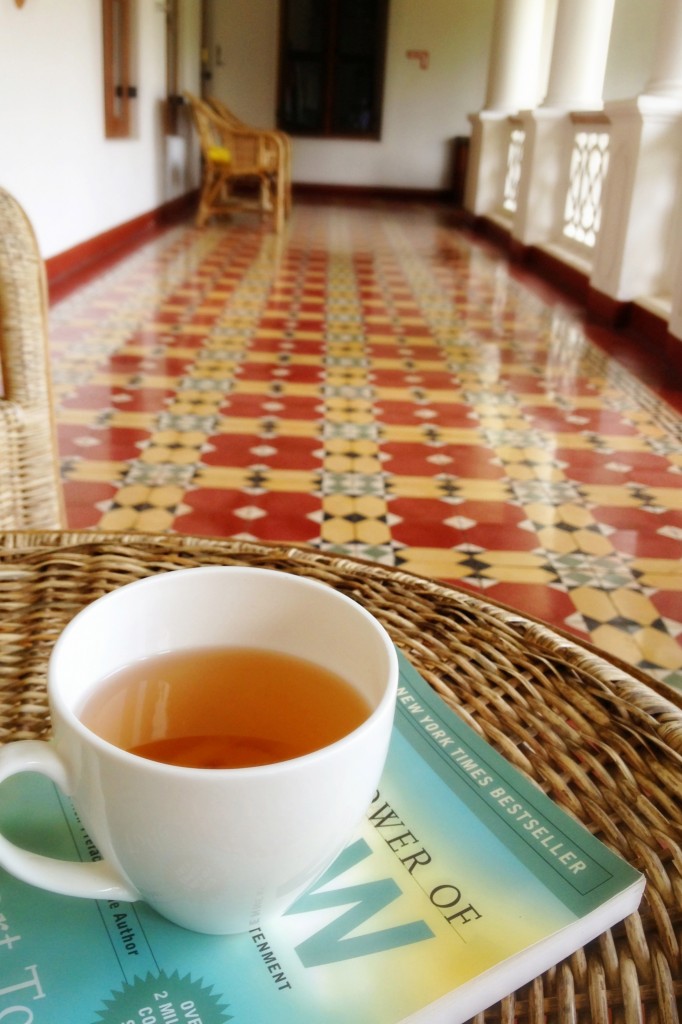
Whem I’m not doing yoga, meditation, getting massaged or hanging out in the Ayurvedic kitchen, I sit outside my room and catch up on reading. There is no tea or coffee here. Instead everyone gets herbal tea. This one is kapha tea, made with boiling water and powdered cinnamon, cardamom and long pepper.

I love sitting by the pond in the evenings..

..and feeding the fish!

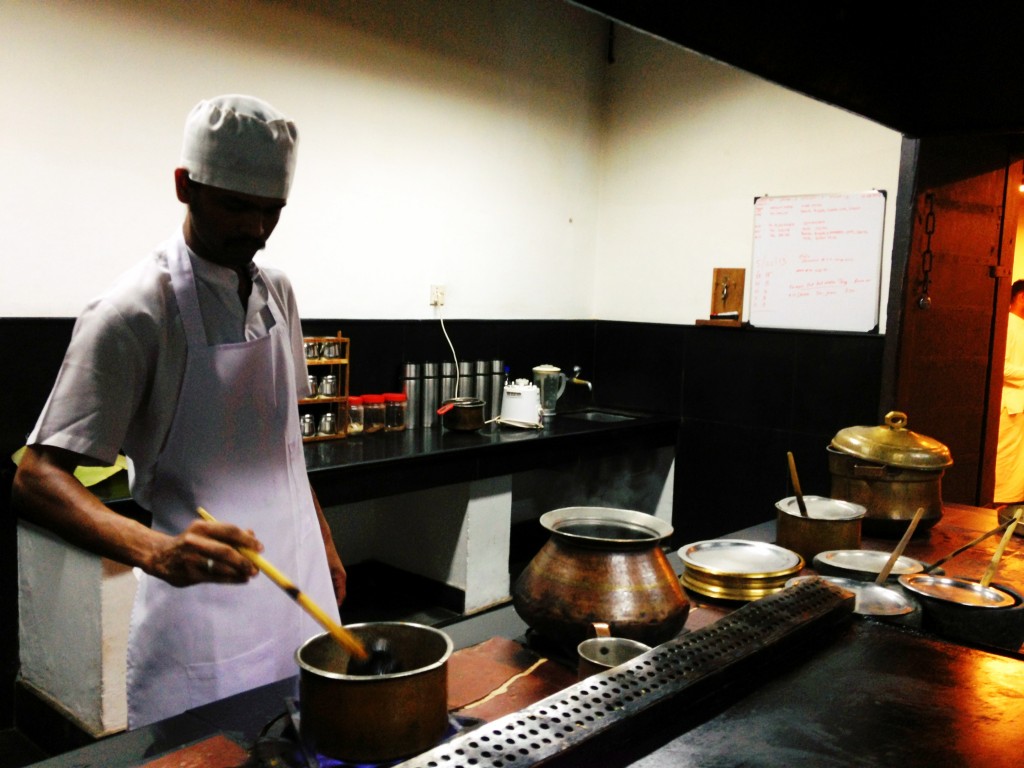
This is the center’s Ayurvedic kitchen. They use traditional cooking vessels made of brass, wood and stone. And im telling you, it makes a huge difference in the taste!
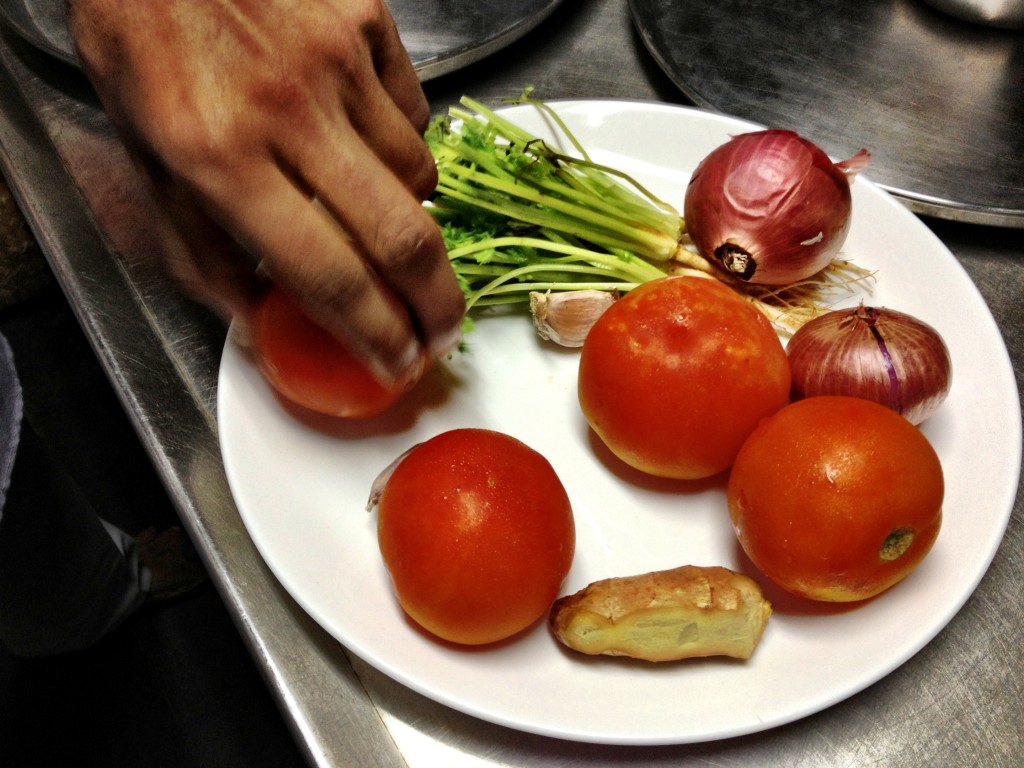
These are the ingredients for this easy tomato soup. (All the vegetables here come from an organic farm..)

Here is is how chef Nishant makes his simple, healthy, ayurvedic tomato soup. I was blown away by the simplicity of it! And there isn’t a drop of oil in it!
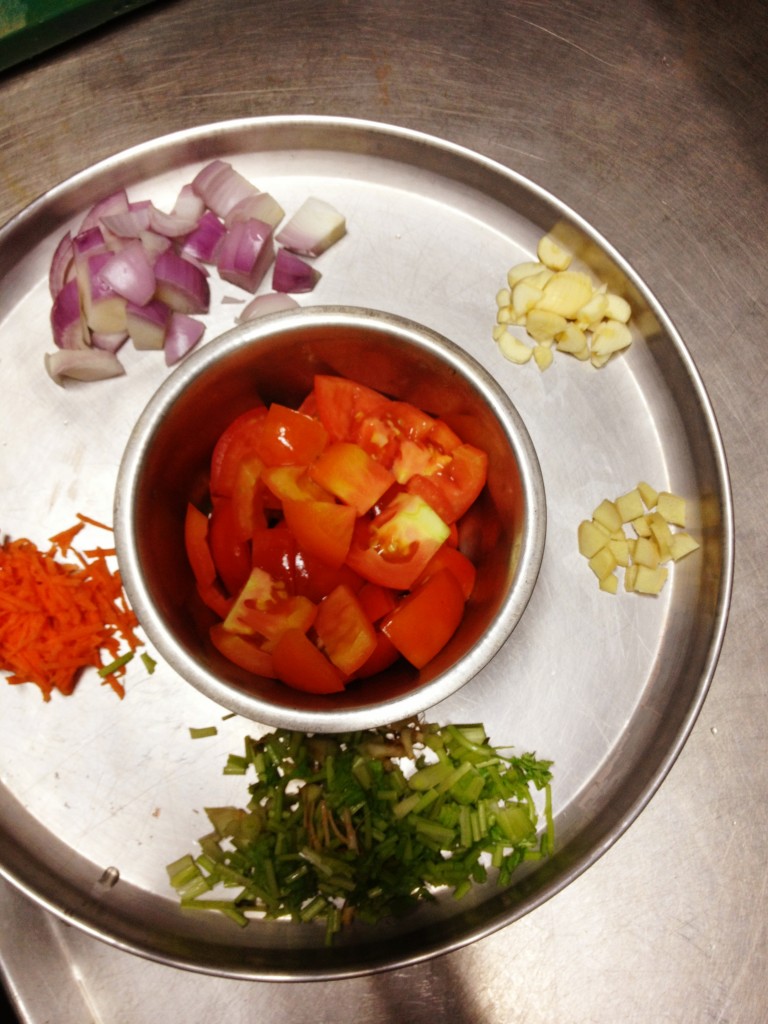
Chop tomatoes, onion, garlic, ginger, carrots and cilantro root. Yes, the root. Cilantro root has a great flavor, so dont throw it away when you buy a bunch! Its perfect in this soup. And the carrot adds some sweetness to the soup, which is a nice counter point to the tangy tomatoes
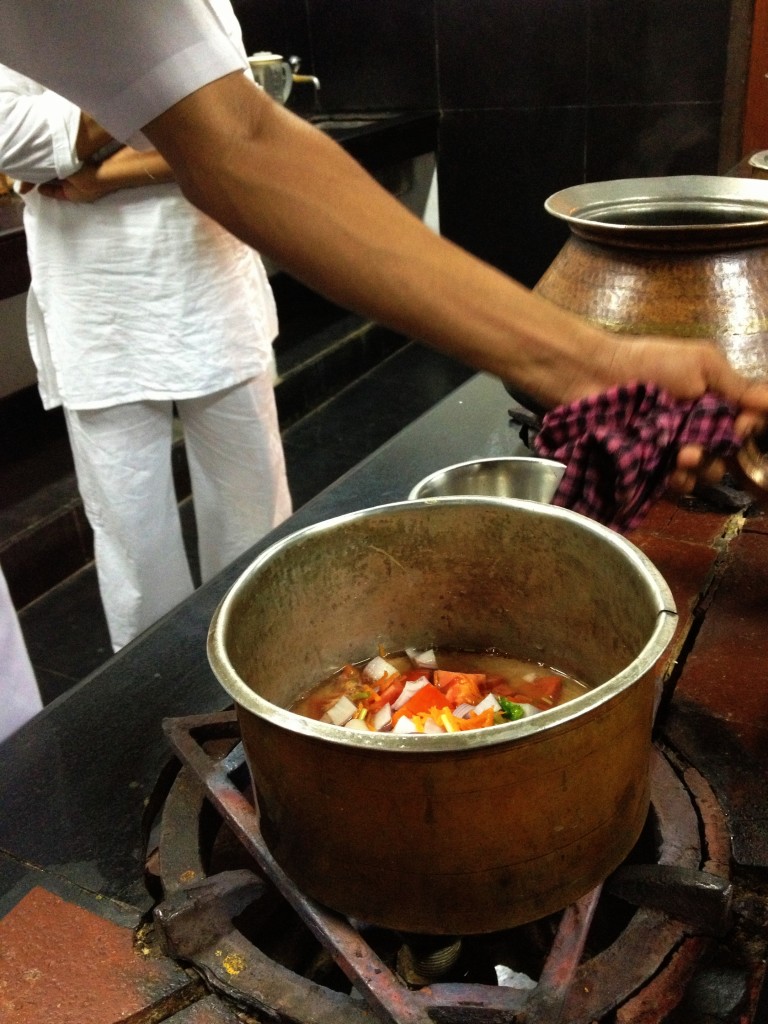
Throw all the vegetables and some water into a pot with salt.
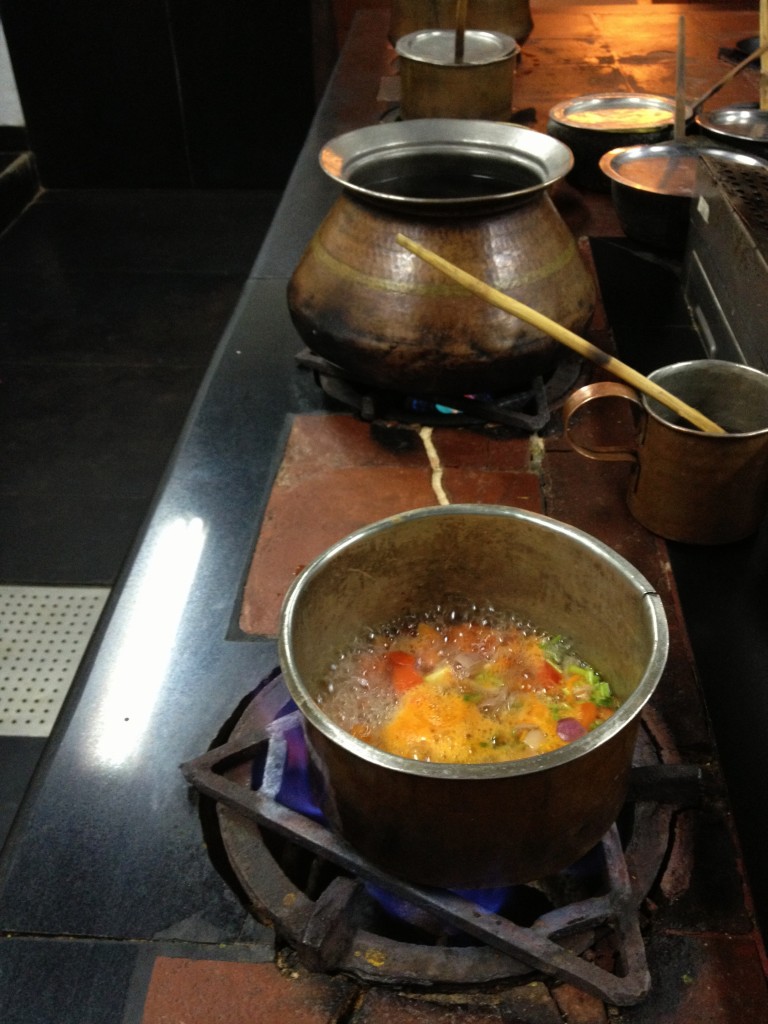
Boil till the tomatoes are soft. Then blend the soup.
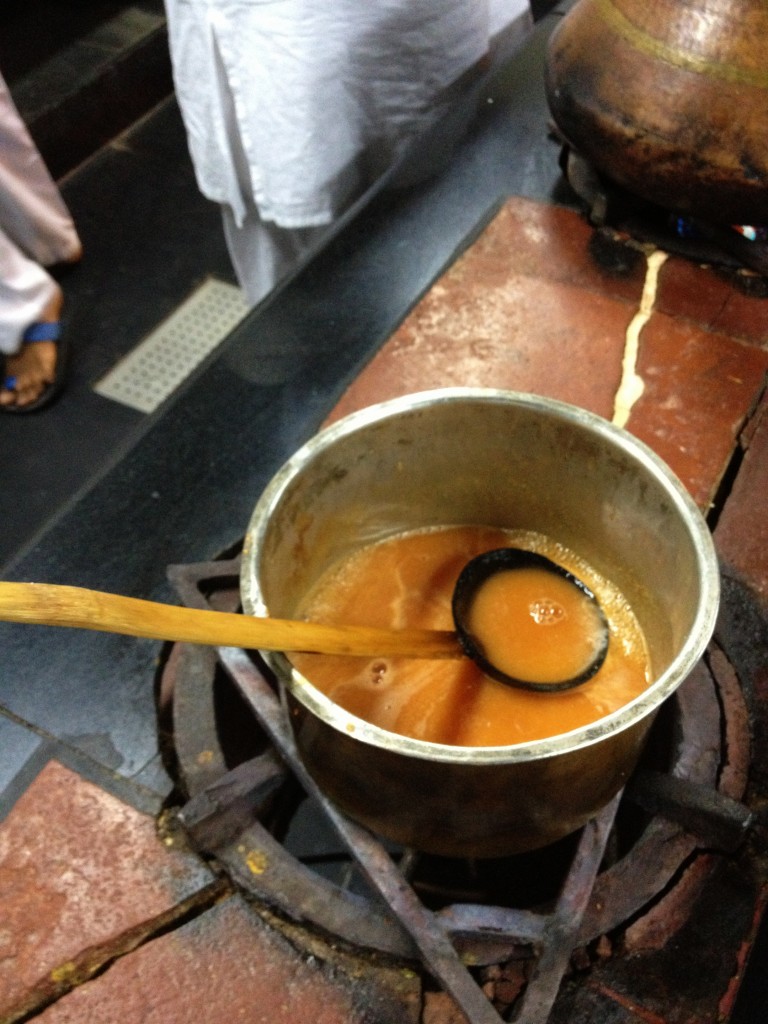
Strain the soup. Return it to the pot and bring to a boil. Adjust salt if needed. Thats it!
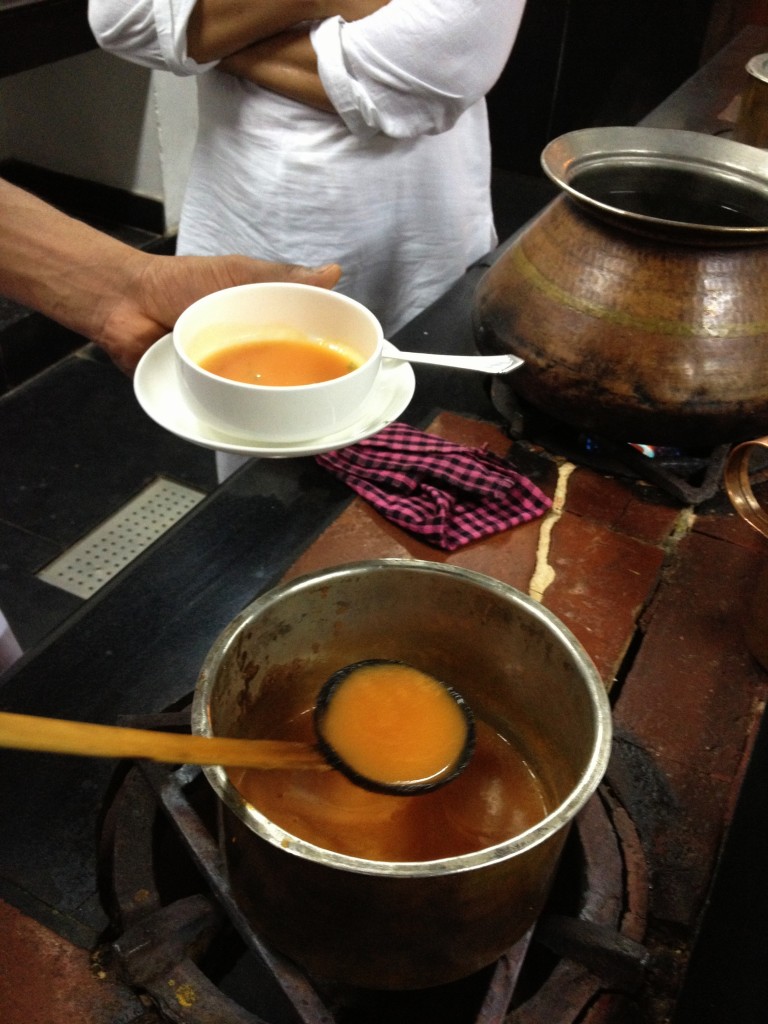
This delicious, super easy, no-oil tomato soup is ready to serve! Needless to say, garnish with cilantro!
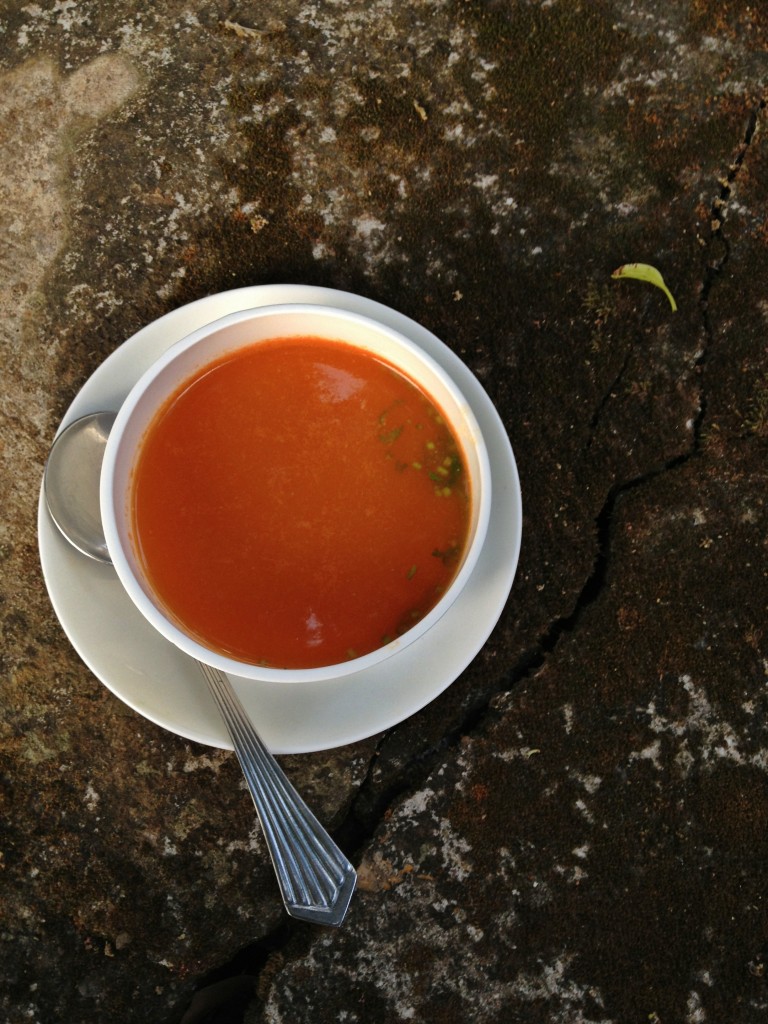
Here are some healthy, equally tasty variations to this soup. Keep everything the same, and just switch out the carrots and tomatoes:

Carrot soup – 3 chopped medium carrots, plus half a tomato

Spinach soup – 3 cups fresh spinach

Beet soup – 3 small beets peeled and chopped, plus 1 tomato

Quick, Healthy Tomato Soup Recipe

serves about 2

Ingredients

3-4 medium tomatoes, chopped

1/4 cup grated carrot

1/2 medium red onion, chopped

2 garlic cloves, chopped

1/2 teaspoon chopped ginger

4 cilantro roots, chopped. Substitute with leaves and stems.

Method

1. Place all ingredients in a saucepan, along with salt and enough water to cover the vegetables, about 3 cups.

2. Bring to a boil, and continue to boil till the tomatoes are soft.

3. Let it cool a little, and blend into a liquid. Pass the soup through a strainer, pushing out all the liquid, using a wooden spoon.

4. Return the soup to the saucepan. If its too thick, add some water. Bring back to a boil. As soon as it boils, turn off heat, adjust salt if needed, and serve hot, garnished with chopped cilantro.

White Bean and Porcini Mushroom Soup

Dried porcini mushrooms are a beautiful thing. They have a meaty flavor, and a deep umami taste. Boil dried porcinis in water, and you have yourself the best vegetarian substitute for beef broth.  I always rehydrate extra porcinis, and freeze the stock in ice cube trays. This way I always have a flavorful stock on hand for soups.

Try to buy local porcini mushrooms if you can; they will be cheaper than the imported ones. And remember, fresh porcinis are not the same as the dried ones. Dried porcini mushrooms have a lovely, depth of taste that the fresh ones simply don’t have.

Because dried mushrooms vary in size, its best to weigh them (cup measurements wont work). In case you are in the market for a great kitchen scale, Escali scales are great.

I like to soak and cook my own beans. It’s healthier, cheaper and tastier. Soak beans overnight in water, and drain. Then cover them with fresh water, and bring to a boil. Cover with a lid, and let the beans simmer till done – about 1 to 1 ½ hours. Then drain. I know this sounds like a long time, but you don’t have to baby sit the beans, they pretty much take care of themselves. You can cook any kind of bean this way and save it in the fridge for several days to use in soups, salads, chili etc.

White beans like cannellini or navy are so silky and creamy when cooked, you really dont need to add any milk or cream to this. So this white bean and porcini soup is vegan. However, if you want to make this soup richer and creamier, just add 1/4 cup heavy cream right at the end.

White Bean and Porcini Mushroom Soup Recipe

serves about 4

Ingredients
1 cup dried white beans (cannellini or navy beans)
2 tablespoons olive oil
1 sprig of fresh rosemary
1 small onion, diced
2 cloves of garlic, chopped
¼ cup dry white wine, optional
1 oz dried porcini mushrooms

Method
Soak the dried white beans overnight in water. Then drain them.

In a medium sauce pan, heat the olive oil, and cook the onions on low heat till they are translucent. Don’t let the onions brown. Then add the garlic, rosemary, cracked black pepper, and salt. Cook 30 seconds, or till the garlic is fragrant. Don’t let the garlic brown.

Pour in white wine if using, increase heat to medium-high and let the wine bubble away, till most of it evaporates.

Then add the beans, and 4 cups of water. Bring the soup to a rolling boil on high heat. Then reduce heat to a simmer, cover the pan with a lid, and let the soup simmer till the beans are very soft – about 1 to 1.5 hour.

While the beans are cooking, rehydrate the mushrooms.

Boil 3 cup water in a medium saucepan. When the water boils, add the dried porcinis to the water. Reduce heat to medium or medium-low. Cover the pan, and let it simmer gently for about 20 minutes or till the mushrooms are rehydrated and soft. The mushrooms are done when you prick them with a fork, and they feel soft. If the mushrooms feel leathery, tough or hard, they need to cook more.

Depending on the size of the mushrooms, this may take more or less time, so check on the mushrooms periodically.

Turn off heat, and let the mushrooms sit in the stock for about 10 minutes. This will allow the sandy sediments to settle in the bottom of the pan. Using a slotted spoon, carefully remove the rehydrated porcinis from the liquid. Using a wooden spoon, press on the mushrooms to squeeze out some of the water back into the pan. Reserve the mushrooms.

When the sediment has settled to the bottom of the pan, pour the mushroom cooking liquid into a measuring cup. Do not use the sediment at the bottom. Measure out 2 cups of mushroom stock. Reserve this stock.

When the beans are cooked, add the rehydrated mushrooms, and the mushroom stock and boil for 1 more minute. Turn off heat. If you want a richer soup, add ¼ cup of heavy cream at this point.

Using an immersion blender, puree the soup till it is smooth. You can also use a blender or food processor to puree the soup.
Remember to vent the lid a little when blending hot liquids.

Garnish with chopped rosemary, and a drizzle of olive oil, and serve soup with crusty bread.

Laila’s Arabic Lentil Soup

Have you entered the Herbivoracious cookbook giveaway yet? You only have 2 days left to win Michael Natkin’s brand new vegetarian cookbook, Herbivoracious! Click here to enter the giveaway!

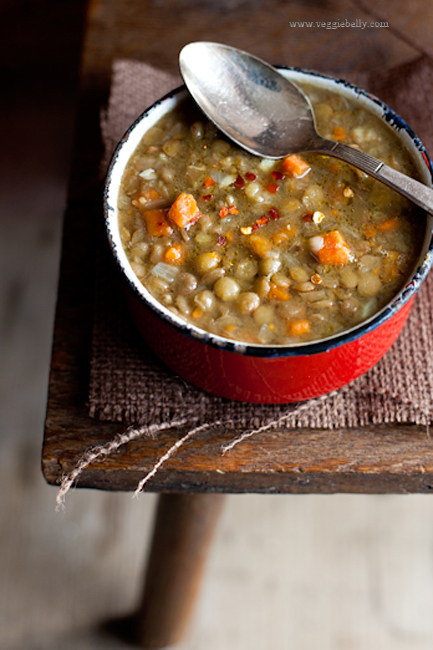
Now on to Laila’s delicious Arabic lentil soup recipe! I was in Bethlehem a few months ago, staying with a Palestinian family. (You can read all about my adventures here!) Laila, my wonderful host taught me how to make this simple, easy Arabic lentil soup. When I first tasted it, I had no idea how easy it is to make. And I was surprised that cumin is the only spice in this soup recipe! And guess what, cumin is all this soup needs. No need for any other funky, fancy flavors. The smokiness of cumin with the earthy lentils work very well together. Laila’s soup is a beautiful example of how simple is sometimes the best.

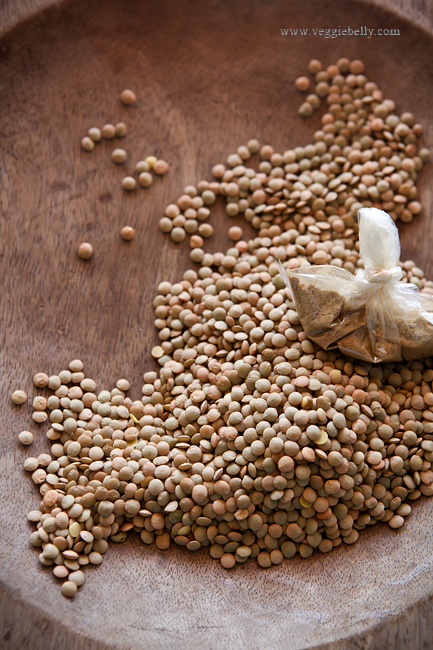
Laila used brown lentils. I used green lentils (pictured above) because I had some left over from making my dal fry mix in a jar for the holidays. You can use either brown or green, but keep in mind that cooking times may vary.

Laila served her soup simple and unadorned. And that’s what I’ve done here too. But if you like, you can garnish your soup with chopped parsley, cilantro, chili flakes or shredded cheese. To make a complete meal out of this soup, serve it with some crusty bread or pita.

Laila’s Arabic Lentil Soup Recipe

serves about 2

Ingredients
1 tablespoon olive oil
1 small onion, peeled and diced finely (1/2 cup when diced)
1 medium carrot, peeled and diced (1/2 cup when diced)
1-2 cloves of garlic, peeled and chopped
½ heaping cup dried green or brown lentils
½ teaspoon ground cumin
Salt to taste

Method
Heat olive oil in a medium heavy bottom sauce pan. Add the diced onions and cook on medium heat till soft and translucent.

Then add carrot and garlic and sauté till garlic is fragrant, about 30 seconds.

Now add the lentils and cumin and stir for 10 seconds.

Pour in 3 cups of water. Bring to a boil. Then reduce heat to simmer, cover the pan, and cook till the lentils are soft. This will take about 30 minutes.

If the soup needs more water while cooking, add more water one cup at a time, letting the soup come to a boil after each addition of water. (I used a total of 5 cups of water). How much water you need, will depend on how thick you like your soup, the lentils you are using and also the type of pot you are using. Just add the extra water one cup at a time till you get the desired consistency. And remember, the soup will thicken up when you mash the lentils.

When the lentils are done, they should be cooked and soft but should still be holding their shape.

At this point, turn off the heat. Using a potato masher, mash some of the lentils. I like to mash a third of the lentils, and leave the rest unmashed. If you want a smoother and thicker consistency, simply mash up more of the lentils.

Serve hot garnished with chopped cilantro or parsley or red chili flakes and some crusty bread or pita on the side.

Spinach Mushroom Soup & How to Keep Spinach Green While Cooking

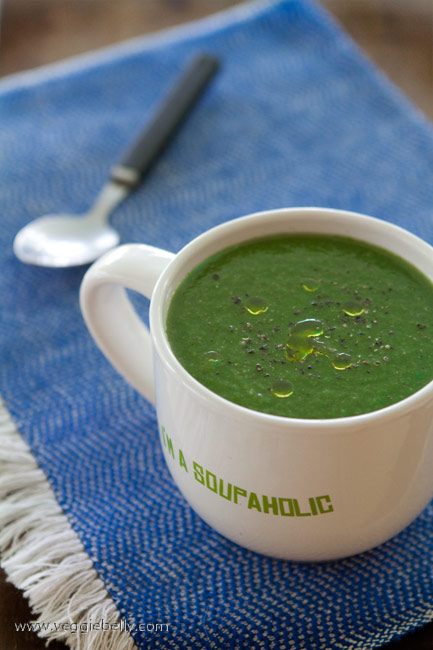
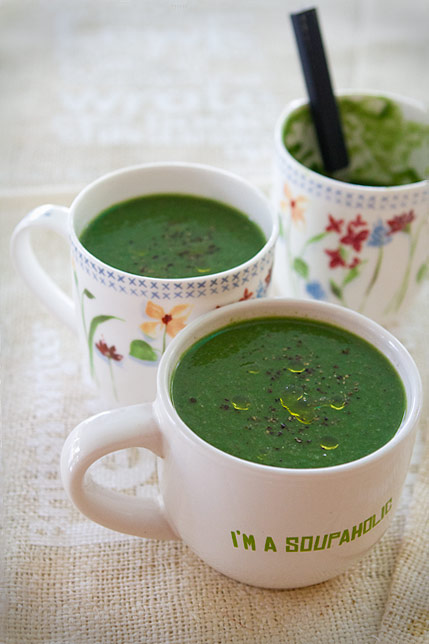
This easy spinach and mushroom soup makes me feel good that I’m eating my vegetables. It’s packed with lots of fresh spinach and the great umami flavor of mushrooms. I allow myself a little butter in this recipe; but you can use olive oil instead and make it a vegan soup.

When I make pureed spinach dishes like this soup or palak paneer (Indian spinach curry with cheese), I like my spinach to remain green. But cooking spinach will turn it a dark color. The solution is easy. Add a pinch of baking soda when cooking spinach in water – it will help retain its green color. And don’t overcook the spinach.

Spinach Mushroom Soup Recipe

Serves about 3

Ingredients
2 tablespoons butter
1/4 cup chopped onions
3 garlic cloves, peeled
1 cup peeled, diced potatoes
3 cups tightly packed fresh, tender spinach leaves
½ teaspoon dried oregano
A pinch of baking soda, optional
10 large button mushroom caps
Salt & freshly ground black pepper

Method
Heat a medium, heavy bottom sauce pan with the butter. Add onions, and sauté on medium heat till translucent.  Add the garlic cloves and cook 30 seconds or till the garlic is fragrant.

Add the mushrooms and sauté on medium heat till they brown a little, about 5 minutes. Then add the potatoes, a pinch of salt and 4 cups water. Bring to a boil. Then reduce heat and simmer till the potato cubes are cooked.

Add washed spinach leaves, oregano and salt to the pot (keeping mind you’ve already added a little salt to the soup in the previous stage). Immediately add a pinch of baking soda to the spinach; this will keep the spinach green when cooking; but this step is optional.

Boil for about 1 minute or till the spinach is wilted.

Turn off the heat. Using a hand/immersion blender, puree the soup till smooth. If you don’t have an immersion blender, pour the soup into a regular blender and carefully puree. If the soup is too thick, add ½ cup water and blend again.

Serve warm, with a sprinkle of freshly ground black pepper.

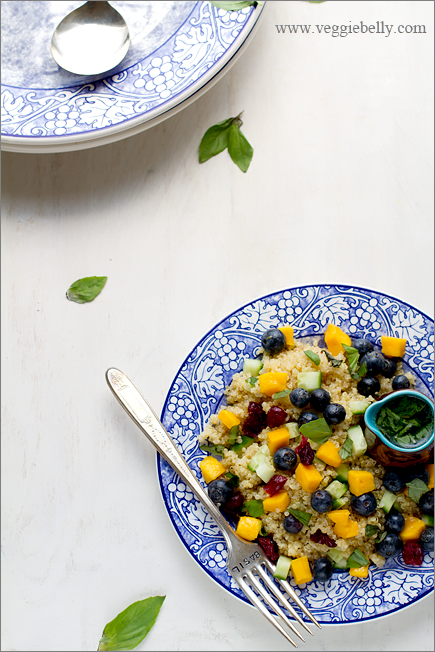
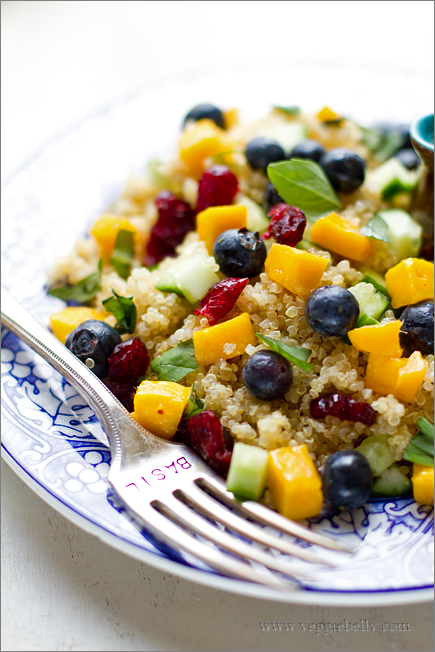
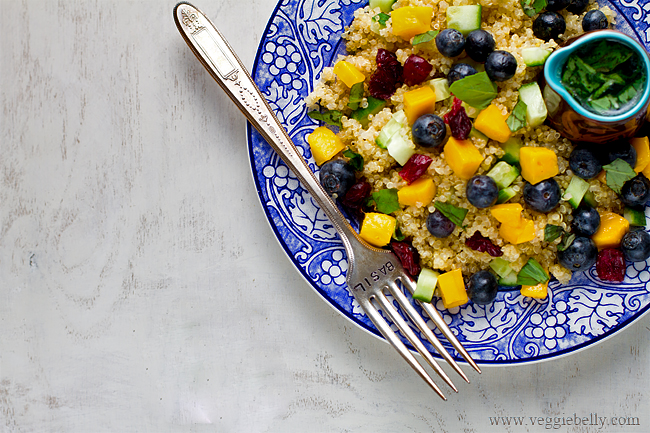
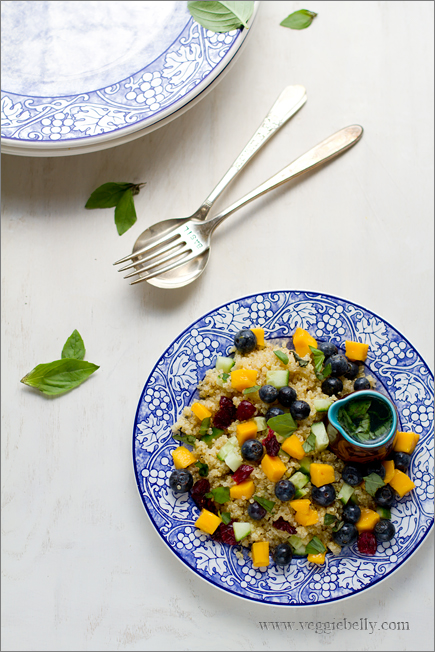
Mango Blueberry Quinoa Salad with Lemon Basil Dressing Recipe

My sister regularly gets this blueberry mango quinoa salad with lemon basil dressing at the Marks and Spencer grocery store in UK. She also regularly raves about it to me. She says it’s the perfect healthy salad for summer – fruity, tangy, fresh and filling.

Marks and Spencer’s version of this salad has quinoa, barley, red rice, sprouts, mango, blueberry, and cucumbers. I simplified it a bit, and used only quinoa plus the fruits and cucumber.

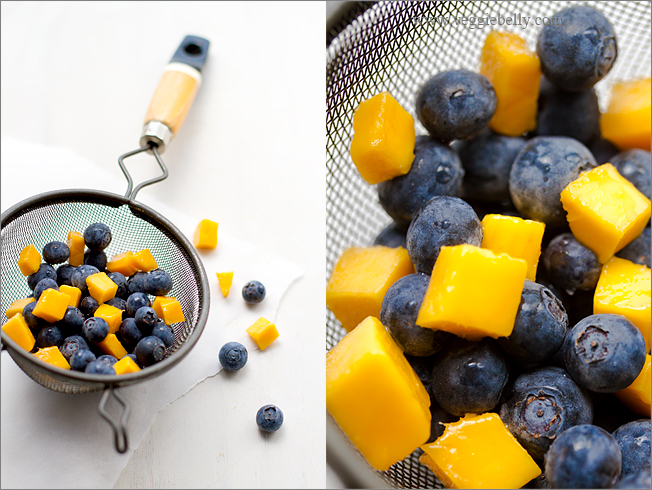
Cut the cucumber and mango about the same size as the blueberries, so everything looks uniform. Add the fruits to the salad just before serving to ensure they are fresh and juicy. This salad recipe has as much fruits and vegetable as there is quinoa. If you want it less fruity just use less fruits or more quinoa.

The dressing recipe here will make a little more than you need. Toss  half the dressing with the quinoa. Serve the other half on the side – this always pleases the people who like their salads extra tangy!

You can customize this blueberry mango quinoa salad recipe any way you like. Here are some suggestions to add to this recipe if you want some variations:

-          Cooked chickpeas
-          Any kind of sprouts
-          Walnuts
-          Cubed jicama
-          Cubed carrot
-          Fresh mint

Here is another recipe for blueberry mango quinoa salad with lemon basil dressing ala Marks and Spencer from foodwired

Blueberry Mango Quinoa Salad with Lemon Basil Dressing Recipe

Serves about 2

For the quinoa
1/2 cup quinoa
1 cup water

For the fruits and veggies
½ cup fresh blueberries
½ cup cubed ripe mangoes
½ cup cubed cucumbers
1/2 tablespoon dried cranberries

For the lemon basil dressing
1½ tablespoons extra virgin olive oil
2 tablespoons lemon juice
1/4 teaspoon lemon zest
10 Basil leaves, chopped finely
Salt and pepper

Place the quinoa and water in a medium skillet and bring to a boil. Then reduce heat, and simmer covered for about 15 minutes or till the quinoa is cooked. Remove the lid, and fluff the quinoa with a fork. Let it cool to room temperature.

While the quinoa is cooking, combine the fruits in a bowl and refrigerate till you are ready to serve the salad.

Whisk together all the dressing ingredients, except the chopped basil. Refrigerate till you are ready to serve. Chop and add the basil to the dressing just before serving. If you add it earlier, it will go black.

Add half the dressing to the quinoa and mix gently.

Assemble the salad just before serving – toss the quinoa, fruits and cucumbers together. Serve other half of the dressing on the side. Serve  immediately.

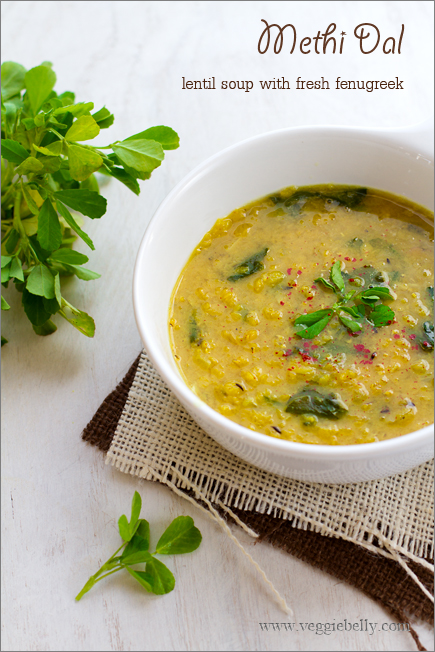
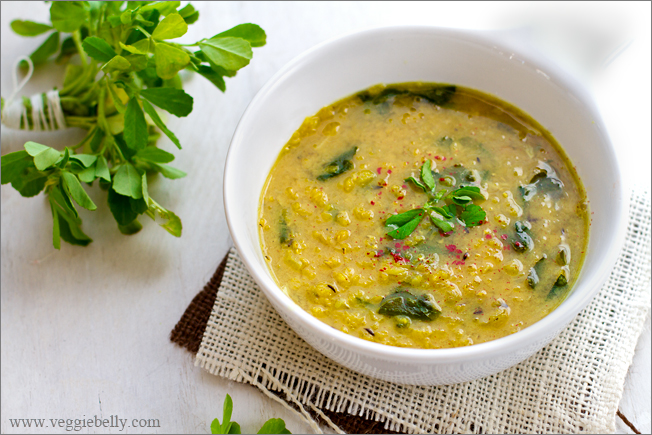
Methi Dal or Indian Lentil Soup with Fenugreek – A guest post on Herbivoracious

My recipe for this lovely, healthy, homely methi dal comes to you in the form of a guest post on Michael Natkin’s blog, Herbivoracious. I was so honored when Micheal asked me to guest post for him! I’m a huge fan of Herbivoracious, and have been following his amazing vegetarian recipes and techniques for years. I cant wait for Michael’s first book to come out!

Head on over to Herboviracious and read my guest post, a Methi Dal (Indian Lentil Soup with Fenugreek) recipe.

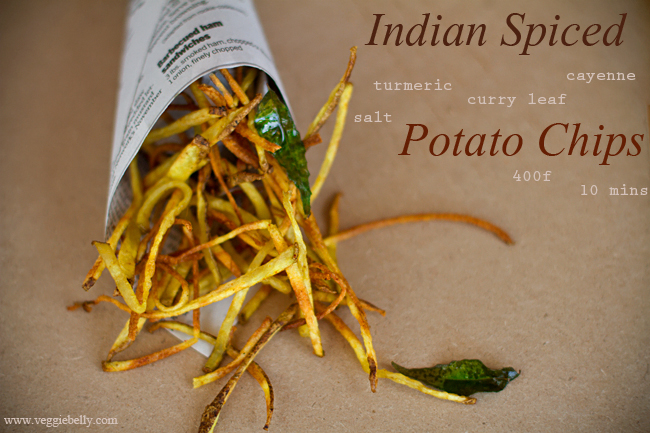
Indian Spiced Potato Chip Sticks. Baked, not Fried!

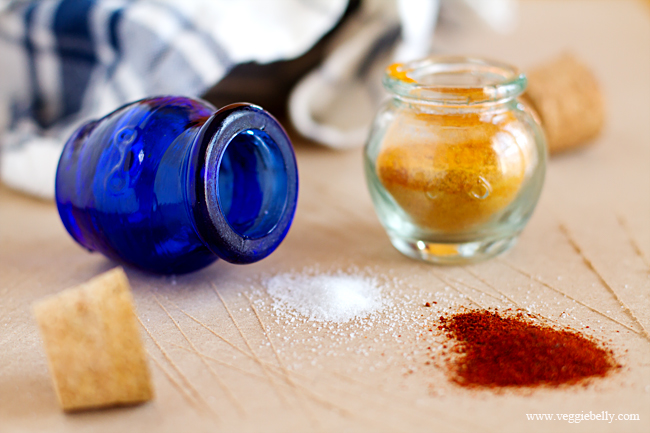
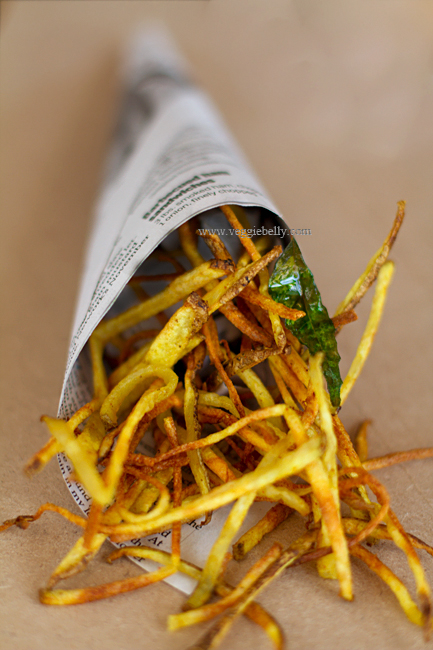
I love how simple this oven/microwave baked potato chips recipe is. All you do is cut a russet potato into think sticks, toss it in oil, salt, cayenne or chilli powder, and turmeric. Add a fer curry leaves for aroma. Bake or microwave. Yes, I said microwave! So much easier and healthier than deep fried potato chips!

You could spice up the potato chip sticks in many ways; I love the turmeric, chilli powder or cayenne powder, curry leaf combination. The curry leaves get crispy and so fragrant

Serve Indian spiced potato chips as a side or a snack, in a newspaper cone. They go well with my brown rice and black bean  burgers.

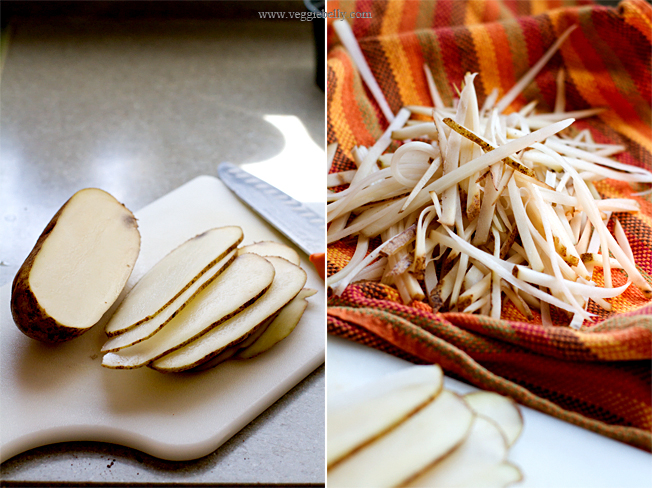
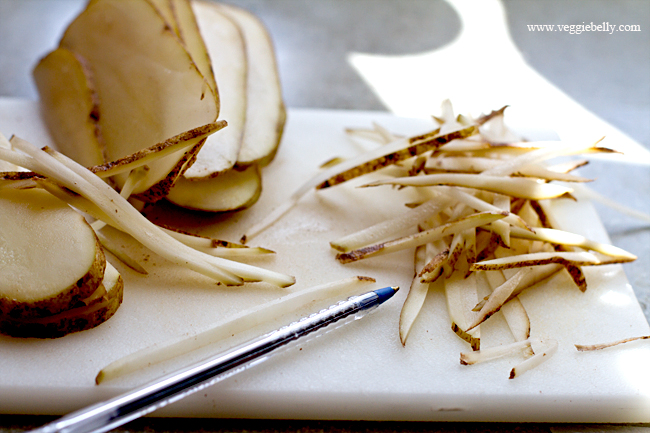
Cut the potato sticks really thin, this way they bake very quickly in the oven. Use either a mandoline or a large sharp chef’s knife to cut the potatoes into 1/8th inch slices. Stack up the slices and cut them into thin sticks. The sticks should be thinner than a pen or french fry.

More oven baked or microwaved potato chip recipes
Martha Stewart’s baked potato chips recipe
Oven fried potato chips recipe  on Simply Recipes
Spicy baked potato chips recipe on Chow vegan
5-spice potato chips recipe on the Hungry Mouse
Uncle Bill’s microwave potato chip recipe  on Food.com
Microwave potato chips recipe  on Eating well
Homemade microwave potato chips recipe  on Sweet Savory Life

Indian Spiced Baked Potato Chip Sticks Recipe

serves about 2

1 large russet potato (about 10 oz)
1 tablespoon vegetable oil or ghee
¼ teaspoon ground turmeric
¼ teaspoon or to taste chili powder pr cayenne powder
10 curry leaves
1/2 teaspoon salt

Wash and dry the potato. Peel the potato if you like. I leave the skin on because I like the texture of potato skin in my chips.

Slice the potato into 1/8th inch thick slices lengthwise using a mandoline or a large, sharp knife. Stack up the slices, and cut them lengthwise to form thin sticks, about 1/4th the thickness of a French fry.

Place the potato sticks on a kitchen towel, and gently pat dry.

In a bowl, whisk together the ghee or melted butter or oil, turmeric, chili powder, curry leaves and salt. Add the potato sticks to the bowl and toss well. Now follow one of the below methods.

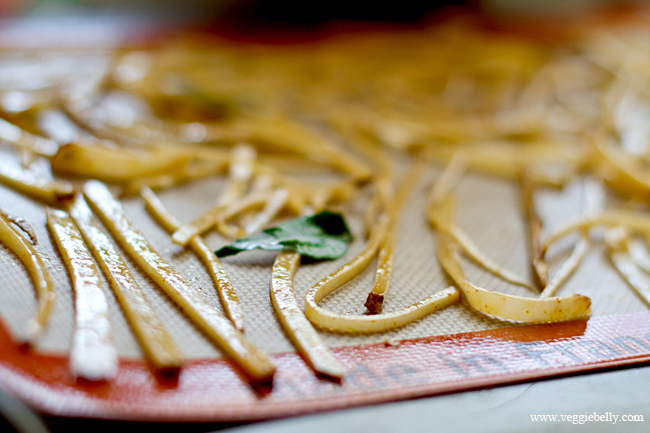
Oven method – pre-heat oven to 400f. Place the seasoned potato sticks on a non-stick baking sheet or a regular baking sheet lined with parchment paper or silicone non-stick mat. Spread the potato sticks so that they are in a single layer and don’t overlap. You may need to do this in batches. Make sure they are in a single layer, this is what makes them crisp! Bake for 10 minutes or till the chips are golden and crisp. Halfway through baking, check on the chips, and remove any pieces that are already crispy and golden. Rotate the baking sheet and continue baking.

Microwave method – take a microwaveable plate and coat with a few drops of oil. Place the potato chips that have been coated in the turmeric chili ghee/oil. Spead them out into a single layer. You may need to do this in batches. Microwave on high for 2-4 minutes or until the chips are golden and crisp. Cooking time will vary depending on the microwave, so check on the chips periodically.

******************

Are you a fan of Chef Sanjeev Kapoor?

Join me at his book signing event in Washington DC!

Tickets and details are here – http://sanjeevkapoor-indiqueheights.eventbrite.com/

*******************

Related Posts with Thumbnails