Aloo Gobi Tart Recipe

..a guest post by Radhika of Food for 7 Stages

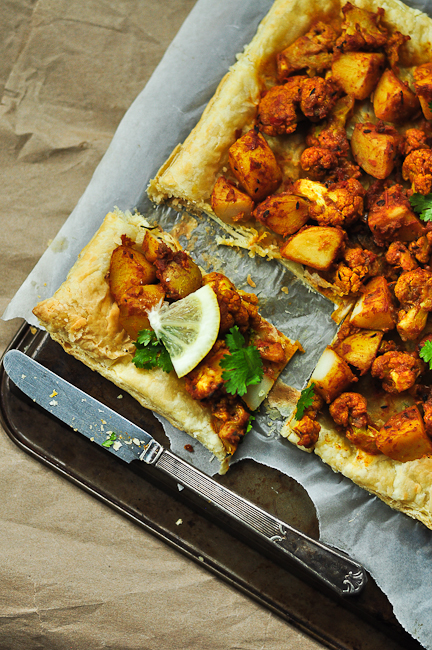
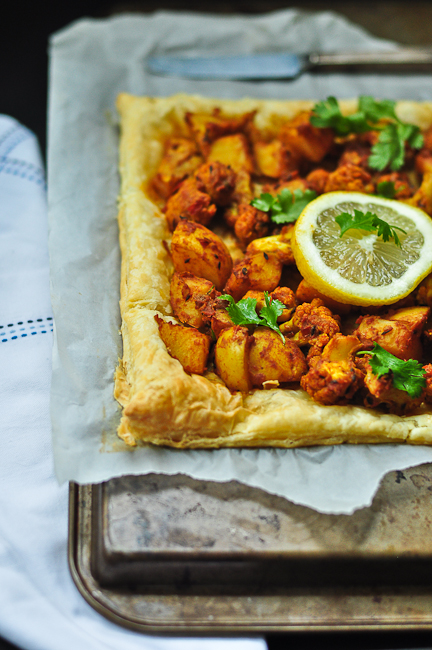
I have been reading Radhika’s mouth watering blog,  Food for 7 stages right since its inception. I am excited to invite her to guest blog today, because her recipe for aloo gobi (Indian potato and cauliflower curry) tart is ingenious. We usually eat al00 gobi with rotis, but radhika puts this classic curry on a puff pastry shell to make it a spicy, decadent meal.

And make sure you read my travel posts, about my vegetarian road trip across america part1 and part2

You need inspiration and then some motivation to pursue a task. When it comes to blogging I draw the inspiration from bloggers like Sala of Veggie Belly. Her eye candy pics, storytelling and her love for traveling makes me feel connected with her though I don’t know her personally. But that is what a good blog and good blogger do to you.

When I came to know that Sala was looking for bloggers to guest post whilst she was traveling across the country, I immediately wrote to her. And she graciously accepted my request to guest post in her beautiful blog. Though it is hard to express my gratitude through words, I thank Sala wholeheartedly for giving me this opportunity to write this guest post in Veggie Belly. 

The tree in front of my home warned us well ahead of time about the changing season. Though I am happy to see those bright orange leaves am not really prepared to face the  aftermath. The thought of unpacking the long forgotten boxes filled with our jackets and winter clothes makes me nervous. I couldn’t believe that one brutal winter can change my love for this season. However, I have to accept the fact and move forward. Before the temperature drops further I have to move all my plants indoor, paint our deck and rearrange my home. Sigh. 
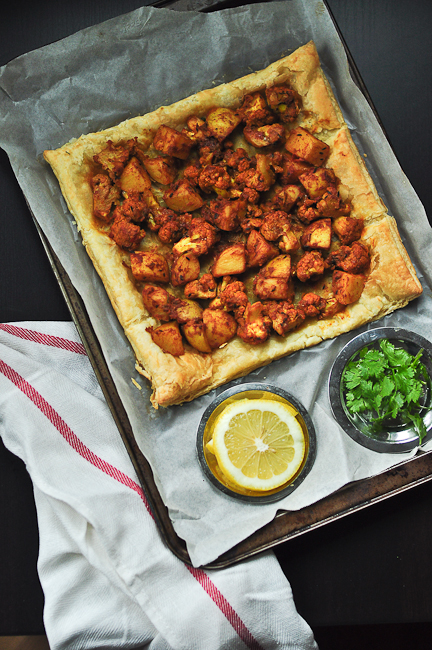
As there is always a blessing in disguise, it is the right time to turn on my oven and get started with baking again. The nip in the air made me crave for something hot yet spicy and I got reminded of the gluten free fusion tart I baked few months ago. Though I was not very happy with the tart crust as the sweetness of almond meal was overpowering the better half seemed to like it. And Aloo Gobhi tart it is. This time I wanted to whip up something real quick and I didn’t have patience to make the tart crust from the scratch. Ding… The idea of using puff pastry popped in my mind and viola I had a delicious savory tart to share it with you all. Flaky buttery crust forms a perfect base for this spiced Aloo Gobhi Masala and I would never think of using another crust recipe. Yumm.
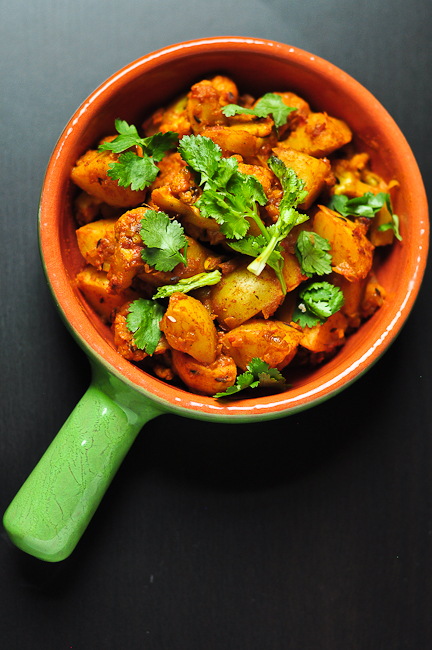
There are very few vegetables that marry well with each other. Cauliflower (Gobi) and Potatoes (Aloo) are the right candidates for this perfect marriage. When these two vegetables are blended together with the right spices they create wonders and Aloo Gobhi is one such popular dish from India. The very thought of combining this popular curry with flaky puff pastry makes me weak at the knees. If you are a savory lover like me, go ahead and make this Aloo Gobi tart. I am sure you will enjoy this fusion savory tart as much as my family did. 

Aloo Gobi Tart Recipe

serves 2-3

Ingredients
2 cup Cauliflower florets
2 Potatoes (medium size)
1/2 teaspoon finely chopped ginger
1/2 cup finely chopped Onion
1/4 cup finely chopped Tomato
3 teaspoon Canola Oil (or any cooking oil)
1/4 teaspoon Cumin Seeds / Jeera
2 Cardamon pods
1/4 teaspoon Turmeric Powder
1/2 teaspoon Chili Powder
1/2 teaspoon Kashmiri Chili Powder or red chili powder
1/2 teaspoon Cumin Powder
1/2 teaspoon Coriander Powder
1/4 teaspoon Garam masala
2 teaspoon Yogurt
2 cup + 4 teaspoon Water
Salt to taste
1 Puff Pastry Sheet (preferably Pepperidge farm), substitute with home made or store bought pie crust
1/4 tablespoon Butter (Optional)
2 tsp Dried fenugreek leaves / Kasuri Methi (Optional)

Method
 Preheat oven to 400 F.

Line a baking tray with wax/parchment paper or foil. Brush it with butter/oil. Place 1 frozen puff pastry sheet on it and allow it to thaw.

Wash cauliflower florets. In a sauce pan, add 2 cup of water, 1/2 tsp salt. Bring it to boil. Turn off and add the cauliflower florets. Let it stand for couple of minutes. This step will cleanse the cauliflower.

In another sauce pan, boil Potatoes until it is 95% cooked (fork tender). I prefer to steam the potatoes. I cut them into equal size chunks and put it in my steamer for 5-6 minutes.

In a wok/kadai, add oil. When it is hot add cumin seeds and allow it to sizzle. Add cardamon, finely chopped ginger. Add onion. Saute until it turns translucent, for 2-3 minutes on medium flame.

Then add tomato, 1/2 tsp salt and saute for another 3 minutes or until it becomes mushy. Add turmeric powder, chili powder, kashmiri chili powder, saute. Add 2-4 tsp water to prevent it from sticking.

Add cumin powder, coriander powder and saute. Add 2 tsp yogurt, potato and cauliflower. Mix well. Adjust salt as per taste.

Then add garam masala, mix and close the kadai with a lid and let it simmer for couple of minutes. This will allow the flavors to marry well. Do not forget to stir in between to avoid sticking to the pan.

Open the lid, if there is any liquid left cook for couple of minutes until the water evaporates. Turn off and allow it to cool.

Place the baking tray in oven and bake the puff pastry sheet for 10 minutes. Remove it from the oven and reduce the temperature to 350 F.

Spread the Aloo Gobhi Masala on the tart. Add few swirls of butter and bake for another 10-15 minutes.

Serve it hot.

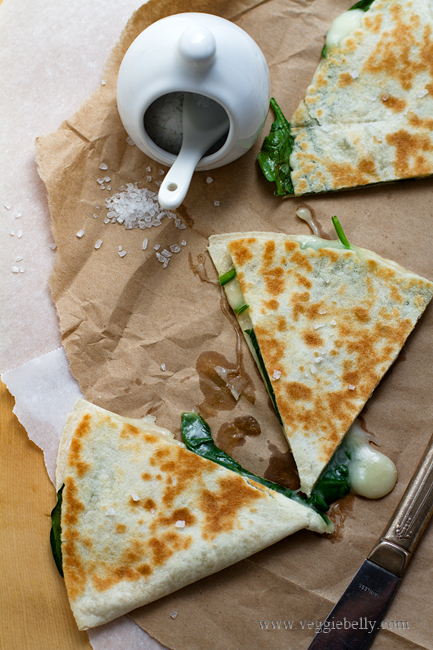
Spinach and Taleggio Cheese Quesadillas. 10 Minutes, 4 Ingredients!

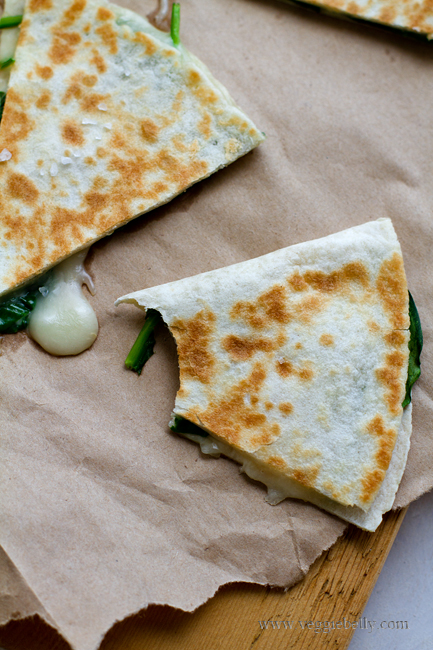
A quesadilla recipe doesnt get simpler than this. Only 10 minutes and 4 ingredients, and I promise you will love this easy cheesy quesadilla!

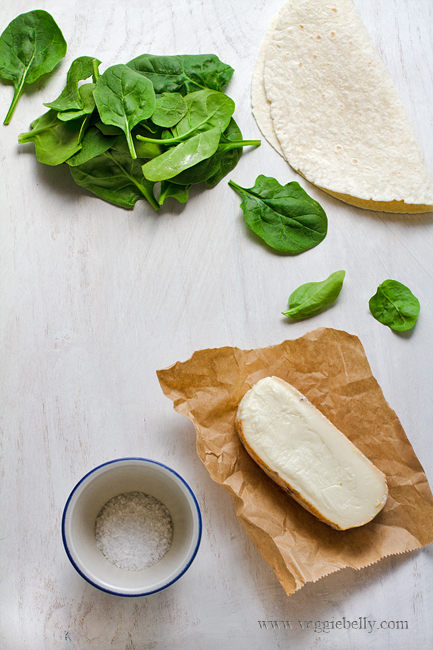
Taleggio is a soft, Italian cows milk cheese. It has a strong fruity smell, but a wonderful mild flavor. You can substitute taleggio with fontina or brie. Since this recipe is simple, and uses very few ingredients, I like to use a “special” cheese like taleggio, where its flavor and creaminess can shine through.

I also like to use asparagus instead of spinach in this recipe. Asparagus and taleggio cheese were made for each other!

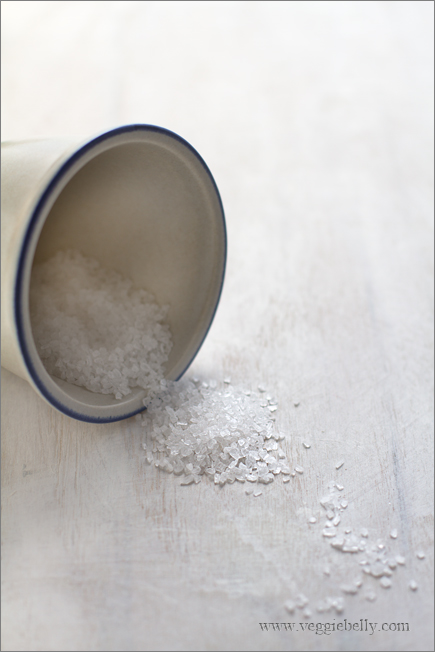
Sea salt is a beautiful thing. It has a coarser grain than table salt, and gives you a pleasant burst of saltiness. Because sea salt is more granular it is perfect for sprinkling over food, or using it in quick recipes, where it doesnt have a chance to dissolve. I used a beautiful bag of salt crystals from the Trapani Saltpans of Italy that I picked up at Eataly in New York.

Easy Spinach and Taleggio Cheese Quesadilla Recipe

makes 1 quesadilla

1 eight inch flour or wheat tortillas
1 oz taleggio cheese (substitute with fontina or brie)
1/2 cup fresh baby spinach leaves loosely packed
1/4  teaspoon olive oil
Sea sat

Lay out a tortilla on a work surface. Trim away the rind of the cheese, and cut into into small pieces. Put the cheese pieces all over one half of the quesadilla. Place spinach leaves on top of the cheese. Fold over the other half to form a half moon shaped quesadilla.

Heat a non stick pan on medium heat, drizzle a little oil. Place the folded quesadillas in the pan, and cook on medium heat for 1 minute or till the tortilla is light brown and cheese is just about to melt. Turn the quesadilla over and lightly brown the other side, about 45 seconds. Dont over cook the tortillas, the cheese will get oily.

Cut into wedges and sprinkle a tiny pinch of sea salt on top. Serve with a lettuce, tomato, cucumber salad and your favorite salad dressing.

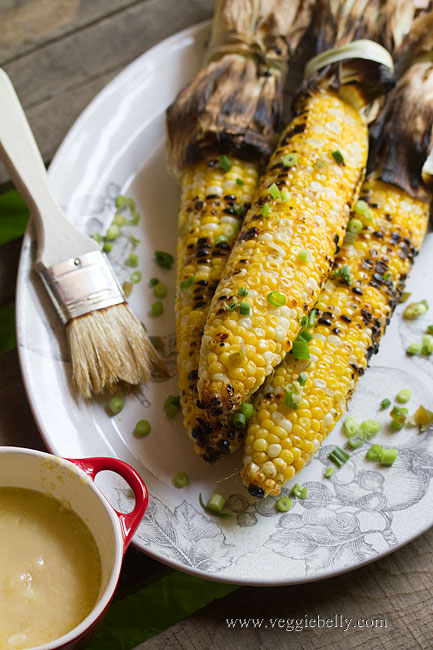
Grilled Corn with Miso Butter


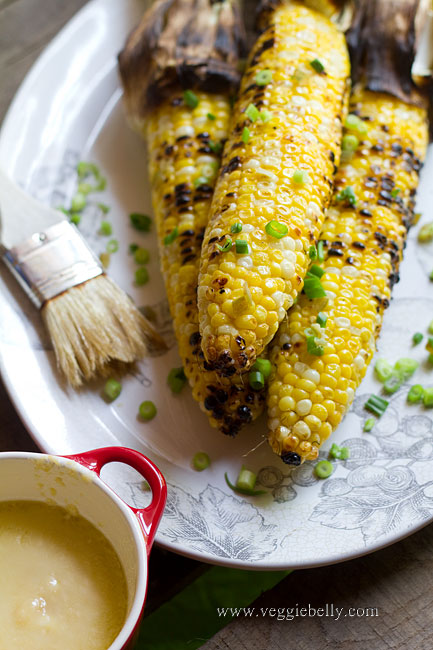
We didnt grill anything over July 4th weekend because I was away in Atlanta for a dear friend’s wedding reception. But I will share a lot of vegetarian and vegan grilling recipes with you in the next few weeks.  To start off, here is an easy grilled corn recipe with miso butter.

I used Miso butter to add a special touch to plain old grilled corn on the cob. I love the depth and umami flavor of miso; and it goes really well with the sweetness of grilled corn. If you dont have or dont like miso, use soy sauce as a substitute.

How to use miso butter
toss with popcorn
slather the miso butter on grilled tofu
top baked potatoes
use it was a dipping sauce for steamed vegetables
toss with pasta

Grilled Corn on the Cob with Miso Butter Recipe

serves about 4

for miso butter
1 tablespoons miso paste (substitute with soy sauce)
4 tablespoons unsalted butter, at room temperature
1/2 tablespoon lime juice
salt

for grilled corn
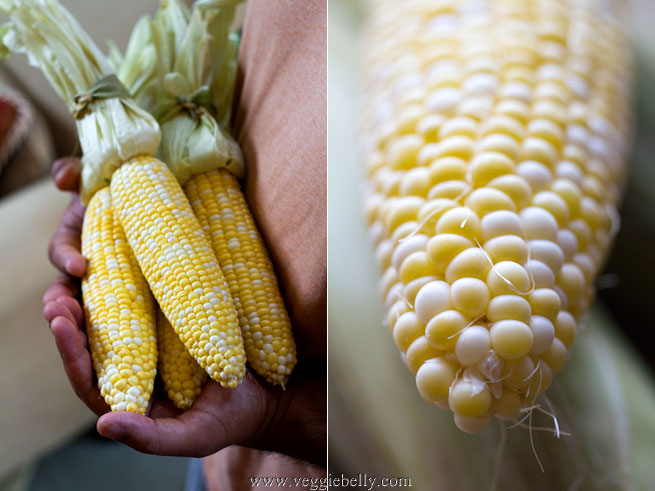
4 corns on the cob, husk and silk removed

for garnish
chopped green onion
chopped pickled jalapenos

Mix all ingredients for miso butter together and set aside.

Heat an outdoor grill to about 400f. Place corn on grill and turn the corn occassionally so that all sides are grilled evenly. Corn will be cooked in about 12 minutes. When done, remove the corn from the grill using tongs.

Brush miso butter over the corn and serve immediately. Garnish with chopped green onion and jalapenos.

Pasta with Seven Vegetable Sauce. Curing a Canned Food Obsession


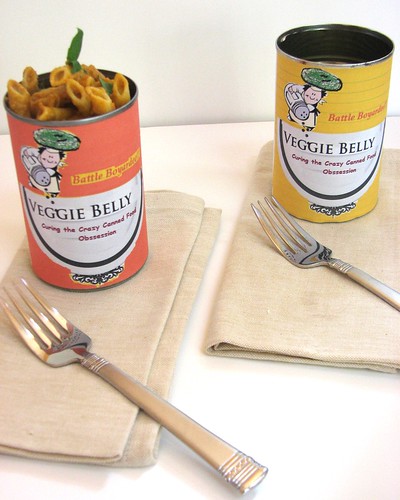
eeeks! I misspelled ‘obsession’ :( But that’s the charm of homemade canned food.

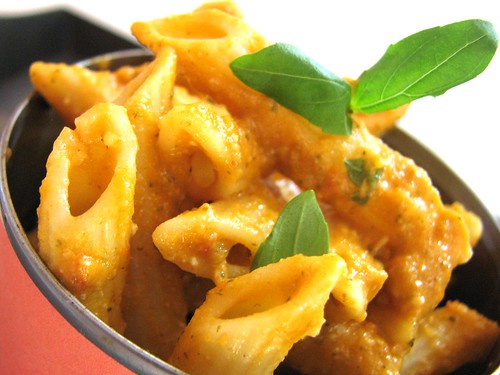
My husband S, loves all things canned. He is particularly partial to Chef Boyardee; he cant resist those 10 for $10 deals. And S eats the stuff straight out of the can. In an attempt to cure the canned food obsession, I make fake canned food. I put my own labels on the cans and fill them with homemade food. Battle Boyardee! The very first time I did this, S was on the floor laughing. But he enjoyed the food. Its so much healthier and tastier than canned pasta swimming in what used to be tomato sauce. I made penne with a seven vegetable sauce today – full of fresh veggies, basil and pine nuts for creaminess. The tomatoes, carrots and bell pepper add both color and sweetness. The pine nuts – toasted and pureed – elevate the sauce to a nutty silkiness.

I always use newly opened cans to serve the pasta in. I transfer the contents to another container for use later. (If you are using tomato cans, just use the tomatoes for the sauce recipe)

Ingredients

Pasta – 1 box, I used Penne
Onion – 1 large
Garlic – 6 cloves
Carrots – 2
Celery – 2 stalks
Red Bell Pepper – 2
Tomato – 3
Broccoli – 1 floret
Pine Nuts – 1/4 cup, substitute with cashews or almonds
Olive Oil – 4 tbsp
Water – 3 cups
Marsala Wine – 2 splashes, optional
Basil – 1/2 cup
Parsley – 2 tbsp
Salt – 1 tbsp
Pepper

Finely chop the onions and chop all other vegetables into chunks. Toast the pine nuts in a skillet on low heat untill they turn light brown.

Boil pasta in plenty of salted water, till al dente. If you are not using the pasta immediately, wash it in cold water and set aside.

In a large wok, heat the oil. Add the onions and fry on medium high heat till they turn golden brown – about 5 minutes. Make sure you take the time to caramelize the onions, they add a nice sweetness to the sauce.

When the onions are well browned, add the garlic and saute 1 minute. Then add all chopped vegetables. Saute on medium high for 7 minutes. Then add the salt, and marsala wine and cook till the wine evaporates, about 2 minutes.

Pour in the water and let it boil. Then reduce heat and let the vegetables simmer for about 5 minutes.

Cool the vegetables slightly and place them in a blender. Blend till they are pureed. Return the vegetable puree to the wok. Simmer on low heat. At this point, the sauce will boil and splatter, so cover with a lid of aluminum foil. Let the sauce simmer on low heat for about 12 minutes, stir once or twice. (Now is a good time to start boiling the pasta).

While the sauce is simmering, blend the pine nuts into a smooth puree with a little water. Add the pine nut puree to the vegetable sauce in the last 2 minutes of cooking. You want a thick sauce, like the consistency of marinara. If your sauce is too runny, simmer it longer.

Turn off heat and stir in chopped basil, parsley and cracked pepper.

To serve, spoon the vegetable sauce over the pasta and garnish with basil.

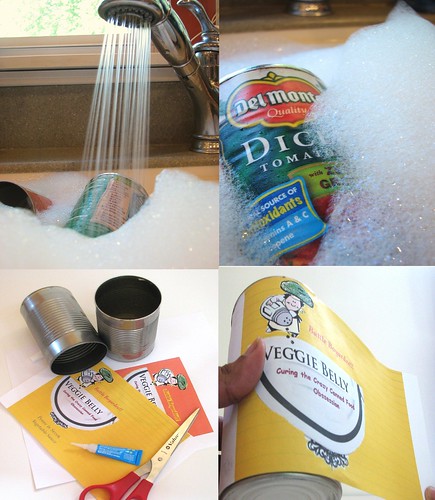
Its very easy to make the cans to serve in. Always use newly opened cans, old ones may rust. Soak tomato or other cans in very hot soapy water for about 1 hour. Peel the labels and let the cans air dry. Print out your own labels and cut them to the can size. Using 3 dots of super glue on one end of the label, stick the label to the can and wrap it around the can firmly. Using 3 more dots of super glue, stick the other end to the can. Warning: Cans may have jagged rims, so be careful.

Did I win Battle Boyardee?

Related Posts with Thumbnails