Grilled Portobello Mushroom, Roasted Red Pepper and Mozzarella Sandwich or Burger

I received the below facebook message one day from my friend, Aditya. Being the great mushroom aficionado that I am, how could I have posted all  but one portobello recipe on this site?!  Ive featured other mushrooms on Veggie Belly, like the shitake mushroom soup, morel mushrooms over polenta, beech mushroom flat bread, and my recent morel mushroom pasta with fiddleheads. But the mighty, meaty portobello has been in all but one recipe on veggie belly. I defenitely had to remedy that!

Aditya, this one is for you  ♥ 

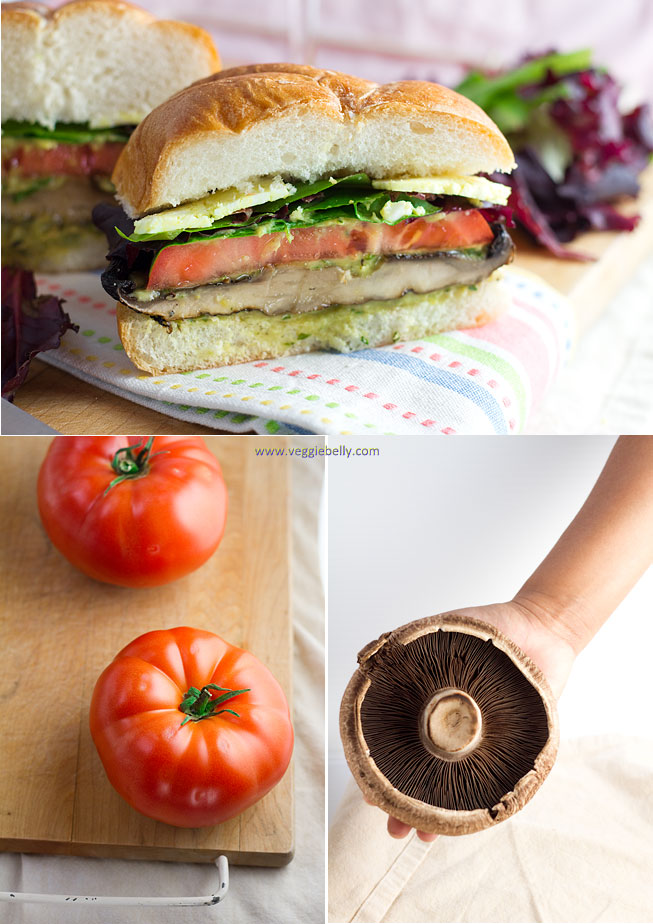
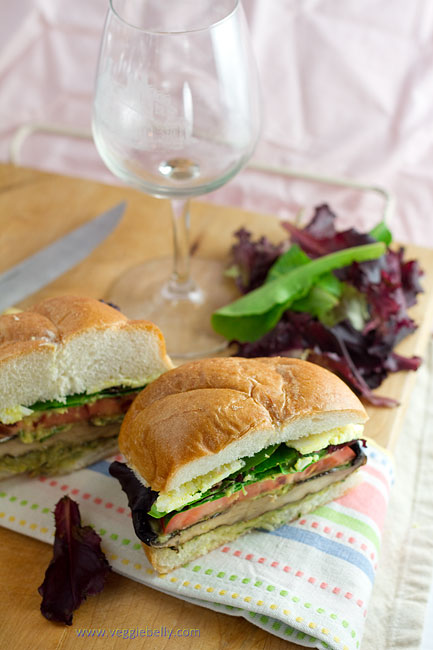
These portobellos were larger than the palm of my hand! But they turned out to be the perfect size for these sandwiches/burgers; they shrunk just enough while cooking on the grill, to fit in the kaiser roll. Portobello or portabella mushrooms are delicious in burger style sandwiches because they are meaty in taste and texture. They are often called the ‘steak of all mushrooms’! They also take to grilling very well. I used beefsteak tomatoes in this sandwich, again, for their meaty texture. But any tomato will do.

Grilled Portobello Roasted Red Pepper and Mozzarella Sandwich/Burger Recipe

makes 4 sandwiches

4 large portobello mushrooms
2 tablespoons olive oil
1-2 tablespoon balsamic vinegar
1/2 teaspoon italian seasoning
salt & pepper
4 kaiser rolls or burger buns or 8 slices of any other loaf bread
2-4 tablespoons mayonnaise or my white bean asparagus hummus
2 tablespoons chopped fresh basil
4 slices beefsteak tomato
4 slices fresh mozzarella (or whatever cheese you like)
4 large pieces of store bought, jarred roasted red pepper
1 cup salad leaves or lettuce of your choice

Heat an outdoor grill to 400f.

Wipe the mushrooms clean. Using a spoon, scrape off the gills from the mushrooms. Whisk together olive oil, vinegar, italian seasoning, salt and pepper. Brush the olive oil and vinegar mixture all over the mushrooms.

Place the mushroom caps on the grill and grill about 2-3 minutes on one side. Flip the mushroom caps, and grill another 2-3 minutes. (If you like your cheese melted, place cheese slices on portobello caps (gill side) after you have flipped them). Remove grilled mushrooms to a plate, and cover to keep warm. If you are not using an outdoor grill, broil the mushrooms in the oven; about 3-4 minutes (or till browned a little) per side.

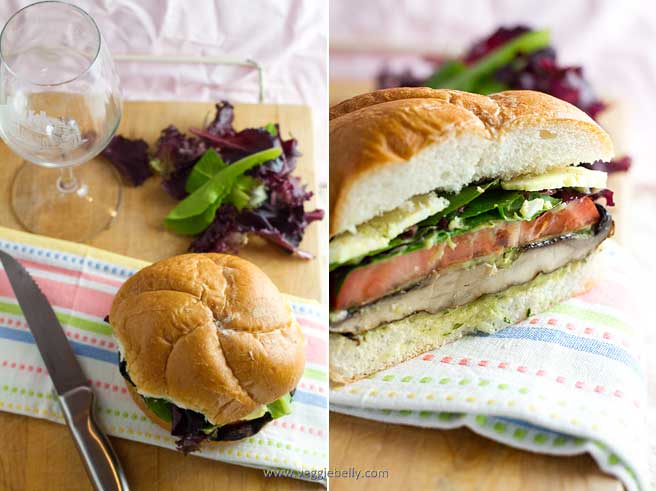
Cut the bread roll in half. Spread some mayonnaise or my white bean asparagus hummus  on both halves. Sprinkle some basil on top. On the bottom half of the bread roll, arrange the grilled portobello mushroom, tomato slice, mozzarella slice, and roasted red pepper. Top with lettuce or salad greens. Place the other bread slice on top. Secure sandwich with a toothpick. Serve with a side of soup or salad and fries or chips.

Shaved Carrot Salad with Pecans and Tangy Honey Vinaigrette

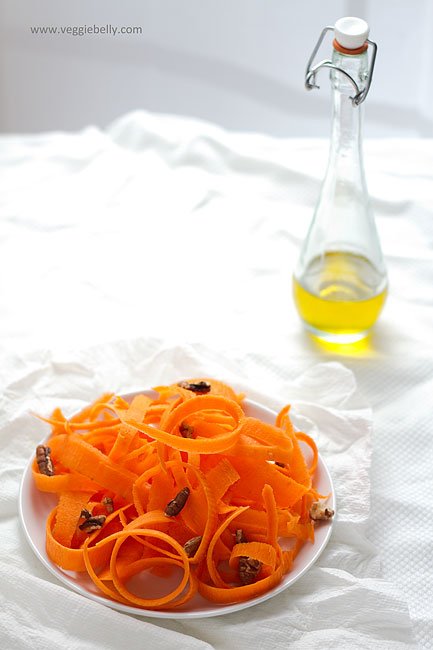
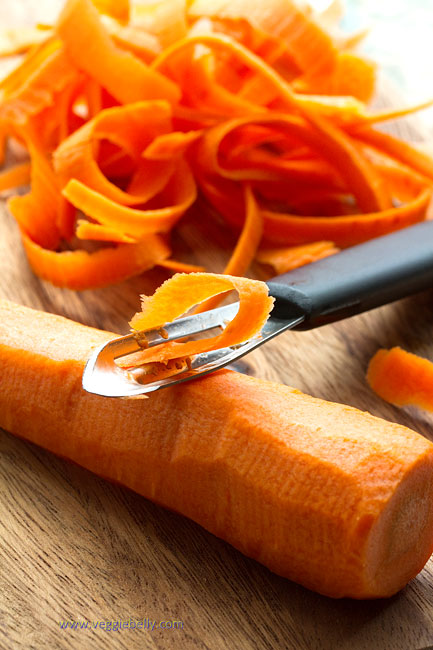
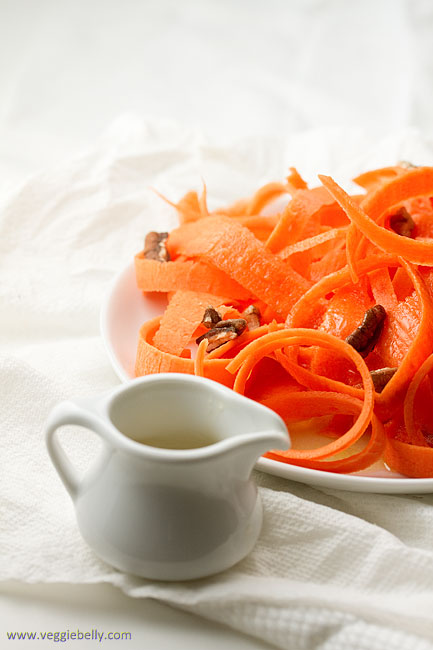
Here’s an easy, simple carrot salad that will be a great side dish. I love packing this for a summer picnic. Sweet, tangy, crisp yumminess! I like shaving the carrots into ribbons or strips using a vegetable peeler. If you wish, you could grate or julienne them.

Tips

- For extra crisp carrots, place the shaved carrots in a bowl of water with ice cubes.  Pat dry before dressing
- When you measure the ingredients for the vinaigrette, measure out the olive oil first. Then use the same measuring cup or spoon to measure the honey. They honey will slip out of the olive oil coated measuring spoon easily
- The vinaigrette will keep for a few weeks in the fridge, so its a great make ahead item!
- I used white wine vinegar for the salad dressing. Apple cider vinegar or balsamic vinegar will also work well. For a citrus touch, try adding lemon or orange juice and zest 

I love serving salad dressing in this mini creamer jug I brought back from my trip to Thailand.

Shaved Carrot Salad with Pecans and Honey Vinaigrette Recipe

serves about 2

3 medium carrots
3 tablespoons chopped pecans
Honey vinaigrette, recipe below

Peel the carrots. Using a vegetable peeler, shave the carrots into long ribbons (see photos above). Lightly toast pecans in a skillet. Sprinkle pecans over shaved carrots. Serve chilled, with honey vinaigrette (recipe below).

Honey Vinaigrette Recipe
Whisk together 2 tablespoons each of olive oil, honey, and white wine vinegar. Add salt to taste.

Fresh Pea and Mint Soup


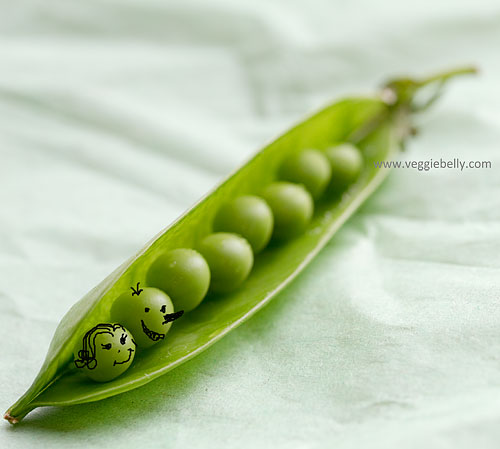
Whenever I buy fresh spring peas in their pods, I always think of what peas and pods signify. Peas in their pods are beautiful things - six or seven tender little peas, all snuggled up safely inside the comfort of their pod. An expectant mother carrying a child, close friends, a couple living together – all peas in a pod, enjoying their togetherness.

My husband, when he is in a romantic mood will calls us  ‘two peas in a pod’. How appropriate. Two of us, living together and going through the journey of life together. Just like peas in a pod.

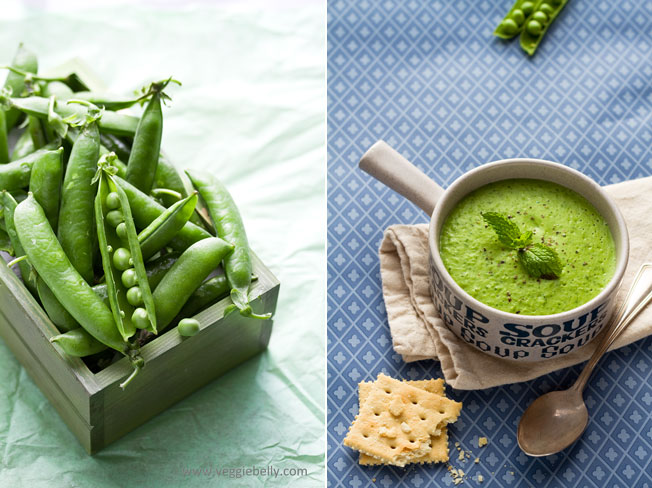
If you have never tried fresh peas, now is the time. Fresh green peas are in season during the spring. They are really easy to shell and cook. Fresh shelled peas are so tender, you don’t need to cook them more than 4 minutes max. In a pinch, frozen peas will be good substitute.

Fresh Pea and Mint Soup Recipe

serves about 2

1 tablespoon olive oil
1 small onion, chopped
2 cloves garlic, peeled
2 cups fresh, shelled peas (substitute with frozen peas)
1 1/2 cups whole milk (more for thinner soup)
salt
1 cup fresh mint leaves
freshly cracked black pepper

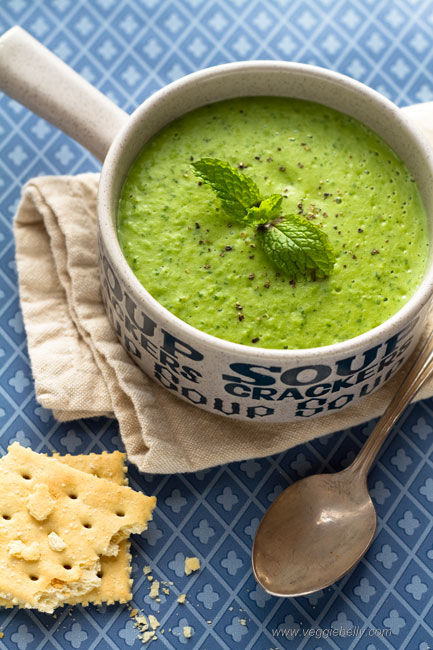
Heat oil in a pan and add onion. Cook on medium heat for about 2 minutes or till the onions are  transluscent. Add the garlic pods and cook 1 more minutes. Add peas and saute for about 2 minutes. Add milk and salt. Simmer for 3-4 minutes or till the peas are cooked. Pour the milk and peas mixture into a blender. Add mint leaves to the blender. Blend soup as chunky or smooth as you like. (Be careful when putting hot liquids in a blender – always vent the blender lid). Serve soup with freshly cracked black pepper.

Easy Thai Green Curry (Gaeng Keow Wan)

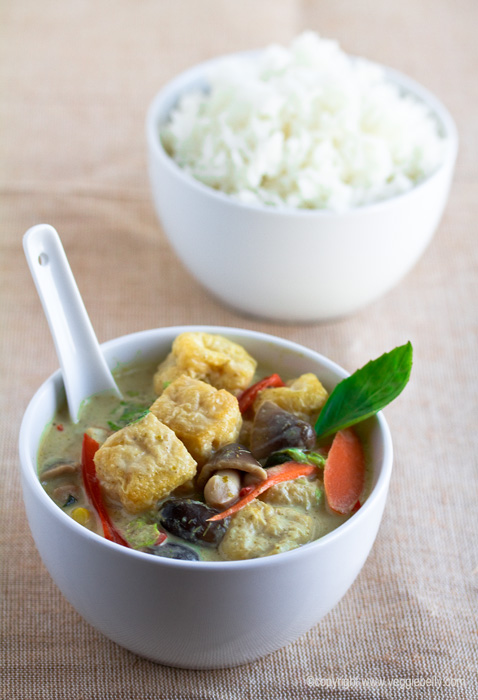
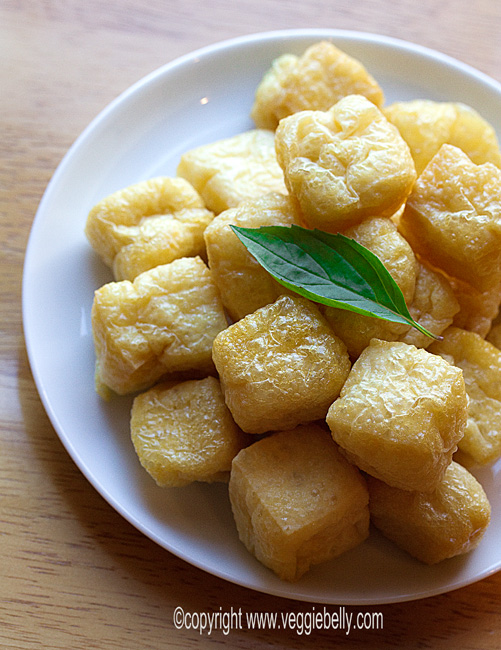
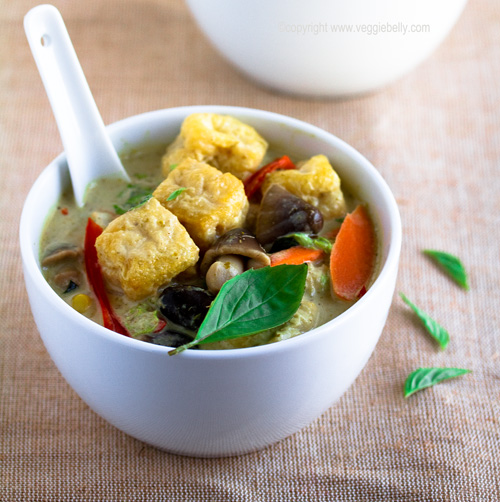
I don’t know what I’d do without an Asian store near me. The one I go to is huge, cheap and stocked with every ingredient you’d need to make any Asian meal imaginable. One of my favorite things at the Asian store is tofu or soy puffs – little cubes of golden fried tofu. When you add tofu/soy puffs to curries, they absorb all the flavor and become incredibly flavorful. If you cant find tofu puffs, oven bake or deep fry some firm tofu and use in this recipe.

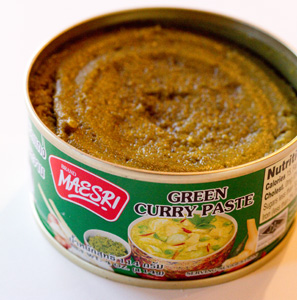
I learned how to make fresh green curry paste when I was in Thailand (more about that in future posts!), but I think store bought green curry paste is good enough when you are in a hurry. No pounding lemon grass in a mortar and pestle here! Freshly made curry paste ofcourse is much tastier, but if you are in a rush, canned paste is just fine.

 The Maesri brand green curry paste I use contains:
green chili
shallots
ginger, garlic
lemon grass
kaffir lime
sugar
galangal
turmeric
coriander
cardamom
cumin

You simply add coconut milk to the paste, boil, then add vegetables, boil again and you are done!

I like to garnish my thai curries with lots of fresh thai basil. Cilantro or green onions will also make great garnishes.

Thai Green Curry (Gaeng Keow Wan) Recipe

serves about 4

1 can (4 tablespoons) green curry paste (you may need to use more or less depending on the brand)
1 can (13.5 oz) coconut milk
1/2 cup water
2 cups napa cabbage or chinese cabbage, shredded
1 medium red pepper, cut into thin strips
1 medium carrot, cut into matchsticks
1 cup fresh or canned straw mushrooms
1/2 cup canned baby corn
1 cup tofu puffs (or firm tofu cubes that have been deep fried)
1/4 – 1/2 cup Thai basil leaves, loosely packed.

Heat a large wok and place the green curry paste, coconut milk and water in it. Bring to a boil while stirring. Reduce heat and simmer for about 5 minutes. Add all other ingredients, except Thai basil, and boil gently for about 4 minutes or till the cabbage has wilted and the vegetables are cooked but not mushy. Turn off heat. (If the green curry is too spicy for you, add more coconut milk). Sprinkle chopped Thai basil on top. Serve with jasmine rice.

Tender Coconut and Lychee Pudding. No cooking required!

tender coconut lychee pudding

I’m at my parents place in India. There is such an abundance of fresh tender coconuts here that I absolutely had to use it as the star of this no-cook dessert. I added some lychees to the pudding and it worked really well.

coconut tree

A coconut tree in my parents’ garden

Note: If you cant get fresh tender coconut, just use frozen coconut juice/coconut water available in Asian stores. If the coconut juice is sweetened you should less than whats called for in this recipe. But whatever you do, please do not use the canned coconut juice!

IMG_1877

Tender Coconut/Coconut Water/Coconut Juice/Elaneer and Lychee Pudding Recipe

serves about 6

1 cup + 1/4 cup milk
6 teaspoons quick set gelatin* (see note below)
3/4 cup sweetened condensed milk
1 cup tender coconut water/coconut juice/elaneer
3/4 cup tender coconut meat, chopped
3/4 cup canned lychees, strained (about 6 pieces), chopped

*I usually use agar agar to set desserts, but this time gelatin is all I had on hand. (See this post on how to use agar agar). The gelatin I used was a quick set variety. Your pudding may set differently depending on what gelatin you use.

In a bowl, combine all ingredients except the 1/4 cup milk and the gelatin.

Warm 1/4 cup milk and dissolve gelatin in it. Add this to the bowl with all other ingredients. Stir everything well. Pour in individual serving dishes and refrigerate till the pudding sets; about 2 hours.

Kale and Jumping Corn Saute with Chili Lime Salt

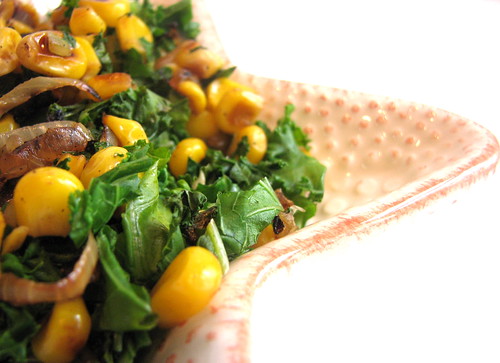
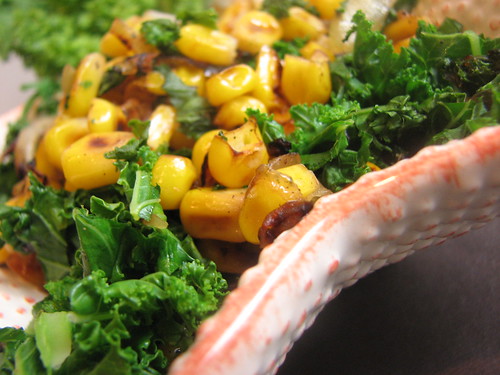
I like blackened corn, so I was cooking some on my skillet on high heat for this dish. Just then, the big fat fly that has taken up residence in my kitchen appeared. Ive been trying to evict this fly for 4 days now. I even put some sugar by the window, hoping it would come for the sugar and I could shoo it out the window. But this is one healthy fly; it didn’t come for the sugar, but the minute i took the kale out, there it was! So I went chasing after it with tea towel in one hand and bug spray in another. By that time I had forgotten about the corn in my skillet. Having given up on the wild fly chase, I came back to the stove to find the sweet corn kernels jumping! They were all popping up and down in the skillet! (There was very little oil in the pan and it was very hot, I think that’s what made the corn kernels jump). So I decided to name them jumping corn.

Whether your corn is jumpy or not, this is a quick and easy recipe to make. I had it with left over quinoa. I decided to use the Chili Lime Salt I made a few days ago instead of regular salt. You can use regular plain salt and some paprika instead.

Ingredients

Kale – 1/2 bunch
Sweet Corn – 3/4 cup
Onion – 1/2
Garlic – 1 clove
Red Wine Vinegar – splash
Nutmeg – pinch
Chili Lime Salt (see this post for recipe) or substitute with salt and paprika
Sugar – pinch
Oil – 1 tsp

Slice the onion very thinly. Shred the kale into thin strips. Mince the garlic. In a non stick pan or skillet, heat the oil and add the onion and let it brown. When browned, sprinkle the sugar on top of the onion and push it off to one side of the skillet.

Turn the heat to high and add the corn. Position your skillet so that the heat source is right under your corn and not under the pile of onions on your skillet. Cook the corn about 3 minutes or till it turns brown (and jumpy!).

Now toss the onions and corn together. Lower heat. Add the garlic, saute till fragrant, about 30 seconds. Then add the kale, nutmeg, red wine vinegar and chili lime salt. Cook on medium heat till the kale is just wilted, about 2 minutes.

Chili Lime Salt

Chili lime salt is a great way to add interesting flavors to your foods and flavored salts are so easy to make. Try sprinkling  flavored chili lime salt on roasted nuts or popcorn or use in your everyday cooking.

Ingredients

Kosher Salt – 1/4th cup
Paprika – 2 tsp
Lime Juice – 1 tbsp

Place all ingredients in a food processor and blend together – as coarse or fine as you like. If needed, adjust lime and chili according to taste. Store chili lime salt in an air tight container.

Sticky Orange Tofu Thins


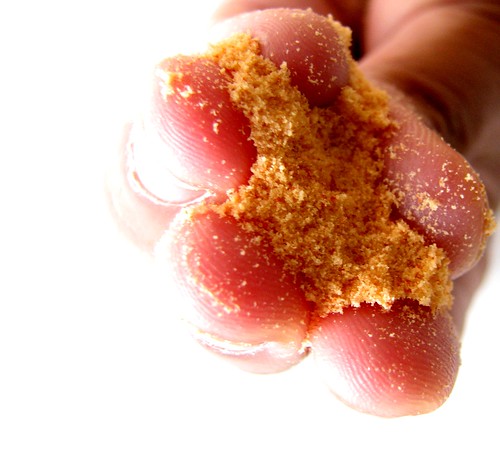
I used the orange, ginger, green tea marmalade I made last month for this recipe. Store bought orange marmalade will work well too. The sugar forms a delicious sticky glaze. You’ll be scraping the gooey goodness from your pan! I do every time!
Tofu - one 18 oz box/package
Oil – 1 tbsp or non-stick spray
Soy sauce – 4 tbsp
Orange Marmalade – 4 tbsp
Lemon juice – 1 1/2 tbsp
Chili sauce – 1 tbsp, I use sriracha. Use less if you dont like it spicy
Chopped cilantro or green onion for garnish
To prepare the tofu, first drain and squeeze out excess water. Wrap the tofu in several layers of paper towel.
Then wrap the tofu with paper towels tightly in an absorbent cloth. Place the tofu on a flat surface, put a plate on top of it and put 3-4 cans (canned tomatoes, beans etc) on top of the plate. Let the tofu weigh down and compress for atleast 2 hours.
Then, remove the cloth and paper towels and slice the tofu. Slice it thin, using a sharp chef’s knife.
Heat a large, flat nonstick pan. Add the oil. Or use non stick spray for more even coverage. Place the tofu in a single layer on the pan and fry on medium heat. Dont move the tofu around.
When the tofu is golden, turn the pieces over and cook the other side till golden. This will take about 6 minutes.
Press the tops of the tofu slices to squeeze out any remaining water.
Whisk together the soy sauce, marmalade, lemon juice and sriracha.
Reduce the pan to low and pour the marmalade mixture over the tofu. Make sure all the tofu is evenly coated. Cook on low heat for about 1 minute, turning once.
Make sure the heat is on low, otherwise the sugar in the marmalade will burn!
The tofu will quickly absorb all the sauce and will be coated with a nice sticky glaze. To serve, garnish with cilantro or green onion.
Some Tasty Variations
 
Try adding a tsp each of minced ginger and garlic to the sauce
Instead of cutting the tofu thin, cube it and shallow fry in oil till all sides are golden
Saute the tofu with some peppers and onions and toss the whole thing in the sticky sauce!
Posted by Picasa
Related Posts with Thumbnails