Quick Healthy Tomato Soup & An Ayurvedic Retreat in Kerala

Hello everyone! Sorry I’ve been missing for a while! Offline, non-blog stuff took over. But I’m back now and have  an irresistible line up of vegetarian recipes for you this year!

I’m in Kerala, India right now, on an Ayurvedic retreat. Its something I do once every two years or so, and there is no better place for this all natural detox, than the beautiful state of Kerala! My daily schedule here includes yoga twice a day, meditation, chanting, two Ayurvedic massages, and cooking class.

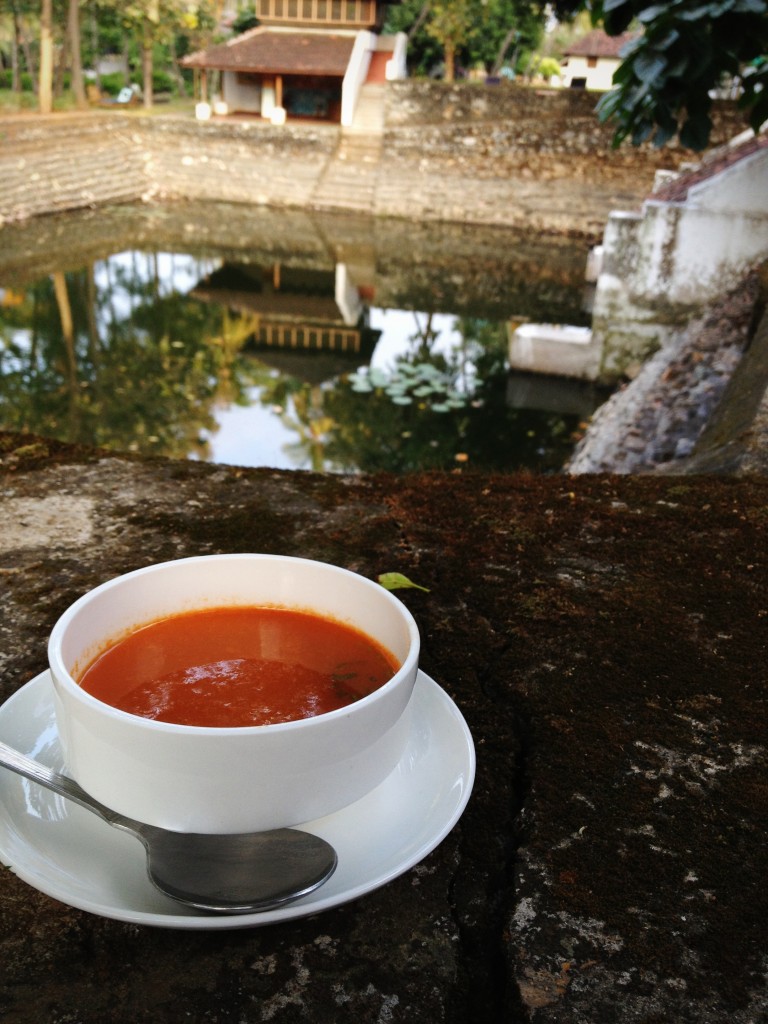
Above is the main building of Kalari Kovilakom, the Ayurvedic center I’m staying at. A beautiful, serene place with lotus ponds, a temple, and the nicest staff. The food here is fantastic and all vegetarian. Its all personalized and cooked according to each person’s Ayurvedic dosha (constitution). And the chef Nishant is ever so willing to share his simple, healthy recipes. 

The dining room..

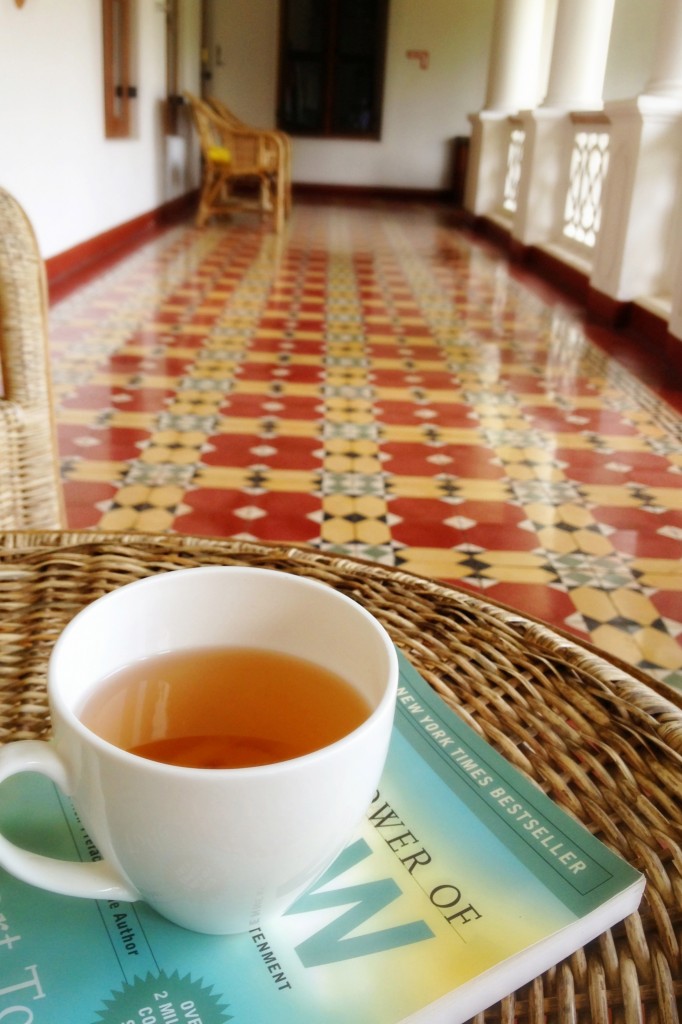
Whem I’m not doing yoga, meditation, getting massaged or hanging out in the Ayurvedic kitchen, I sit outside my room and catch up on reading. There is no tea or coffee here. Instead everyone gets herbal tea. This one is kapha tea, made with boiling water and powdered cinnamon, cardamom and long pepper.

I love sitting by the pond in the evenings..

..and feeding the fish!

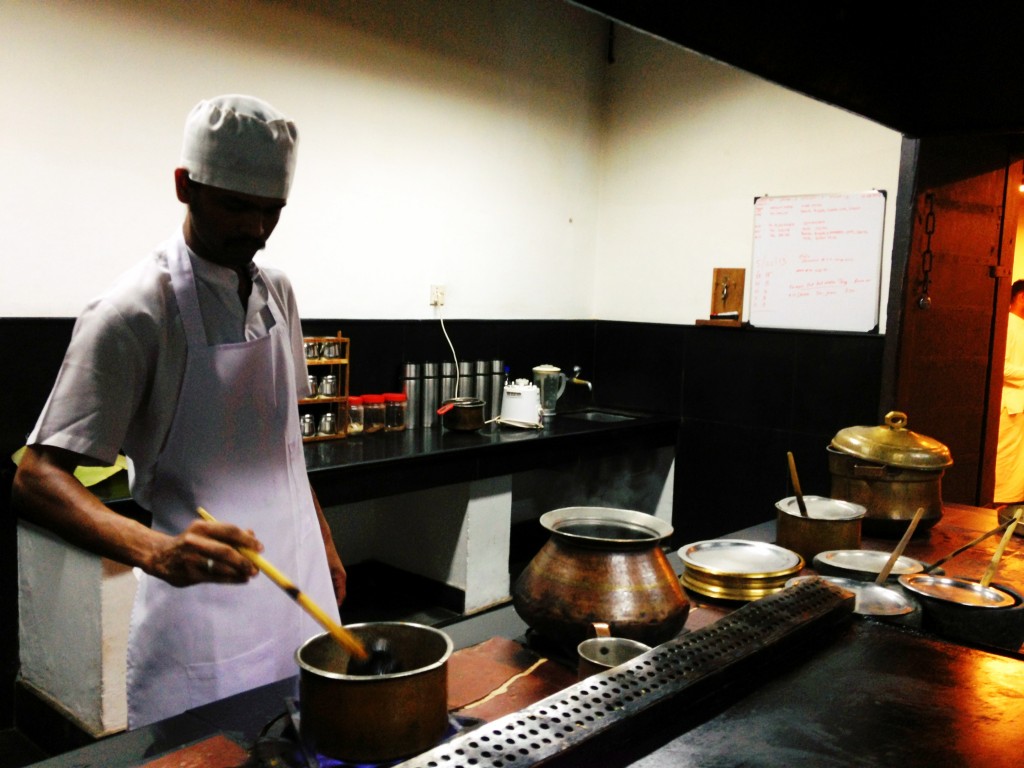
This is the center’s Ayurvedic kitchen. They use traditional cooking vessels made of brass, wood and stone. And im telling you, it makes a huge difference in the taste!
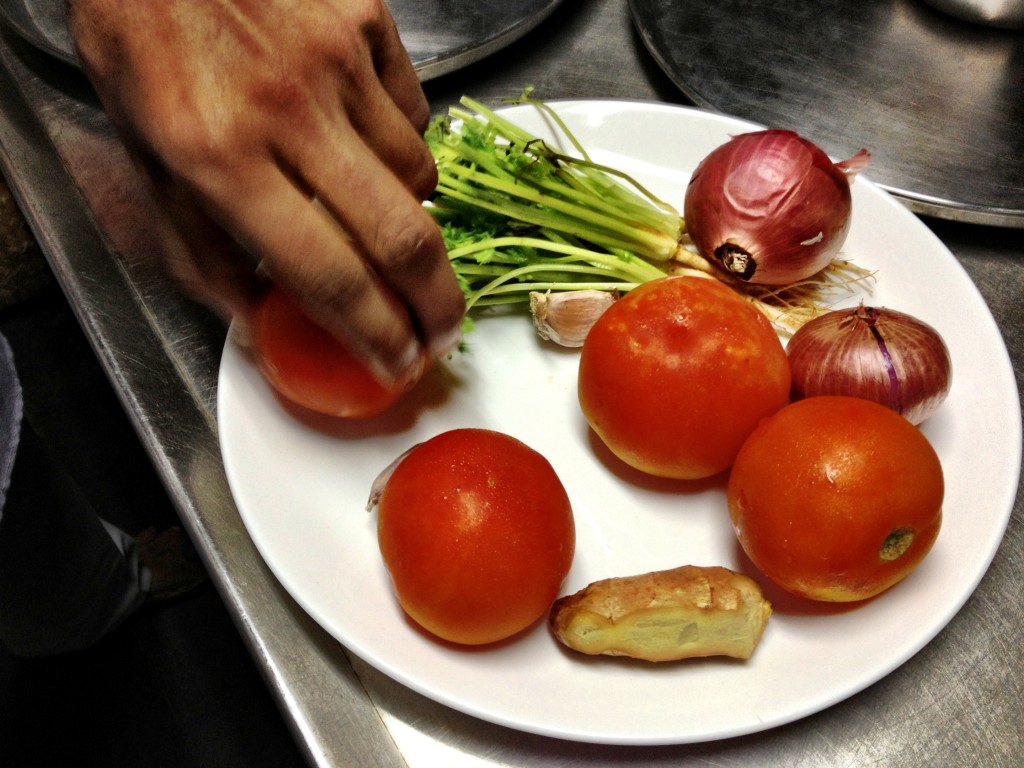
These are the ingredients for this easy tomato soup. (All the vegetables here come from an organic farm..)

Here is is how chef Nishant makes his simple, healthy, ayurvedic tomato soup. I was blown away by the simplicity of it! And there isn’t a drop of oil in it!
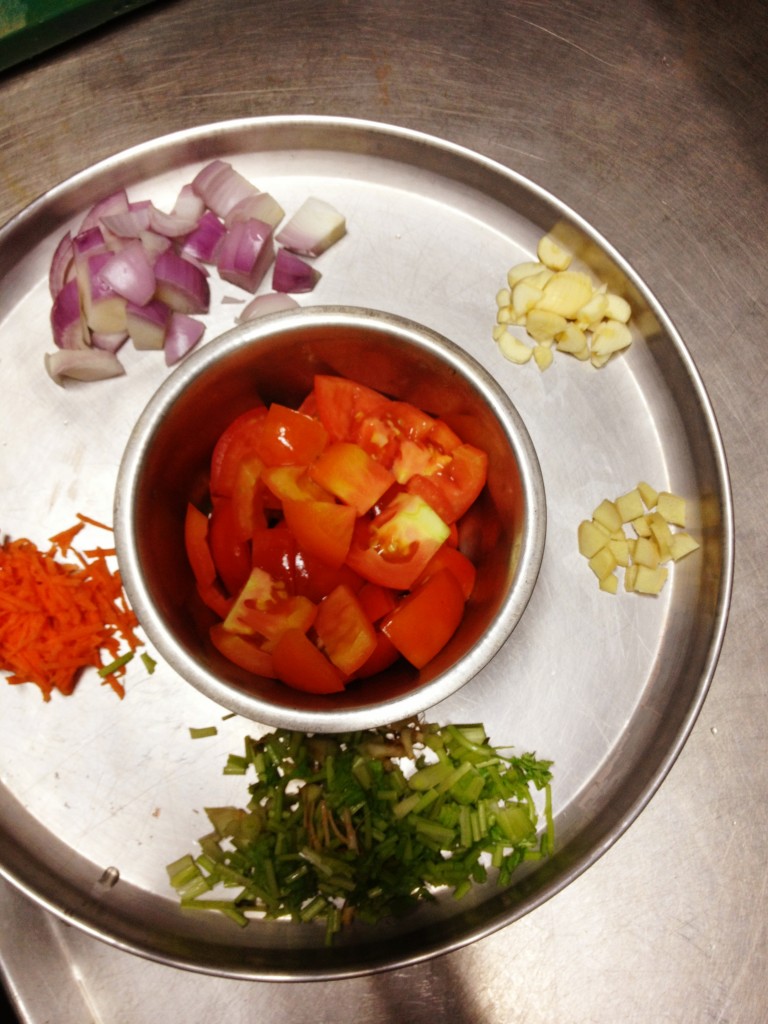
Chop tomatoes, onion, garlic, ginger, carrots and cilantro root. Yes, the root. Cilantro root has a great flavor, so dont throw it away when you buy a bunch! Its perfect in this soup. And the carrot adds some sweetness to the soup, which is a nice counter point to the tangy tomatoes
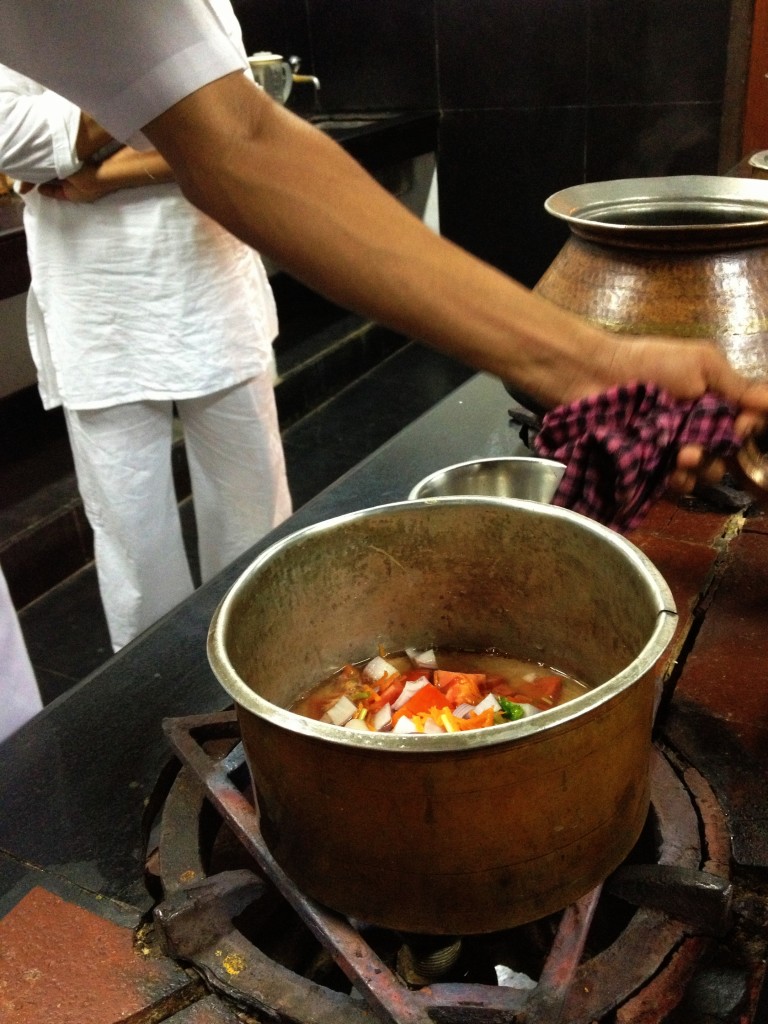
Throw all the vegetables and some water into a pot with salt.
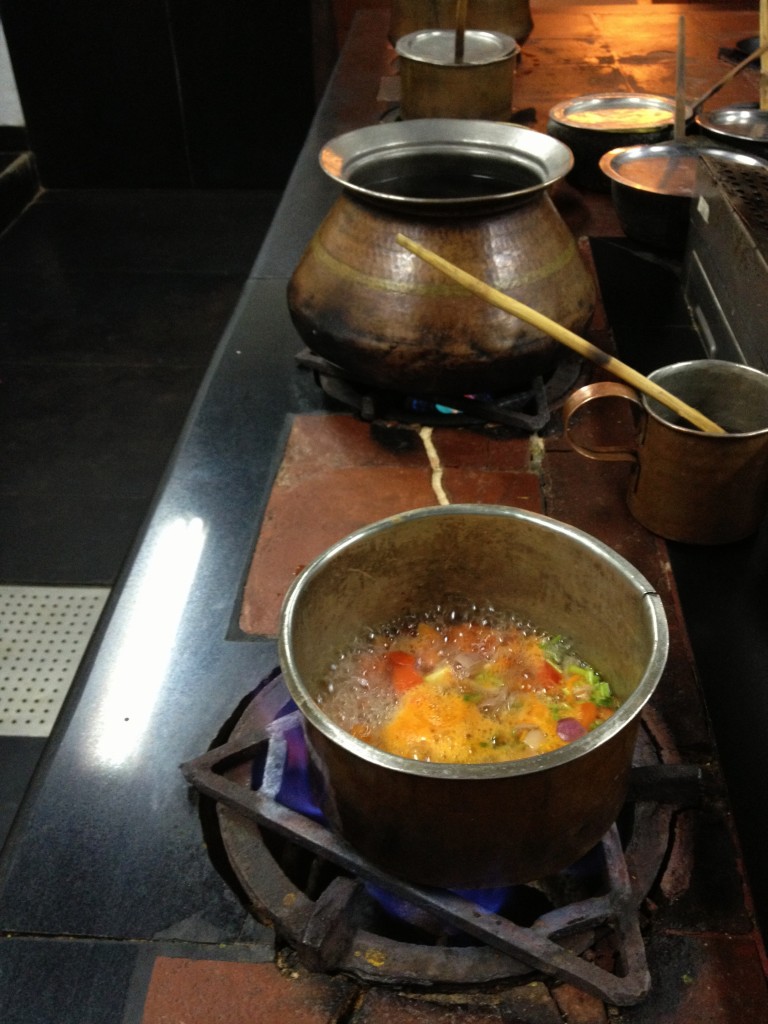
Boil till the tomatoes are soft. Then blend the soup.
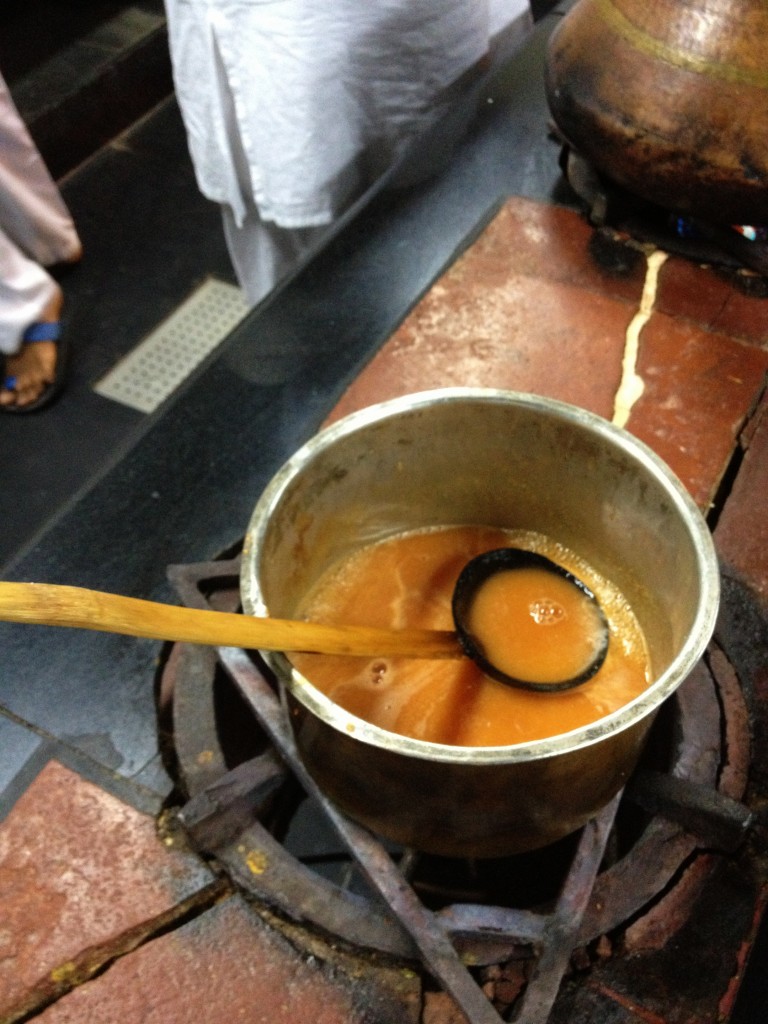
Strain the soup. Return it to the pot and bring to a boil. Adjust salt if needed. Thats it!
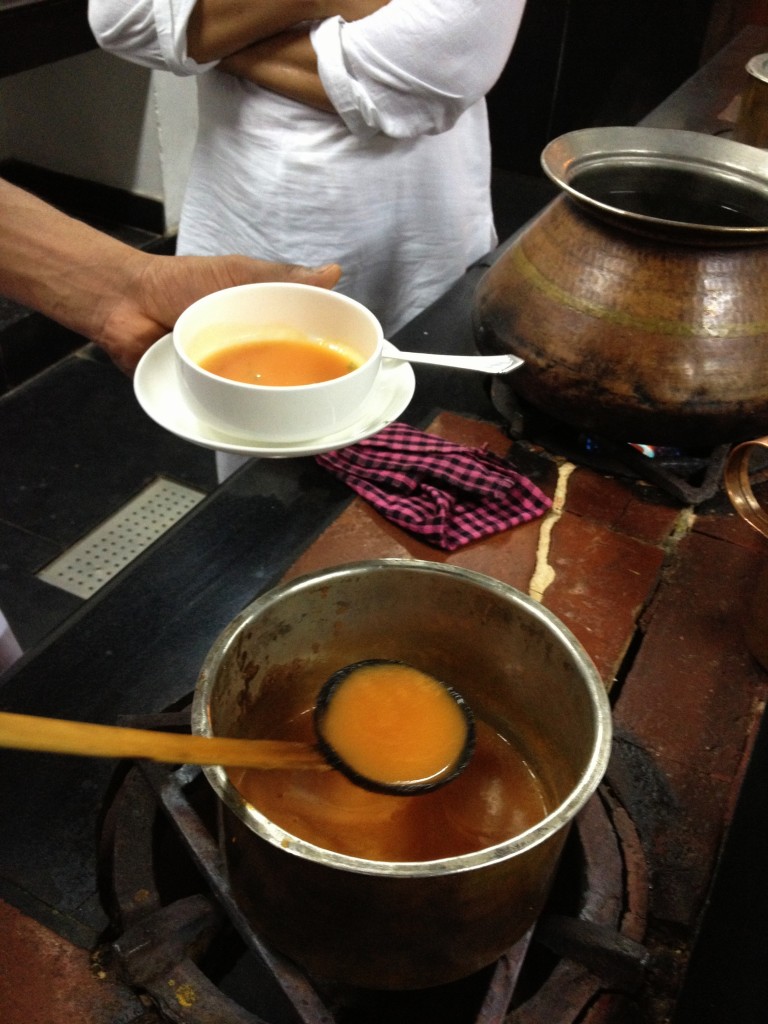
This delicious, super easy, no-oil tomato soup is ready to serve! Needless to say, garnish with cilantro!
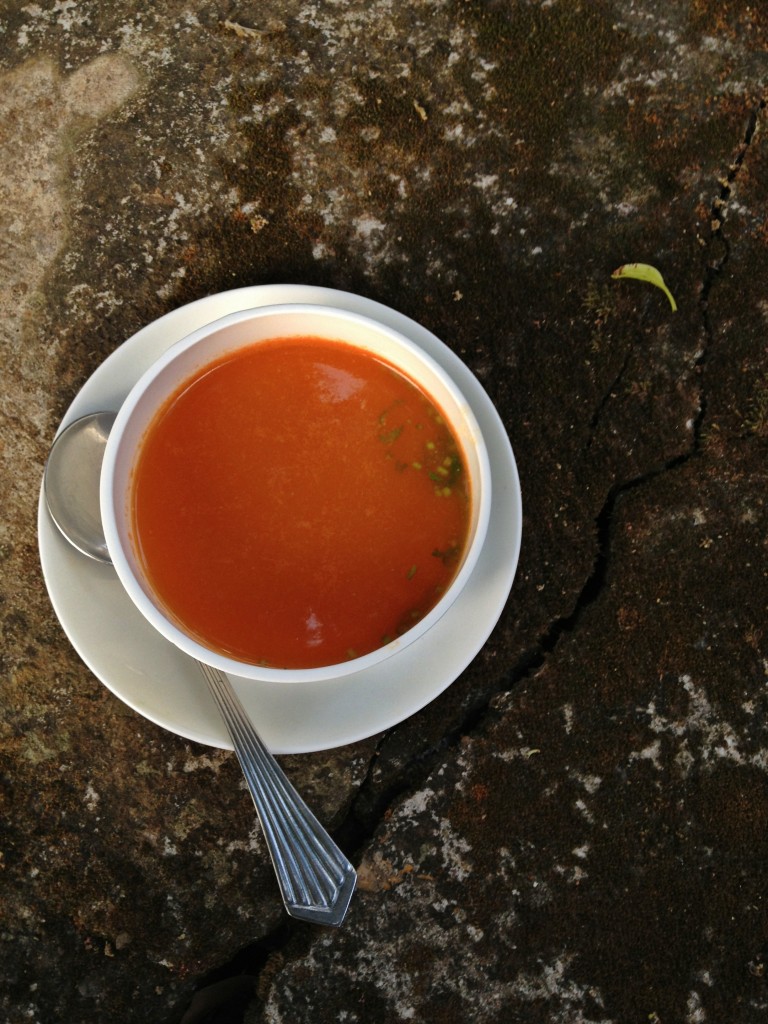
Here are some healthy, equally tasty variations to this soup. Keep everything the same, and just switch out the carrots and tomatoes:

Carrot soup – 3 chopped medium carrots, plus half a tomato

Spinach soup – 3 cups fresh spinach

Beet soup – 3 small beets peeled and chopped, plus 1 tomato

Quick, Healthy Tomato Soup Recipe

serves about 2

Ingredients

3-4 medium tomatoes, chopped

1/4 cup grated carrot

1/2 medium red onion, chopped

2 garlic cloves, chopped

1/2 teaspoon chopped ginger

4 cilantro roots, chopped. Substitute with leaves and stems.

Method

1. Place all ingredients in a saucepan, along with salt and enough water to cover the vegetables, about 3 cups.

2. Bring to a boil, and continue to boil till the tomatoes are soft.

3. Let it cool a little, and blend into a liquid. Pass the soup through a strainer, pushing out all the liquid, using a wooden spoon.

4. Return the soup to the saucepan. If its too thick, add some water. Bring back to a boil. As soon as it boils, turn off heat, adjust salt if needed, and serve hot, garnished with chopped cilantro.


Curried Tempeh Grilled Cheese Sandwich with Mango Chutney

This is more an idea than a recipe. Once you learn how to marinate and cook the curried tempeh, you can vary this grilled cheese sandwich however you like.  If you are in hurry, see the shortcut method in the recipe below. Serve with a salad and my Indian spiced potato chips, and this is an easy, tasty meal any time of the day!

You can marinate and saute the tempeh for extra flavor like on the left. Or if you are in a rush, just toss the tempeh in soy sauce and curry powder and make the sandwich like the picture on the right.

I like to marinate the tempeh in soy sauce and curry powder, so that the tempeh soaks up some of the flavors. I used Frontier Indian curry powder. It contains turmeric, coriander, cumin, lemon peel, black pepper, lemon powder, cardamom, cinnamon, garlic and cayenne. Its mild, the lemon peel gives it a fresh pop, and it works well for the curried tempeh.

Remember, curry powders vary vastly in taste depending on the brand. So use my recipe as a guideline. Make a single grilled cheese sandwich, taste it, and adjust the curry powder accordingly.

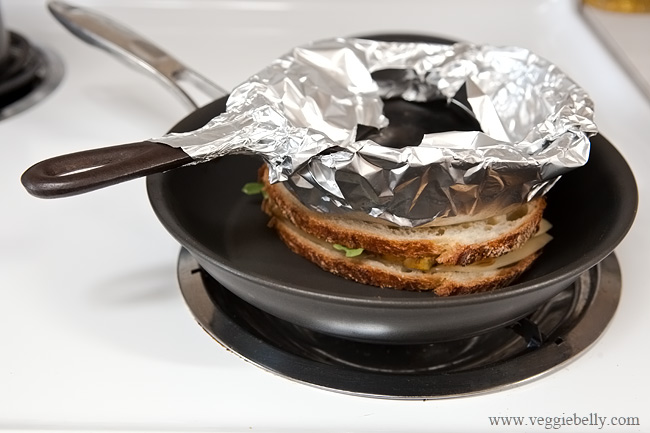
A weight on top of the grilled cheese (panini style)- like a garden brick or cast iron skillet covered with foil – will ensure even cooking, and melt the cheese quickly. Use medium heat and a weight on top of the sandwich and you will have perfectly golden grilled cheeses every time! 

Love grilled cheese and paninis? Check out my friend Kathy’s fun panini blog!

Curried Tempeh Grilled Cheese with Mango Chutney Recipe

Makes 2 sandwiches

Ingredients
For curried tempeh
Half an 8 oz package of tempeh
¼-½ teaspoon curry powder*
1 teaspoon soy sauce
2 tablespoons water
1/2 teaspoon oil

For the sandwich
4 slices of sourdough bread
1 tablespoon or to taste sweet mango chutney. Substitute with apricot preserves
4 slices of provolone or mozzarella cheese
Handful of fresh arugula or baby spinach leaves or kale leaves, torn
1 teaspoon butter
*curry powders vary greatly in their poteny and spiciness. So I really cant give you an exact amount.

Method
For the curried tempeh
1.Slice the tempeh lengthwise into ¼ inch thin pieces. You will need 6-8 slices, about 4 oz
2.Whisk together the curry powder, soy sauce and water in a bowl. Add tempeh to the bowl and gently toss so the marinade is coated well on the tempeh.
3.Cover and marinate the tempeh in the fridge for 30 minutes and up to 2 days.
4. Heat oil in a medium skillet and add the marinated tempeh. Also add any remaining marinating liquid. Cook on medium heat, flipping the tempeh occasionally, till all the liquid has boiled away and the tempeh is brown on both sides.
Now proceed with making the grilled cheese.

Shortcut curried tempeh: If you are in a hurry, skip the marinating and cooking of the tempeh. Leave out the water and oil. Simply toss tempeh in soy sauce and curry powder and continue with the recipe below.

For the grilled cheese
1.Use a small cast iron skillet or a garden brick as the weight for the grilled cheese. Cover the cast iron skillet or bricks with aluminum foil
2. Take 2 slices of bread and slather about 1/2 teaspoon (or more) mango chutney on both the bread slices
3. Place one slice of cheese on top of the mango chutney. Top it with 3-4 slices of curried tempeh and 6-8 leaves of arugula or baby spinach or kale
4. Cover with another slice of cheese, and the other slice of bread, chutney side down
5. Heat ¼ teaspoon butter in a non stick skillet on medium heat. Place the sandwich on the skillet
6. Put the foil covered weight (cast iron skillet or brick) on top of the sandwich. Make sure it is balanced sitting on the sandwich. Let the sandwich with the weight on top cook on medium heat  till the bottom side is golden, about 2 minutes
7. Then remove the grilled cheese sandwich using a wide spatula, add 1/4th teaspoon more butter to the pan. Flip the sandwich over and cook the other side, with the weight on top, till it is golden.

Serve immediately with a salad and Indian spiced potato chips.

Hot and Sweet Marmalade Glazed Tofu

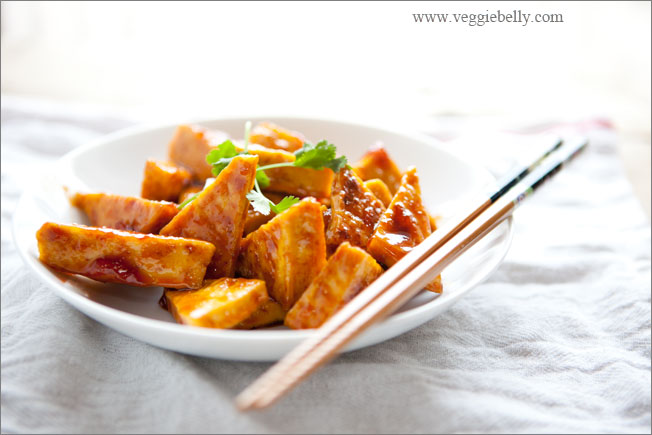
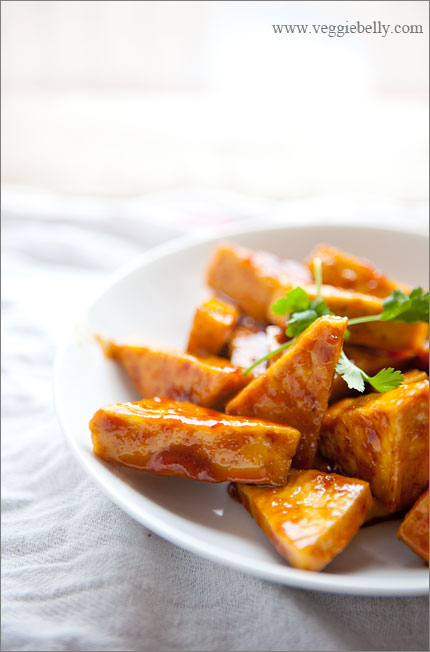
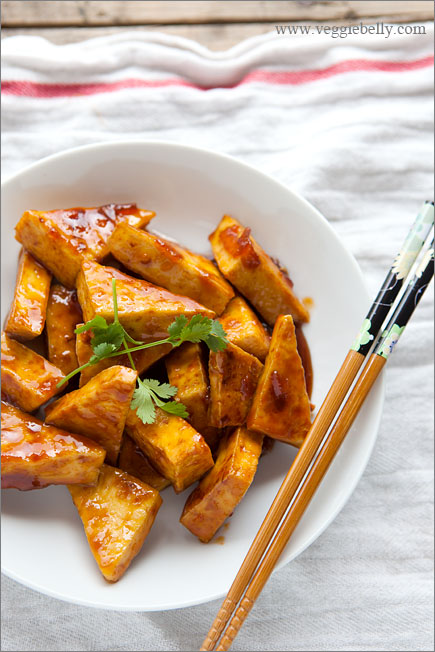
On a busy weeknight, this is my go to dish. Its quick and easy to make if you have pressed tofu lying around. I like to serve this hot and sweet marmalade glazed tofu with some steamed broccoli and brown rice for a complete meal.

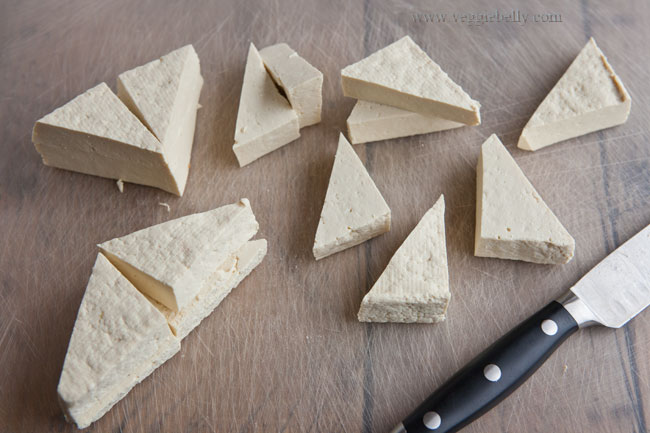
If you are not a tofu fan, but want to start incorporating some tofu in your meals, this is the perfect dish to start with. The glaze is sweet, spicy, and coats the tofu beautifully. I like to cut the tofu into small triangles (a method I learned from Vegan Yum Yum). The thinner you cut the tofu, the better results you will get with this recipe.

I originally posted this recipe a long time ago as sticky orange tofu thins. This continues to be one of my most popular posts, so I thought I should repost it, with updated photos. Checkout the old post to see what rubbish my photos were!

My original recipe requires you to slice the tofu as thinly as you can, that way you get to enjoy more of the orange glaze with every bit of tofu.

Hot and Sweet Marmalade Glazed Tofu Recipe

Inspired by this recipe from Vegan Yum Yum
Serves about 2

Ingredients
one 15 oz package of firm tofu, drained and pressed
A few drops of oil
For the glaze
4 tablespoons soy sauce
4 tablespoons orange marmalade. Substitute with brown sugar
1 1/2 tablespoons lemon juice
1 tablespoon or to taste sriracha or any other hot chili sauce
1 tablespoon chopped mint or cilantro for garnish

Method

  1. Slice the tofu into small triangles. The thinner you slice the tofu the better
  2. Whisk together the marmalade, soy sauce, lemon juice and sriracha and set aside
  3. Heat a few drops of oil and large, flat non-stick skillet. Place the tofu slices on the pan in a single layer. Don’t over crown the pan, do this in batches if needed.
  4. Cook the tofu on medium heat, till it is browned on both sides. Gently press on the tofu using the back of a wide spatula to release any excess water, as the tofu cooks.
  5. When the tofu is browned, reduce heat to low and pour the glaze all over the tofu
  6. Let the glaze bubble and thicken, while stirring gently and flipping the tofu slices. This will happen quickly, so make sure you keep the heat on low to prevent the marmalade from burning. When the glaze has thickened and the tofu is well coated, about 1 minute, turn off the heat.
  7. Garnish with chopped mint or cilantro
  8. Serve with steamed broccoli and brown rice

Barley Khichdi Recipe

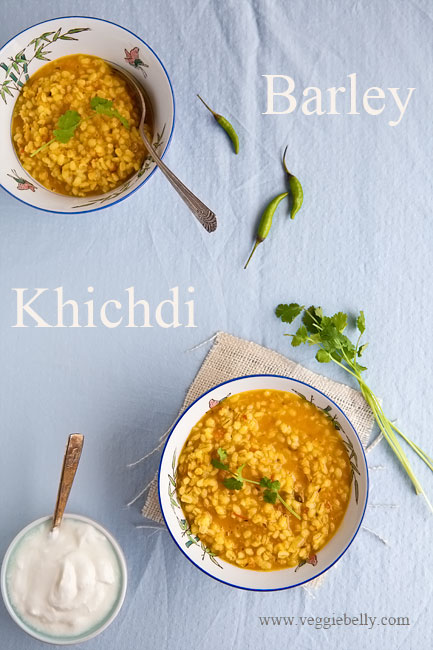
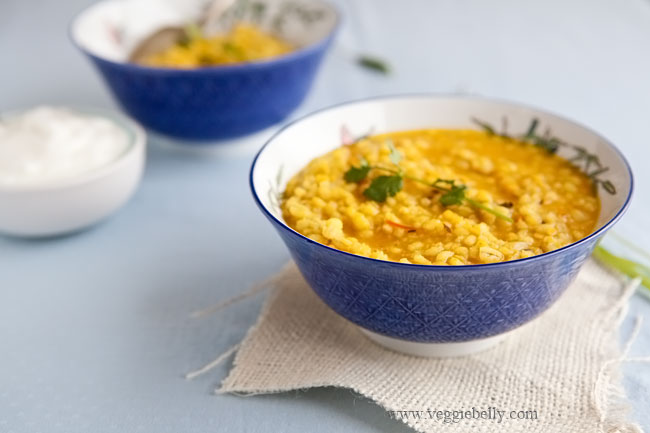
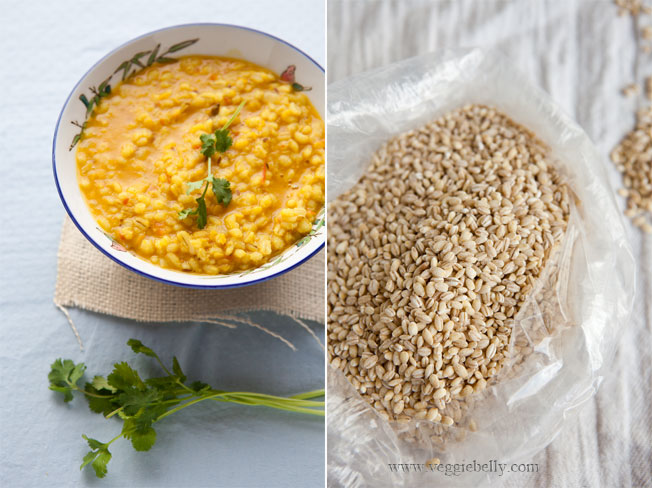
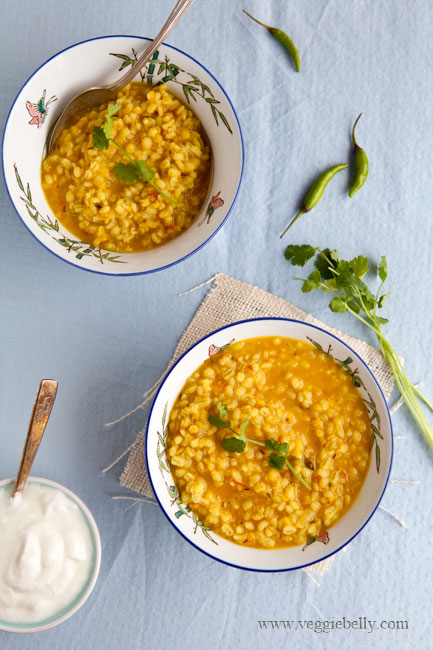
When I want a quick, comforting meal with no fuss, I turn to this barley khichdi. A traditional Indian khichdi is made with rice, moong dal (yellow mung beans) and turmeric and is cooked to a risotto like consistency. I use barley instead of the rice to create a curried Indian barley khichdi. This vegetarian barley khichdi is tasty, easy to make and will please the whole family! Plus, you can easily cut out the ghee and use oil instead to make this khichdi vegan.

I recommend you use pearl barley in this recipe. Pearl barley cooks quicker than the non-pearled kind.  What’s the difference between pearl barley and hulled un-pearl barley? Hulled barley has its outer husk on, so it takes longer to cook. Pearl barley has its outer husk removed, therefore it cooks quicker. If you use hulled barley for this recipe keep in mind you will need to give it more time and water to cook.

Add a handful of frozen mixed vegetables or a little cubed carrot and some peas if you wish. Also use less dal, according to your preference.  This is a very forgiving recipe. If you have a pressure cooker, feel free to cook this in a pressure cooker.

Barley Khichdi Recipe

serves about 2

Ingredients
1 1/2 tablespoons butter or ghee
¼ teaspoon cumin seeds
1/8 teaspoon asafetida, optional
1 green chili, slit. Optional
½ onion, minced
1 small tomato, chopped finely
¼ teaspoon turmeric powder
½ cup pearled barley
¼ scant cup yellow moong dal. Substitute with masoor dal
A squeeze of lemon, optional
Chopped cilantro for garnish

Method
1. Heat ghee in a medium sauce pan. Add the cumin seeds. When they sizzle, add asafetida and green chili. Stir for 30 seconds.
2. Then add onions. Sautee on medium heat till the onions are soft (don’t let them brown).
3. Add the tomatoes, and cook till they are soft.
4. Add turmeric, barley and moon dal. Stir for a few seconds.
5. Add 3 cups of water and salt.
6. Bring the water to a boil. Then reduce heat to low, put a lid on the pan, and let it simmer till the barley is cooked. I like the barley to have a little bite to it, so I cook it for about 20 minutes.  If you want the barley to be softer, cook it longer. During cooking, if the khichdi dries up, add water as needed, 1/2 cup at a time.
7. Taste the khichdi and adjust salt if needed. Turn off heat, and add a squeeze of lemon, if using. (Taste the khichdi first before adding lemon juice. If the tomatoes are tart enough you may not need the lemon. This is by no means a lemony dish.)

Serve hot with garnished with cilantro and yogurt on the side.

Laila’s Arabic Lentil Soup

Have you entered the Herbivoracious cookbook giveaway yet? You only have 2 days left to win Michael Natkin’s brand new vegetarian cookbook, Herbivoracious! Click here to enter the giveaway!

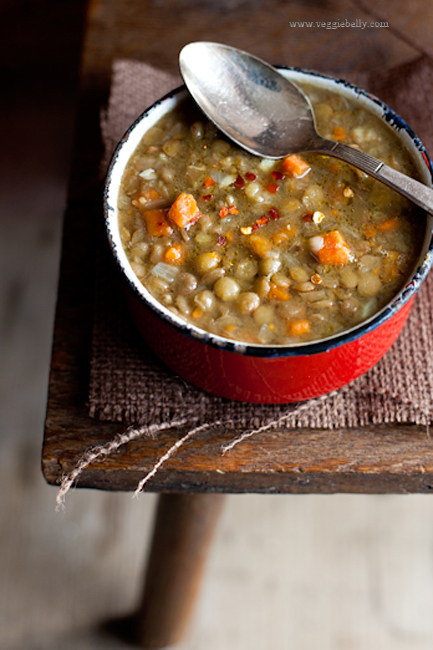
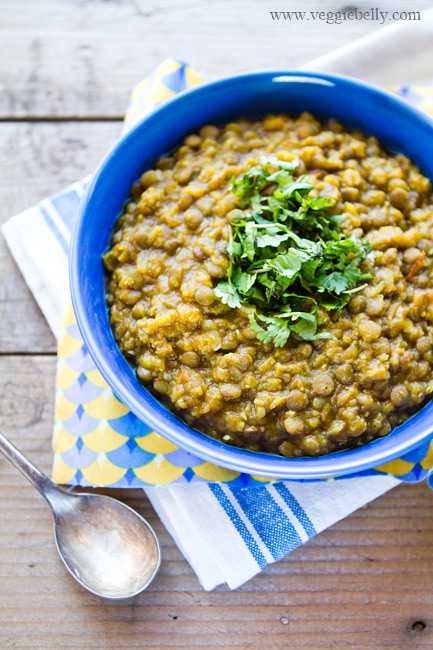
Now on to Laila’s delicious Arabic lentil soup recipe! I was in Bethlehem a few months ago, staying with a Palestinian family. (You can read all about my adventures here!) Laila, my wonderful host taught me how to make this simple, easy Arabic lentil soup. When I first tasted it, I had no idea how easy it is to make. And I was surprised that cumin is the only spice in this soup recipe! And guess what, cumin is all this soup needs. No need for any other funky, fancy flavors. The smokiness of cumin with the earthy lentils work very well together. Laila’s soup is a beautiful example of how simple is sometimes the best.

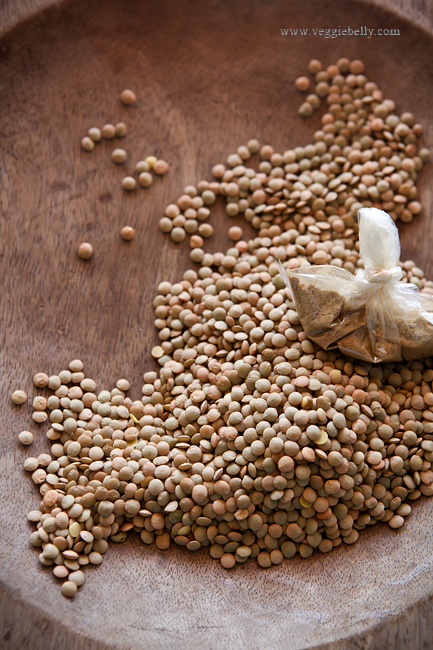
Laila used brown lentils. I used green lentils (pictured above) because I had some left over from making my dal fry mix in a jar for the holidays. You can use either brown or green, but keep in mind that cooking times may vary.

Laila served her soup simple and unadorned. And that’s what I’ve done here too. But if you like, you can garnish your soup with chopped parsley, cilantro, chili flakes or shredded cheese. To make a complete meal out of this soup, serve it with some crusty bread or pita.

Laila’s Arabic Lentil Soup Recipe

serves about 2

Ingredients
1 tablespoon olive oil
1 small onion, peeled and diced finely (1/2 cup when diced)
1 medium carrot, peeled and diced (1/2 cup when diced)
1-2 cloves of garlic, peeled and chopped
½ heaping cup dried green or brown lentils
½ teaspoon ground cumin
Salt to taste

Method
Heat olive oil in a medium heavy bottom sauce pan. Add the diced onions and cook on medium heat till soft and translucent.

Then add carrot and garlic and sauté till garlic is fragrant, about 30 seconds.

Now add the lentils and cumin and stir for 10 seconds.

Pour in 3 cups of water. Bring to a boil. Then reduce heat to simmer, cover the pan, and cook till the lentils are soft. This will take about 30 minutes.

If the soup needs more water while cooking, add more water one cup at a time, letting the soup come to a boil after each addition of water. (I used a total of 5 cups of water). How much water you need, will depend on how thick you like your soup, the lentils you are using and also the type of pot you are using. Just add the extra water one cup at a time till you get the desired consistency. And remember, the soup will thicken up when you mash the lentils.

When the lentils are done, they should be cooked and soft but should still be holding their shape.

At this point, turn off the heat. Using a potato masher, mash some of the lentils. I like to mash a third of the lentils, and leave the rest unmashed. If you want a smoother and thicker consistency, simply mash up more of the lentils.

Serve hot garnished with chopped cilantro or parsley or red chili flakes and some crusty bread or pita on the side.

Ghee and Curry Leaf Pasta Recipe

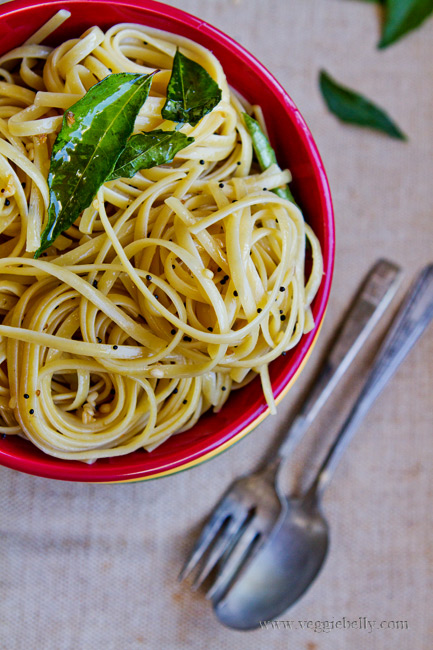
In my last post  I showed you how to make home made ghee. In this post, I share how to use all that delicious ghee – pasta with curry leaf and ghee! I am a pasta lover and a ghee lover, and this is the recipe I created to get my pasta fix and ghee fix all in one recipe.

There is a big difference between making pasta with butter and pasta with ghee. Ghee will give the dish a rich, nutty flavor that butter wont. However, if you don’t have ghee but want to try this recipe, use half butter and half oil instead of the ghee; it wont taste the same as ghee, but it will still be delicious!

This ghee and curry leaf pasta is very mild tasting, and easy to make. Children will love this dish. It also makes a great office lunch to pack, with some steamed vegetables tossed in. For extra flavor, add a teaspoon of ginger garlic paste when tempering the mustard seeds.

You can use any tadka (the whole spices you add to the ghee) items you like – cumin seeds, fennel seeds, green chilis, urad dal, will all taste great.

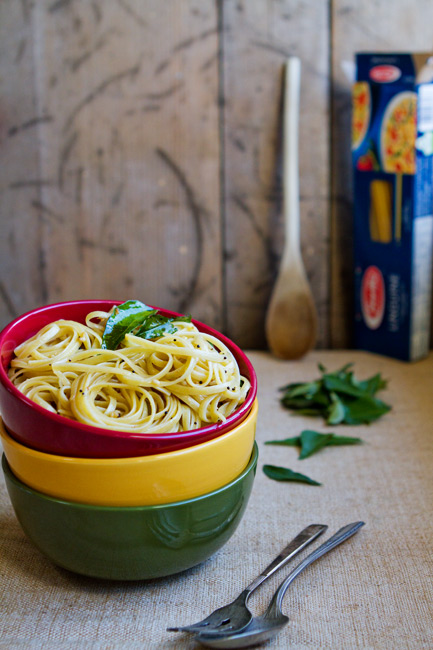
When I was shooting this dish, I wanted a natural, rustic looking background to offset the colorful bowls with pasta. I didnt have anything large enough that will make a convincing background. So heres what I did..

I have a shabby chic table I picked up at an antique store in Spokane, WA. I’ve enjoyed using it in many of my food photos  like my thanksgiving tofu skin roulade, or in the photos of my dal fry mix in a jar. For these pasta photos, I flipped the table and set it behind my bowl of pasta. This created the natural looking background I wanted.

Ghee and Curry Leaf Pasta

Serves about 4

1 lb dry pasta such as linguine, macaroni, spaghetti or bow tie
3 tablespoons liquid ghee
½ teaspoon black mustard seeds
1/8th teaspoon asafoetida
8 curry leaves
salt

Bring plenty of water to boil in a large pot. Add a generous amount of salt to it. Add the pasta and stir. Cook uncovered, till the pasta is al dente (still has a bite to it; is cooked, but not completely soft), about 8 minutes.

Drain the pasta and set aside.

In the same pot or a large wok (non stick is best), heat the ghee, and add mustard seeds. (For extra flavor, add a teaspoon of ginger garlic paste at this point). When they pop, add asafoetida and curry leaves, and stir 30 seconds or till the curry leaves are fragrant.

Add pasta and salt, and toss well. Serve warm.

Easy Carrot Mint Soup and a Great Tip for Flavoring Milk Based Soups

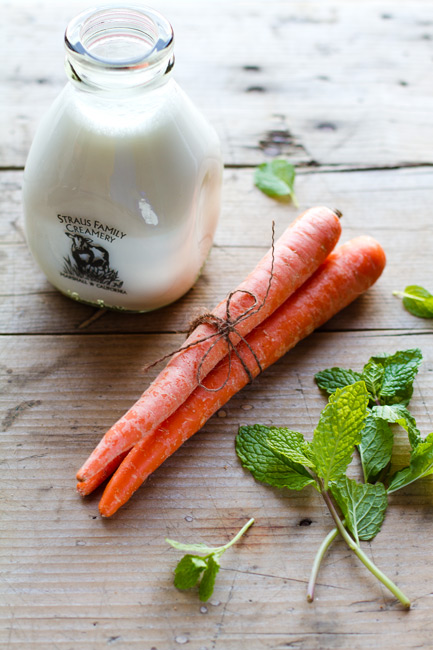
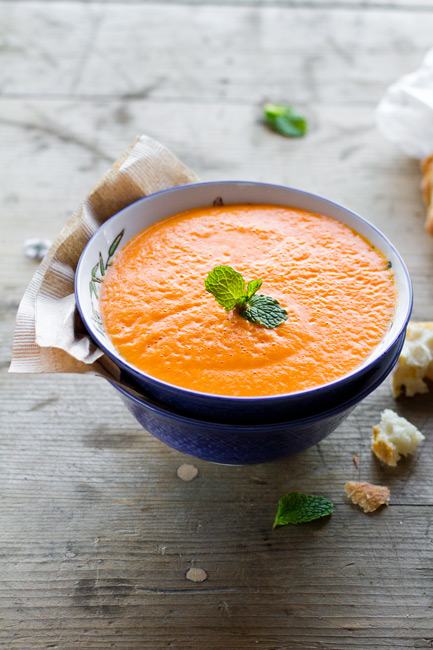
Let’s start the New Year with a simple, yet delicious carrot mint soup recipe, shall we?! This is my go to recipe when I’m feeling like a soup laden with the freshness of herbs and vegetables. This soup is very easy to make and pantry friendly since it uses only carrots, fresh mint, and milk.

I’ve tried this soup before by pureeing the mint leaves along with the carrots, just like my pea and mint soup. The pureeing method works beautifully for the pea and mint soup, but not so well for the carrot soup. When you puree the mint with the carrots, the soup loses it brilliant carotene tinged orange color. So heres how I infuse the mint flavor into the soup. Read on..

How to flavor milk based soups

If you are making a milk based soup with a herb, this is the best way to infuse the herb flavor into the soup. Mint and basil work particularly well with this method, but you can also use cilantro, parsley, rosemary or chives.

Bring the milk to a gentle simmer, and add the herb (mint in this recipe) to it. Turn off the heat, cover the milk and let the herb infuse for about 15 minutes. Then pull out the herb leaves from the milk, squeeze any milk out, then discard the leaves. That’s it! You have herb infused milk! Puree this milk along with cooked vegetables (carrots in this recipe) and you have a beautiful herb infused soup.

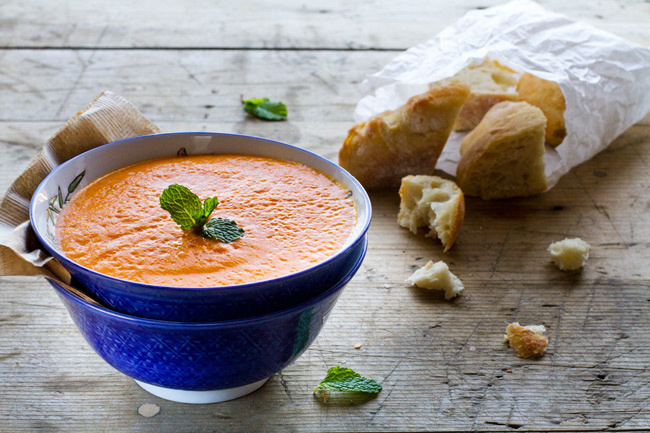
This is a great make ahead recipe. You can make this soup a few days ahead and simple re-heat it in the microwave. I love this carrot mint soup for a work day lunch, packed in a thermos with a paper bag of french baguette. Yum!

Easy Carrot Mint Soup Recipe

Serves 2
Ingredients
6 medium carrots, peeled and cut into chunks (about 1 ½ cups)
1 1/2 cups water
1 cup milk (Whole milk will taste best, but you can use 2% milk too)
4 sprigs mint (about 20 mint leaves)
Salt
Freshly cracked black pepper
¼ teaspoon sugar, optional

Method
Place the chopped carrots and 1 1/2 cups water in a pan. Bring to a boil. Reduce the heat to medium-low. Cover with a lid and simmer the carrots till they are very very soft, about 40 minutes. When you mash a carrot chunk with the back of a spoon, it must mash very easily. This means the carrots are ready. Alternatively, you can pressure cook the carrots.

While the carrots are cooking, gently heat the milk in a medium saucepan. Just as small bubbles start to appear on the sides, and the milk is about to boil, turn off the heat. Immediately add mint sprigs to the milk and stir. Cover and let it infuse for 15 minutes.

Then fish out all the mint leaves, squeeze the milk out of them, and discard the mint leaves.

When the carrots are cooked, place them in a blender along with their cooking water, the mint infused milk and salt.

Blend to a smooth puree. Add more milk to the blender if needed, to thin out the soup. Be careful when blending hot liquids in a blender, always vent the lid a little.

Taste the soup; if you would like it a little sweeter, stir in the sugar. Some carrots are sweeter than others, so you may or may not need the sugar.

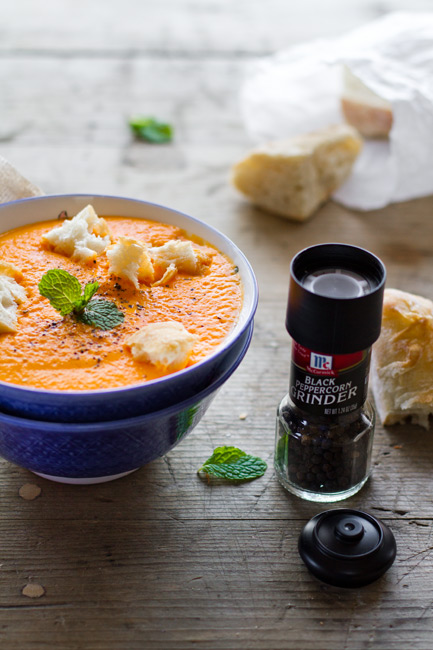
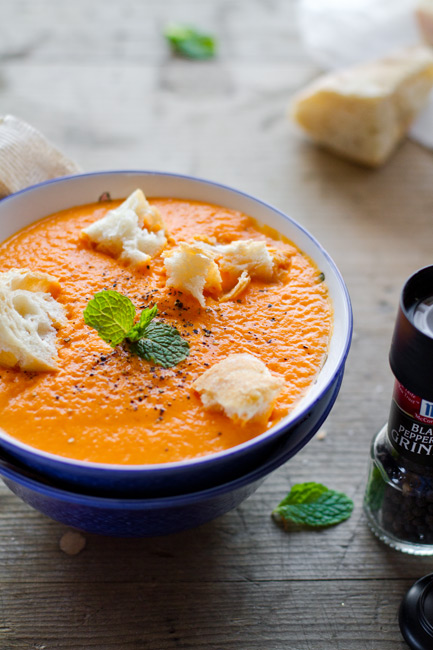
To serve, pour hot soup into bowls, top with cracked pepper and serve with crusty bread.

Dal Fry Mix in a Jar. Homemade Holiday Gift Ideas for Vegetarians

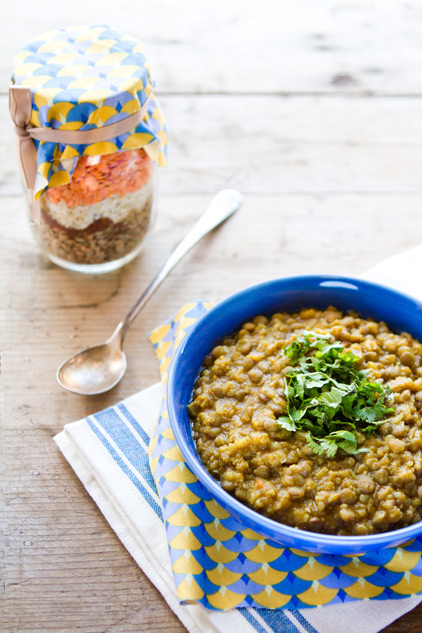
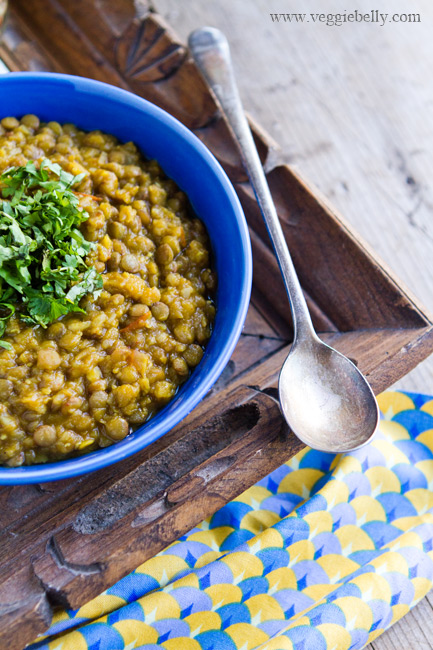
Dal fry is a typical Indian lentil dish (and popular on restaurant menus) made with cumin, turmeric, onion, tomato, garlic and lentils. I’ve simplified the recipe and turned it into a holiday gift mix in a jar. If you have friends and family who are vegetarian or Indian food lovers, they will be delighted to receive this as a Christmas gift! And you will love making this gift – its easy, fun, vegetarian, vegan AND cheap!

This dal fry mix in a jar was my Christmas present for a dear friend S, who is a new mother and is running her own business. You can imagine just how busy she must be! I figured a tasty dal mix in a jar, that she can make with almost no effort at all will be the perfect holiday gift for a busy mom like her.

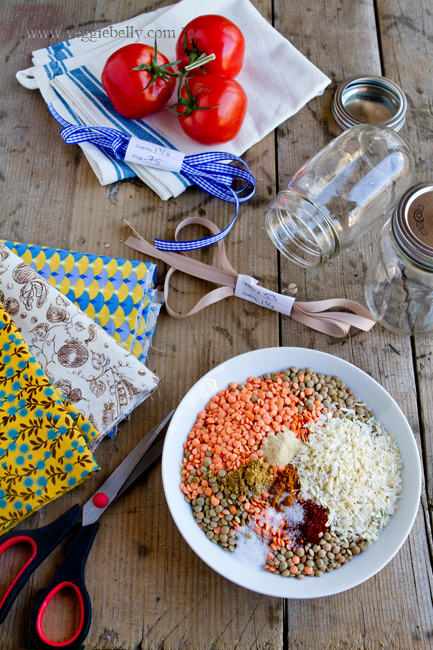
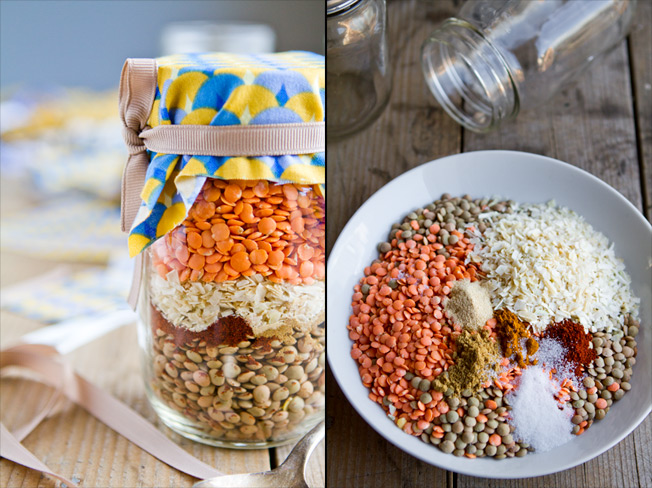
l’ve used a combination of red lentils (masoor dal) and green lentils. Make sure you use the flat round green lentils from the bulk section of the grocery store. Dont use whole Indian green lentils (green moong dal) because it takes longer to cook. You can substitute the green lentils with yellow letils (yellow moong dal).

Caramelized onions is a common flavor base for Indian curries. To emulate some of that flavor, I use dried onion flakes in this recipe. They give the lentils a great, deep, slow cooked taste. You can find dried onion flakes in the spice section of the grocery store or in the bulk section.

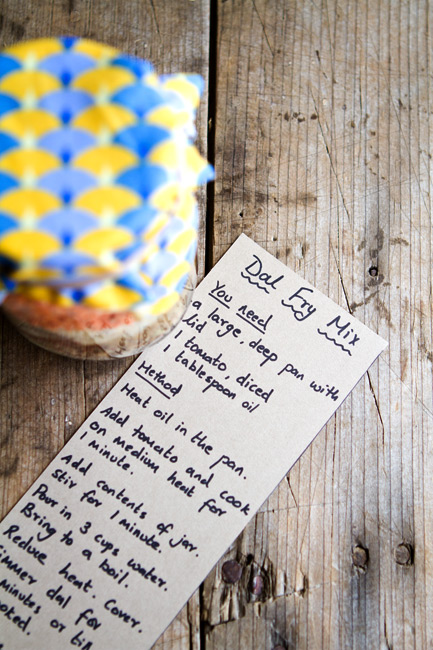
Writing (or printing) out the recipe/instruction card for this mix is your chance to really personalize the gift. I like to make my instruction cards humorous – like adding inside jokes, cartoons etc. The point is to get funny and creative with the instruction cards!

For another homemade holiday gift idea for vegetarians, take a look at my cajun dirty rice mix in a jar.

Dal Fry Mix in a Jar Recipe

makes 1 jar

For the gift jar
One 1 pint jar
a 5″x5″ piece of fabric
a thin rubber band
some ribbon
Cardstock or any thick paper for writing instructions

Ingredients
¾ cup green lentils (not green moong dal)
¾ cup red lentils
4 tablespoons dry onion flakes
1 ¼ teaspoon garlic powder
¼ teaspoon turmeric powder
1/2 teaspoon chili powder
½ teaspoon cumin powder
½ teaspoon salt

Pour the green lentils into the jar first. Then add onion flakes, garlic powder, turmeric, chili powder, cumin, and salt. Then pour in the red lentils.

If there is a gap between the top layer and the lid, crush a kitchen towel and stuff it into the gap. This will prevent the lentils and spices from moving around, and will preserve the pretty layers in the jar.

Seal jar tightly. Cover the lid with the fabric square. Place a rubber band over the fabric to secure it around the neck of the jar. Tie a ribbon in a bow around the neck of the jar, hiding the rubber band.

Write or print out these instructions on a thick piece of paper and attach to gift jar:

“You will need:
A large, deep skillet with a lid
1 medium tomato, chopped
1 tablespoon oil

Heat the oil in the skillet. Add tomatoes, and sauté on medium heat for about a minute. Add the contents of the jar, and stir for 2 minutes.

Pour in 3 cups of water. Bring to a boil. Reduce heat to low and cover the pan. Simmer the dal for about 20 minutes, or till cooked. Add more water while cooking, if needed.

Serve hot with steamed rice.

Serves 4″

Pierce a little hole in the upper corner of the instructions paper, and tie it to the ribbon. Or place the instructions against the jar, and tie it around the jar using ribbon or a rubber band.

Related Posts with Thumbnails