Ghee is used widely in Indian cooking. Not only is it deeply flavorful, ghee also has a higher smoke point, so its great for sauteing or frying. Indian herbal medicine (Ayurveda) uses ghee as a base for many of its medications. I spent some time at an Ayurvedic retreat in India last summer and my detox concoction was ghee based – I’ve never had a tastier medicine!
Making ghee at home is easier than you think. Here is a step by step recipe and tis for home made ghee.
Should you use salted or unsalted butter for ghee?
I’ve used both salted and unsalted butter successfully but I prefer unsalted.
Salted butter will foam more when boiling. So if you are using salted butter to make ghee, make sure you use a pan that’s large enough to accommodate the foaming, and be very careful when the ghee begins to boil. When it foams, gently stirring it with a wooden spoon will help it subside. If the butter foams and spills over, it can be hazardous, be very careful.
The milk solids from salted butter will be very salty. If you are making any of the ‘by product’ recipes, you wont need to add any extra salt.
How to Make Ghee
Ingredients
2 sticks (1 cup) unsalted butter
Method
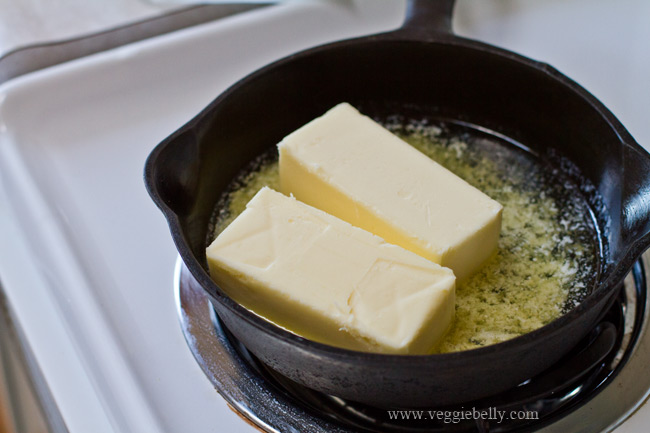
Use a medium sized, heavy bottom sauce pan. Make sure it is dry and clean. Place the butter in the pan, and cook uncovered on medium heat till all the butter melts.
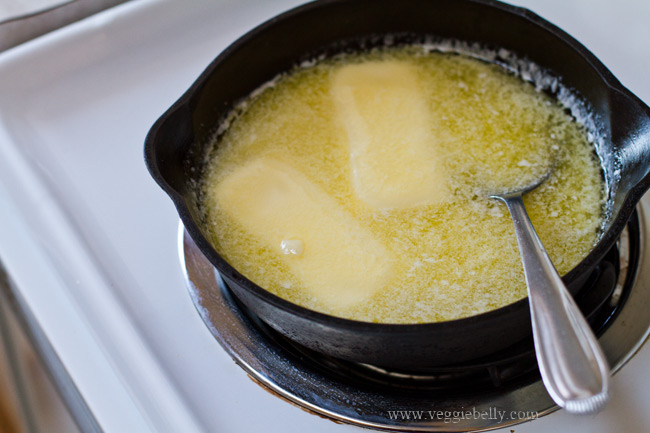
Continue cooking while stirring occasionally till the butter starts to foam and boil. You will hear crackling, this means the butter is boiling.
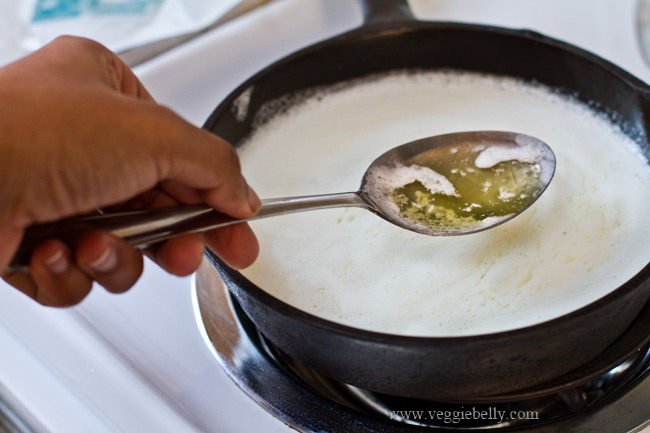
Reduce heat to low, and continue to simmer the butter till it clarifies – when you part the foam on top, you should see the melted butter getting clear.
Continue to simmer the butter till the crackling subsides, about 10 minutes. How soon the ghee is done will vary depending on the quantity of butter you are using. So use the indicators below.
The ghee is done when
- The crackling subsides. This means most the moisture has been cooked away
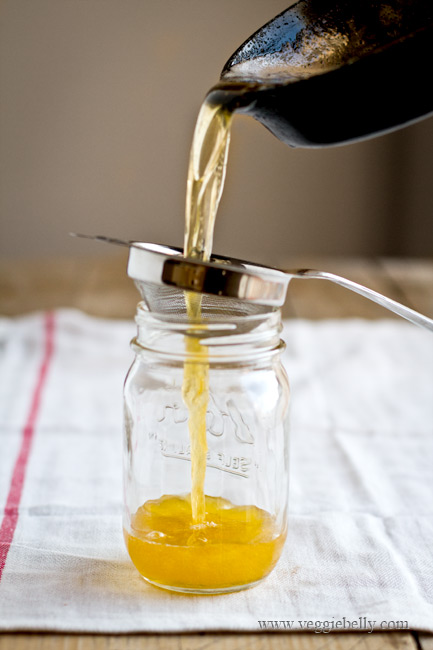
- The ghee becomes a clear golden yellow liquid (part the foam with a spoon to see the ghee). This means the butter is clarified
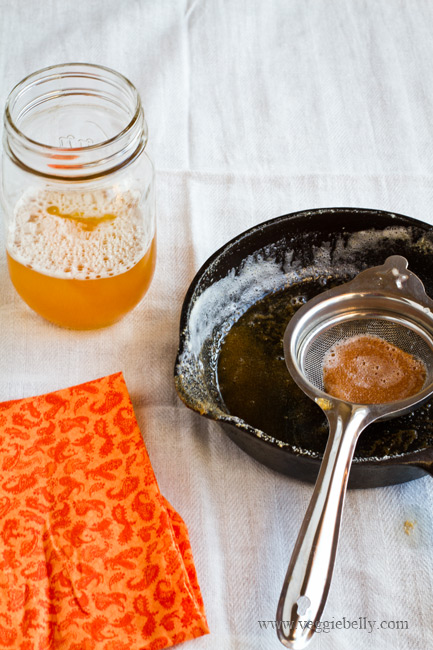
- The milk solids separate and settle in the bottom of the pan, and are light brown in color
Be careful not to over cook the ghee and burn the solids. If the milk solids are dark brown, or if the liquid ghee turns dark brown, you’ve over cooked it.
Let the ghee cool for about 20 minutes. Then strain it though a very fine strainer or 2 layers of muslin cloth. Make sure all the milk solids are strained out; strain the ghee twice if needed.
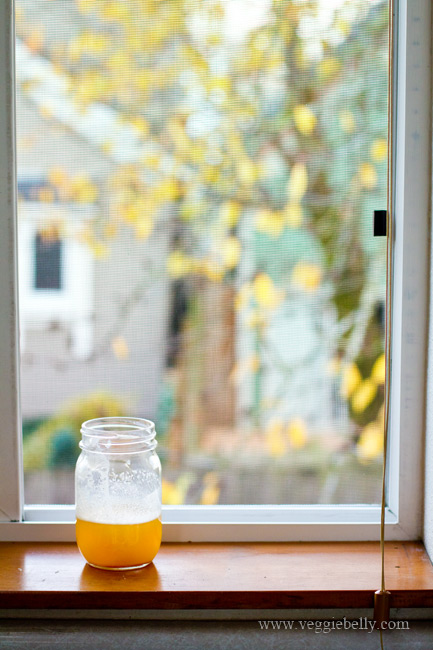
Store ghee is a clean, dry bottle. But don’t put the lid on till the ghee is fully cooled.
Ghee can be kept at room temperature for 2 months. Refrigerating it wont hurt either.
What do to with the milk solids from ghee making
When you clarify butter (by boiling) to make ghee, the milk solids will separate. They will settle in the bottom of the ghee. If the ghee is made properly, the milk solids remaining will be lightly brown, nutty, and very delicious.
Don’t throw away the milk solids. This is delicious stuff. Here are some things you can do with them:
- Mix 2 tablespoons of milk solids with 1 clove of minced garlic. Heat on low till the garlic sizzles. Add a pinch of salt. Spread this on toasted pita or baguette slices for a rich tasting, yummy snack
- Heat 2 tablespoons milk solids along with 6 roughly crushed peppercorns. When the peppercorns are fragrant, add 2 cups cooked rice and some salt. Mix well. We call this vennai chatti sadam (butter pot rice) – a recipe specifically created to use up the by product of ghee making.
- Add sugar and wheat flour to milk solids. Gently cook. Then form the mixture into balls or laddus. See this video at min. 4:40 for ghee laddu recipe
Use ghee for sauteing vegetables or pasta, drizzle over hot rice, in soups, over popcorn, on toast, or in desserts.

